Homemade Shampoo!

There are so many articles online that give you recipes for making your own shampoo and conditioner. I’ve tried a few different ways and thought I’d share the ones I like the most!

First, there is a thing called the “No-Poo Method” which is basically “No shamPOO.” Several people have tried this and swear by it. You still “wash” your hair, you just don’t use store bought shampoo.

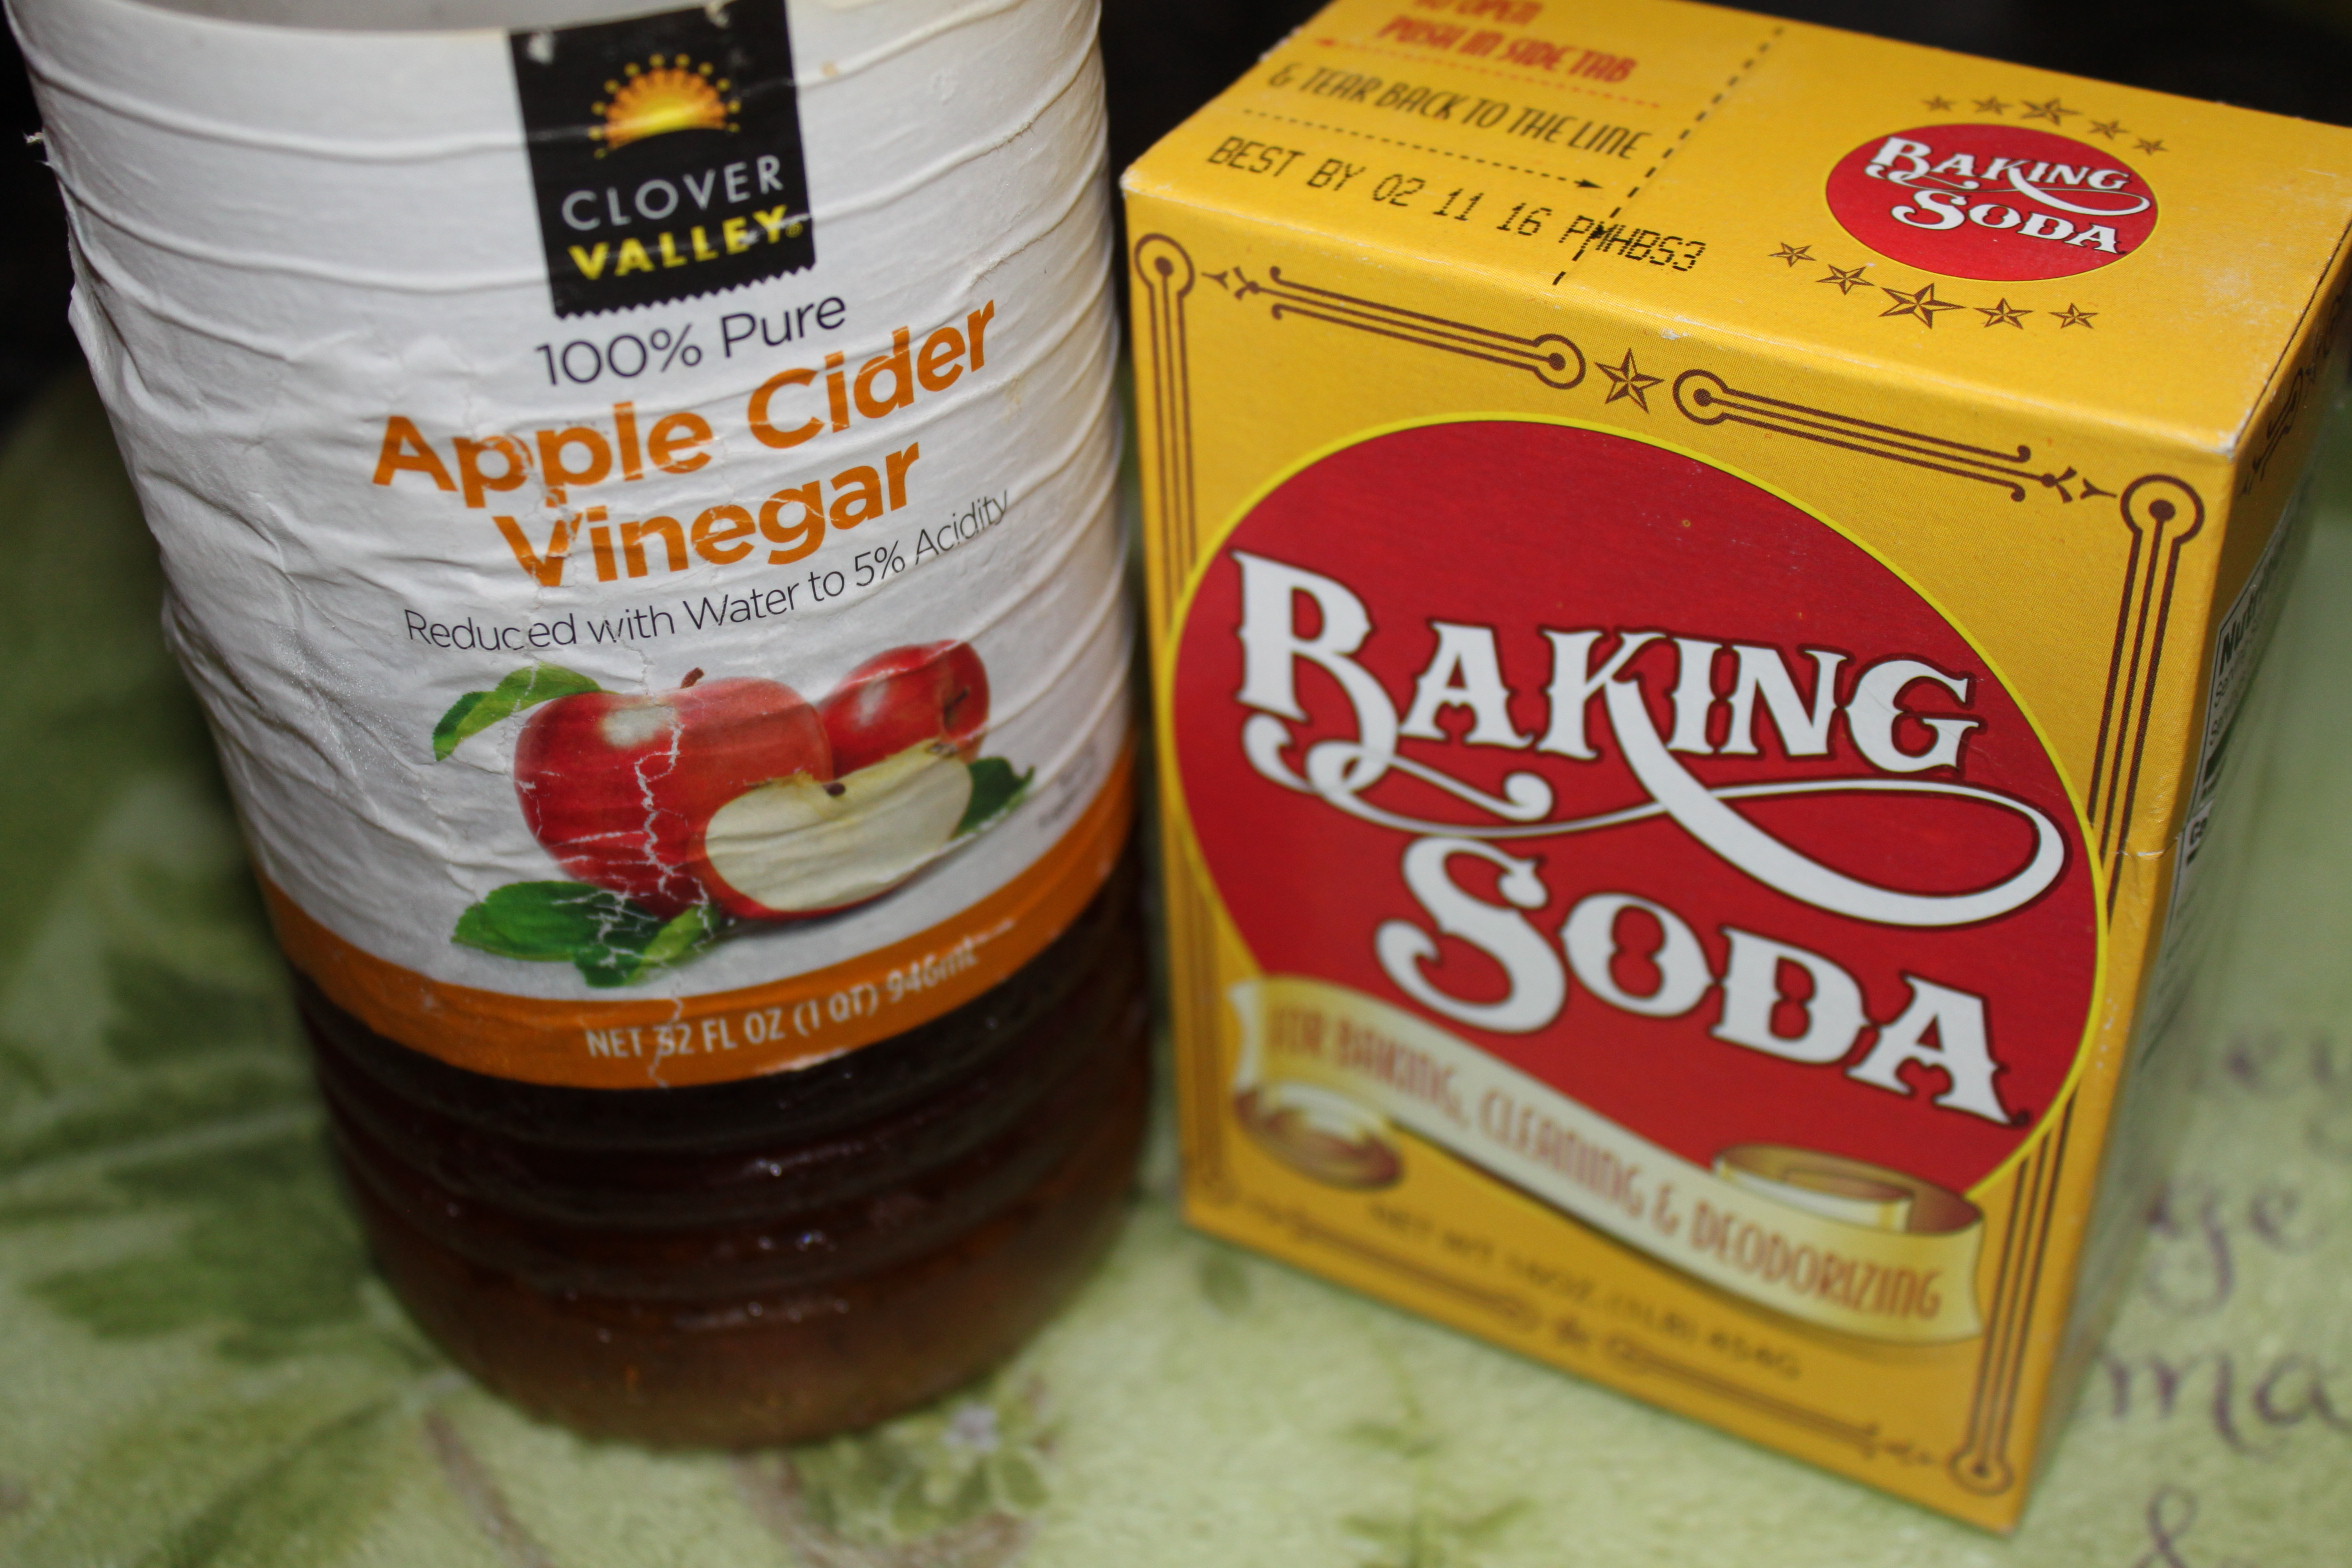
The ingredients for the “No-Poo Method” shampoo are:

  • Baking soda mixed with water as your shampoo.
  • Apple Cider Vinegar mixed with water as your conditioner.

bakingsoda,vinegar 001

Many people say that actually shampooing your hair with store bought shampoo causes your hair to become oily– in turn, you wash it again, and the cycle continues.

When using the “No-Poo Method” you should “wash” your hair about every couple of days. It lacks the “foaming and lather” aspect of normal shampoo, but that is where a lot of chemicals in normal shampoo are.

Check out Ashley’s Green Life video about her experience with the “No-Poo Method”  below.

I noticed that a lot of the shampoo recipes online call for a Liquid Castille Soap. These are liquid soaps made organically. The can sometimes be pricey, but are very worth it! You don’t use very much in your shampoo recipes so it should last a long time. (Keep in mind, do not use more than directed in the recipes. I wanted a “lather” so I added in more of the soap and it caused my hair to be oily.)

The cool thing about Dr. Bronner’s brand of Liquid Castille Soap is that it comes in all kinds of scents. Almond, Lavender, Peppermint… there’s even a Baby Mild form of it. So when mixing your shampoo, there is no need to add in essential oils.

The best shampoo I’ve tried thus far is….

Natural Homemade Shampoo

I found this recipe on Wellness Mama.

How to mix:

  1. Combine all ingredients in an old shampoo bottle or jar of some kind (pump soap dispensers and even foaming dispensers work well for this. If you use a foaming dispenser, add 1/4 cup of distilled water)
  2. Shake well to mix.
  3. Keep in shower for up to a month.
  4. Shake before each use.
  5. Use about a teaspoon every time you shampoo.
  6. If you use a foaming dispenser, it also makes a great shaving cream- just dilute with 1/4 cup distilled water!

For more homemade shampoo recipes, check out INSTRUCTABLES article HERE.

If any of you have tried making homemade shampoo…

Share your favorite combinations in the comments below.

Also, what’s your favorite and least favorite part of making homemade shampoo?

Homemade Face Mask

Last night, my boyfriend’s 12 year old daughter, Jaylen, and I decided we were going to make a tutorial video of the face mask we were making.

The video (our first tutorial video) was quite hilarious. We had so much fun and I decided to keep in a lot of the funny parts. Because, well… who wouldn’t want to watch a hilarious tutorial video!?

Both informative AND funny.

The mask is a homemade face mask using the following ingredients from your kitchen:

bananaface 003

(coconut oil, 1/2 cucumber, 1 egg, 1 ripe banana, and 2 lemon slices)

Here is the fun tutorial we made:

If you choose not to watch the video (which you should) then here is how to make the mask:

  • Take the ripe banana and peel and chop it up and put it in a food processor or blender.
  • Peel and chop the cucumber and add it to the food processor.
  • Mix these two ingredients until smooth.
  • Now, add crack the egg into the mixture, add a couple spoonfuls of coconut oil and squeeze in your two lemon slices.
  • Mix until smooth.
  • Put mixture onto face and allow it to sit for 20 minutes then rinse with warm water.

bananaface 046

(Jaylen and I waiting our 20 minutes so we could rinse.)

Hope you all have as much fun as we did making this face mask!

How-To Make Your Own Toothpaste!

A few weeks ago, I decided I wanted to eliminate some chemicals from my life that weren’t necessary. I researched “chemical-free alternatives to everyday essentials.”

The first thing I could think of that I used daily was my toothpaste.

So, how can you make your own toothpaste cheaply using household items?

  • Rummage through your kitchen and grab the ingredients for this easy-to-do recipe.

You’ll need: baking soda, coconut oil, salt (optional), a small jar, and some essential peppermint oil, and a bowl for mixing.

Toothpaste 001

  • Step One:  Place about 4-5 big spoonfuls of the baking soda into a bowl. 

Toothpaste 002

  • Step Two: Set aside this bowl of baking soda and grab a microwave-safe cup (this part is optional, but makes mixing a LOT easier) and put about 3 big spoonfuls of your coconut oil into it. 

Toothpaste 005

  • Step Three: For easier mixing, place the cup of coconut oil into the microwave for 20 seconds, or until almost fully melted.

Toothpaste 017

  • Step Four: Take out your melted coconut oil and add it to the bowl of baking soda.

Toothpaste 006Toothpaste 007

  • Step Five: Mix these two ingredients thoroughly and then add about a 1/2 teaspoon or so of peppermint oil (for taste).

Toothpaste 009

  • Step Six: (Optional) Add a couple shakes of salt for a more abrasive paste.

Toothpaste 010

  • Step Seven: Pour liquid into a small jar. (I bought a pack of 4 from Walmart, but baby food jars work perfectly!)

Toothpaste 011

  • Step Eight: Label the jar so friends and family won’t mistake it for something else– although this smells exactly like toothpaste, so hopefully they won’t get confused!

Toothpaste 014

There you have it. A cheap, chemical-free, alternative to toothpaste.

A couple tricks:

  1. I should warn you, it does NOT taste good. I’ve been using this toothpaste for 3 weeks now and my trick is to avoid brushing my tongue (or getting it on my tongue) until the very end of brushing.
  2. It seems very liquid-like when you pour the mixture into the jar, don’t worry– this will harden up quite a bit.
  3. Something you should know about coconut oil– when it is above room temperature, it melts. So, when you’re ready to brush your teeth, soak your toothbrush in hot/warm water THEN dip it into the jar to help the toothpaste come out of the jar easier.

This toothpaste works great!

Not only does it clean your teeth, but I’ve noticed my teeth getting much whiter too!