
Sorry I haven’t been active much in the past… well, THREE years. My life has taken a lot of twists and turns! Though I’m still much a hippie at heart and still on my vegan journey, I have decided to start a new blog with a new passion of mine. Yes, you may be surprised… but it is AVON. They do not test on animals and are such an amazing company that does a lot for Breast Cancer Awareness and Domestic Violence. If you would like to follow me and my Avon journey or just follow me in general, please follow my other blog. It’s called, “Your Lady, Shalin.” I am also on Facebook at Your Lady, Shalin. Thank you for so many views and “likes” on this blog. I may continue Girl Gone Hippie eventually, but with my life the way it is right now, I’m focusing more of my efforts on trying to work from home with Avon so I can continue doing more online hippie things! Much love, Shalin.
Tag Archives: girl gone hippie
Tie Dye With Bleach!
I have been wanting to try tie dying with bleach for a while now. The weather was absolutely beautiful today so I figured I’d do it today! After watching some YouTube tutorials and reading online, I realized how easy it was. There is no “wrong” way to tie dye a shirt. It all depends on your preference. I tried three different ways with a few old shirts of mine.
What You’ll Need:
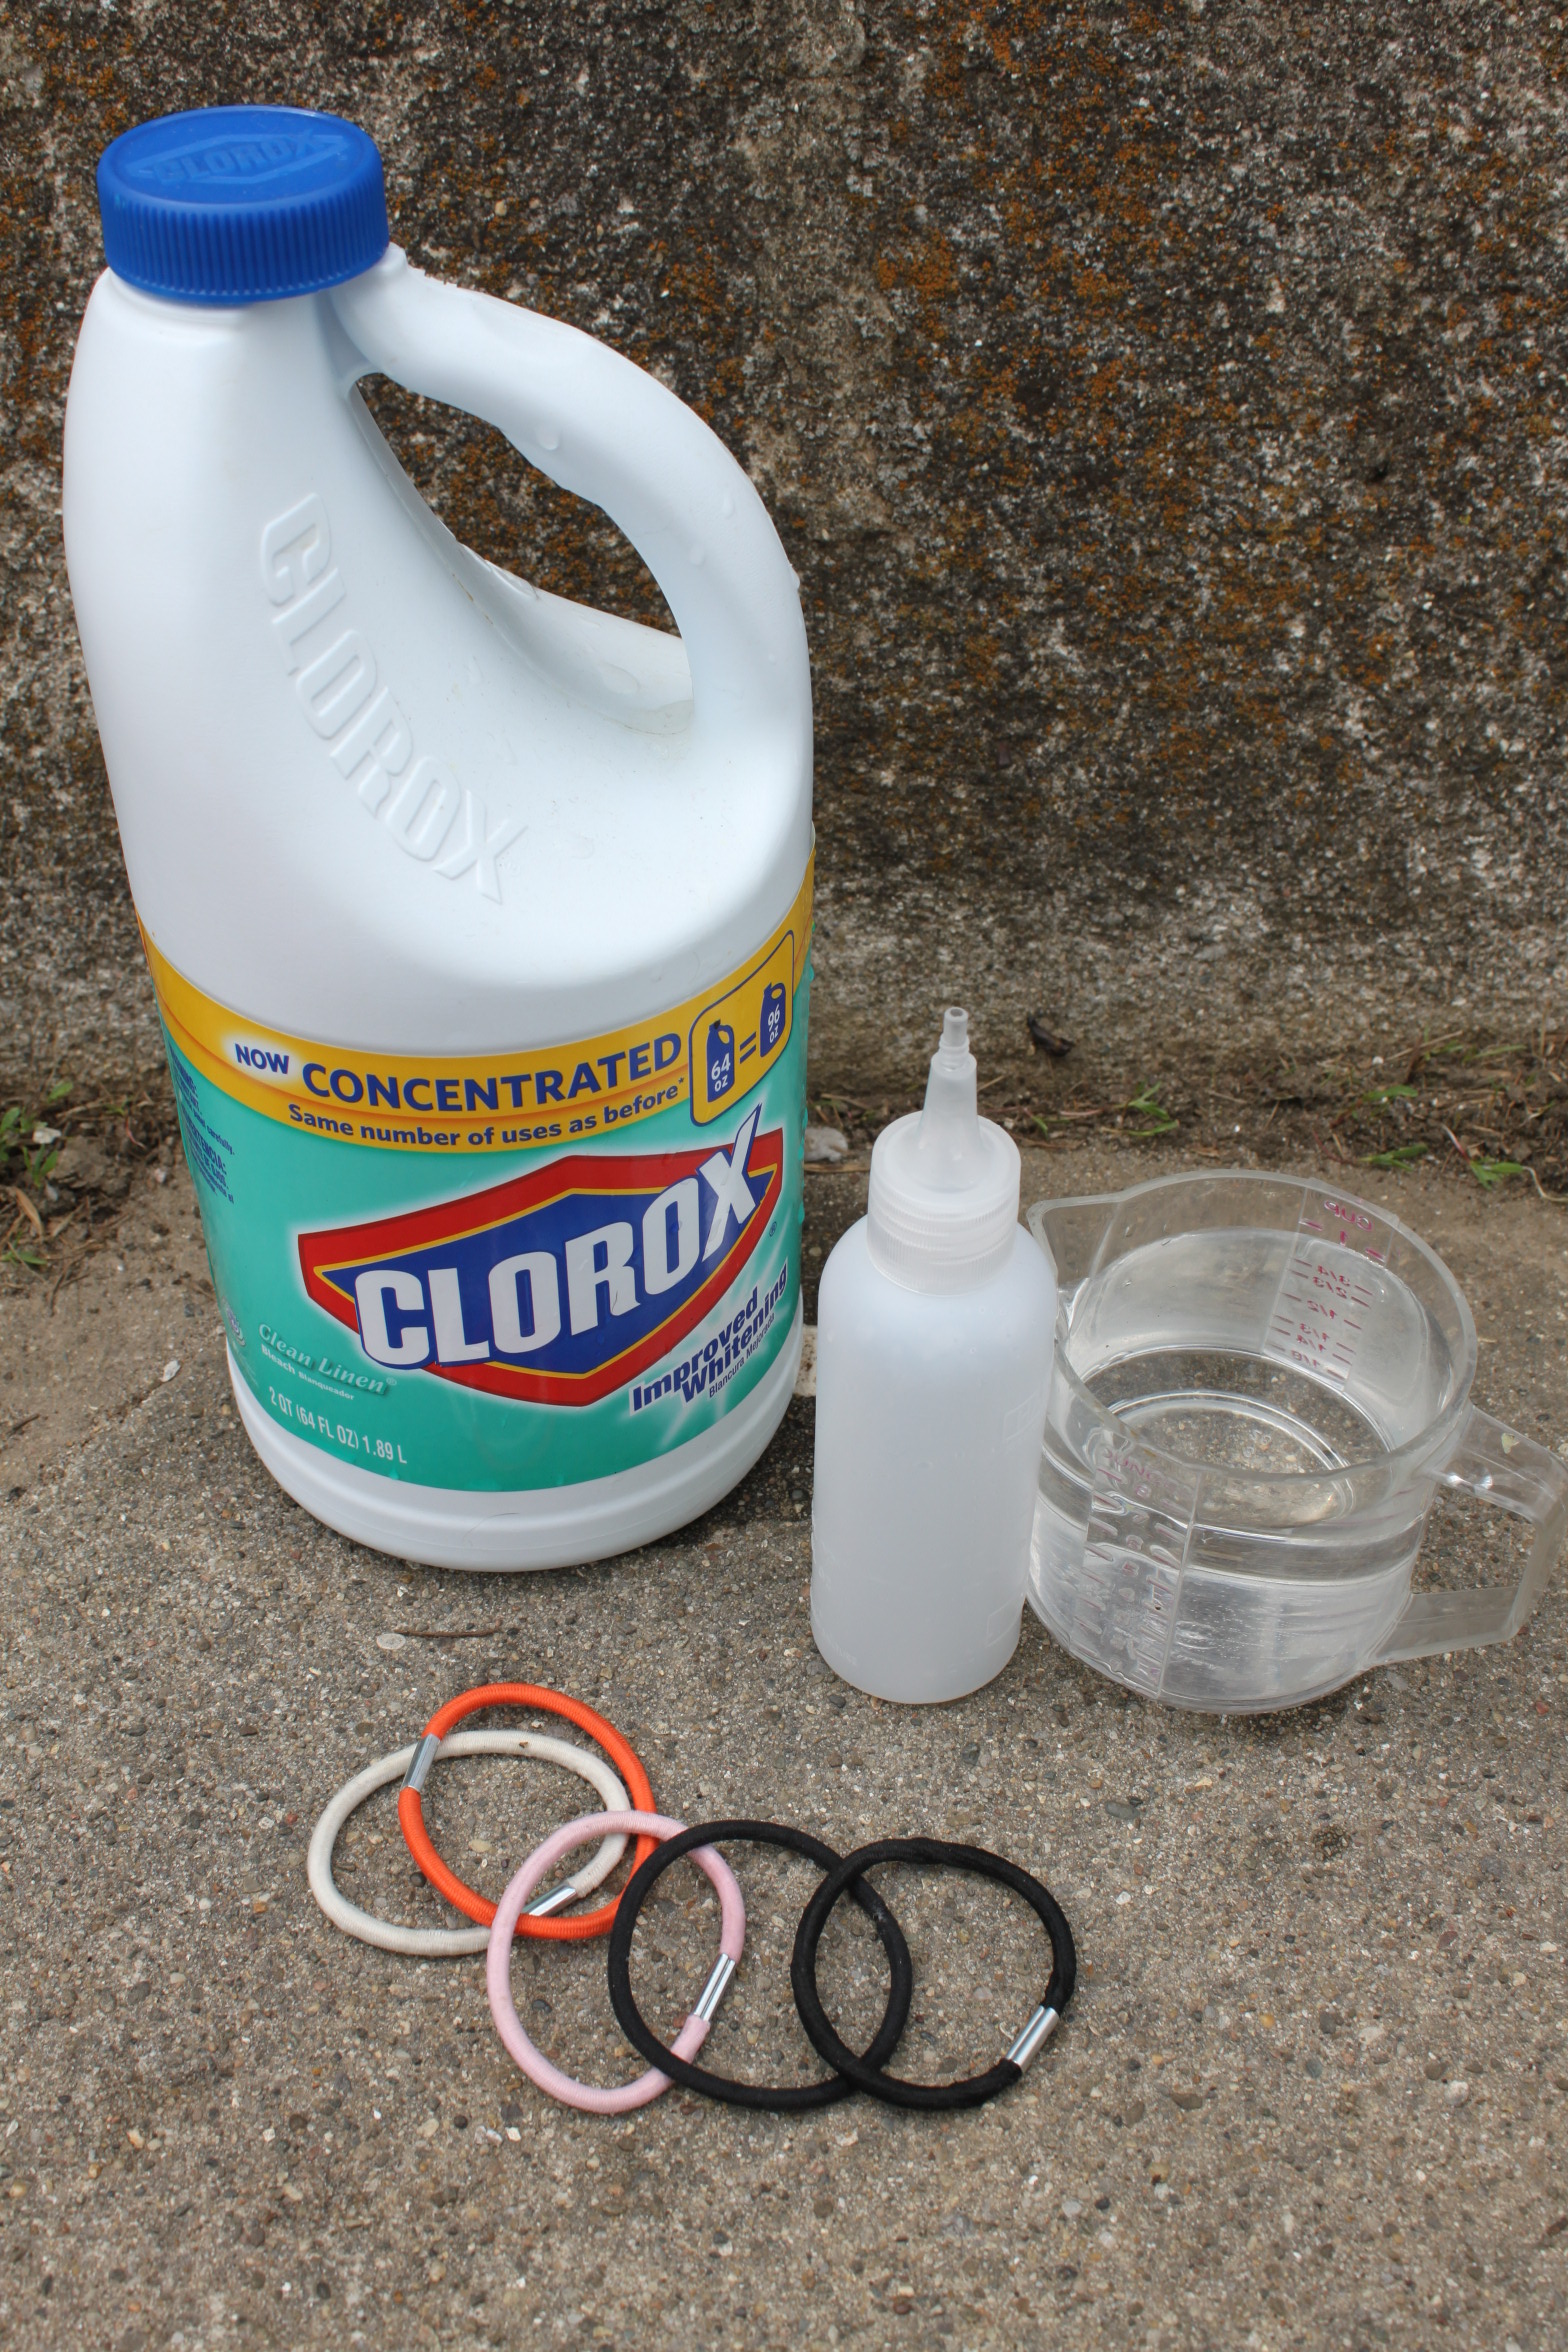
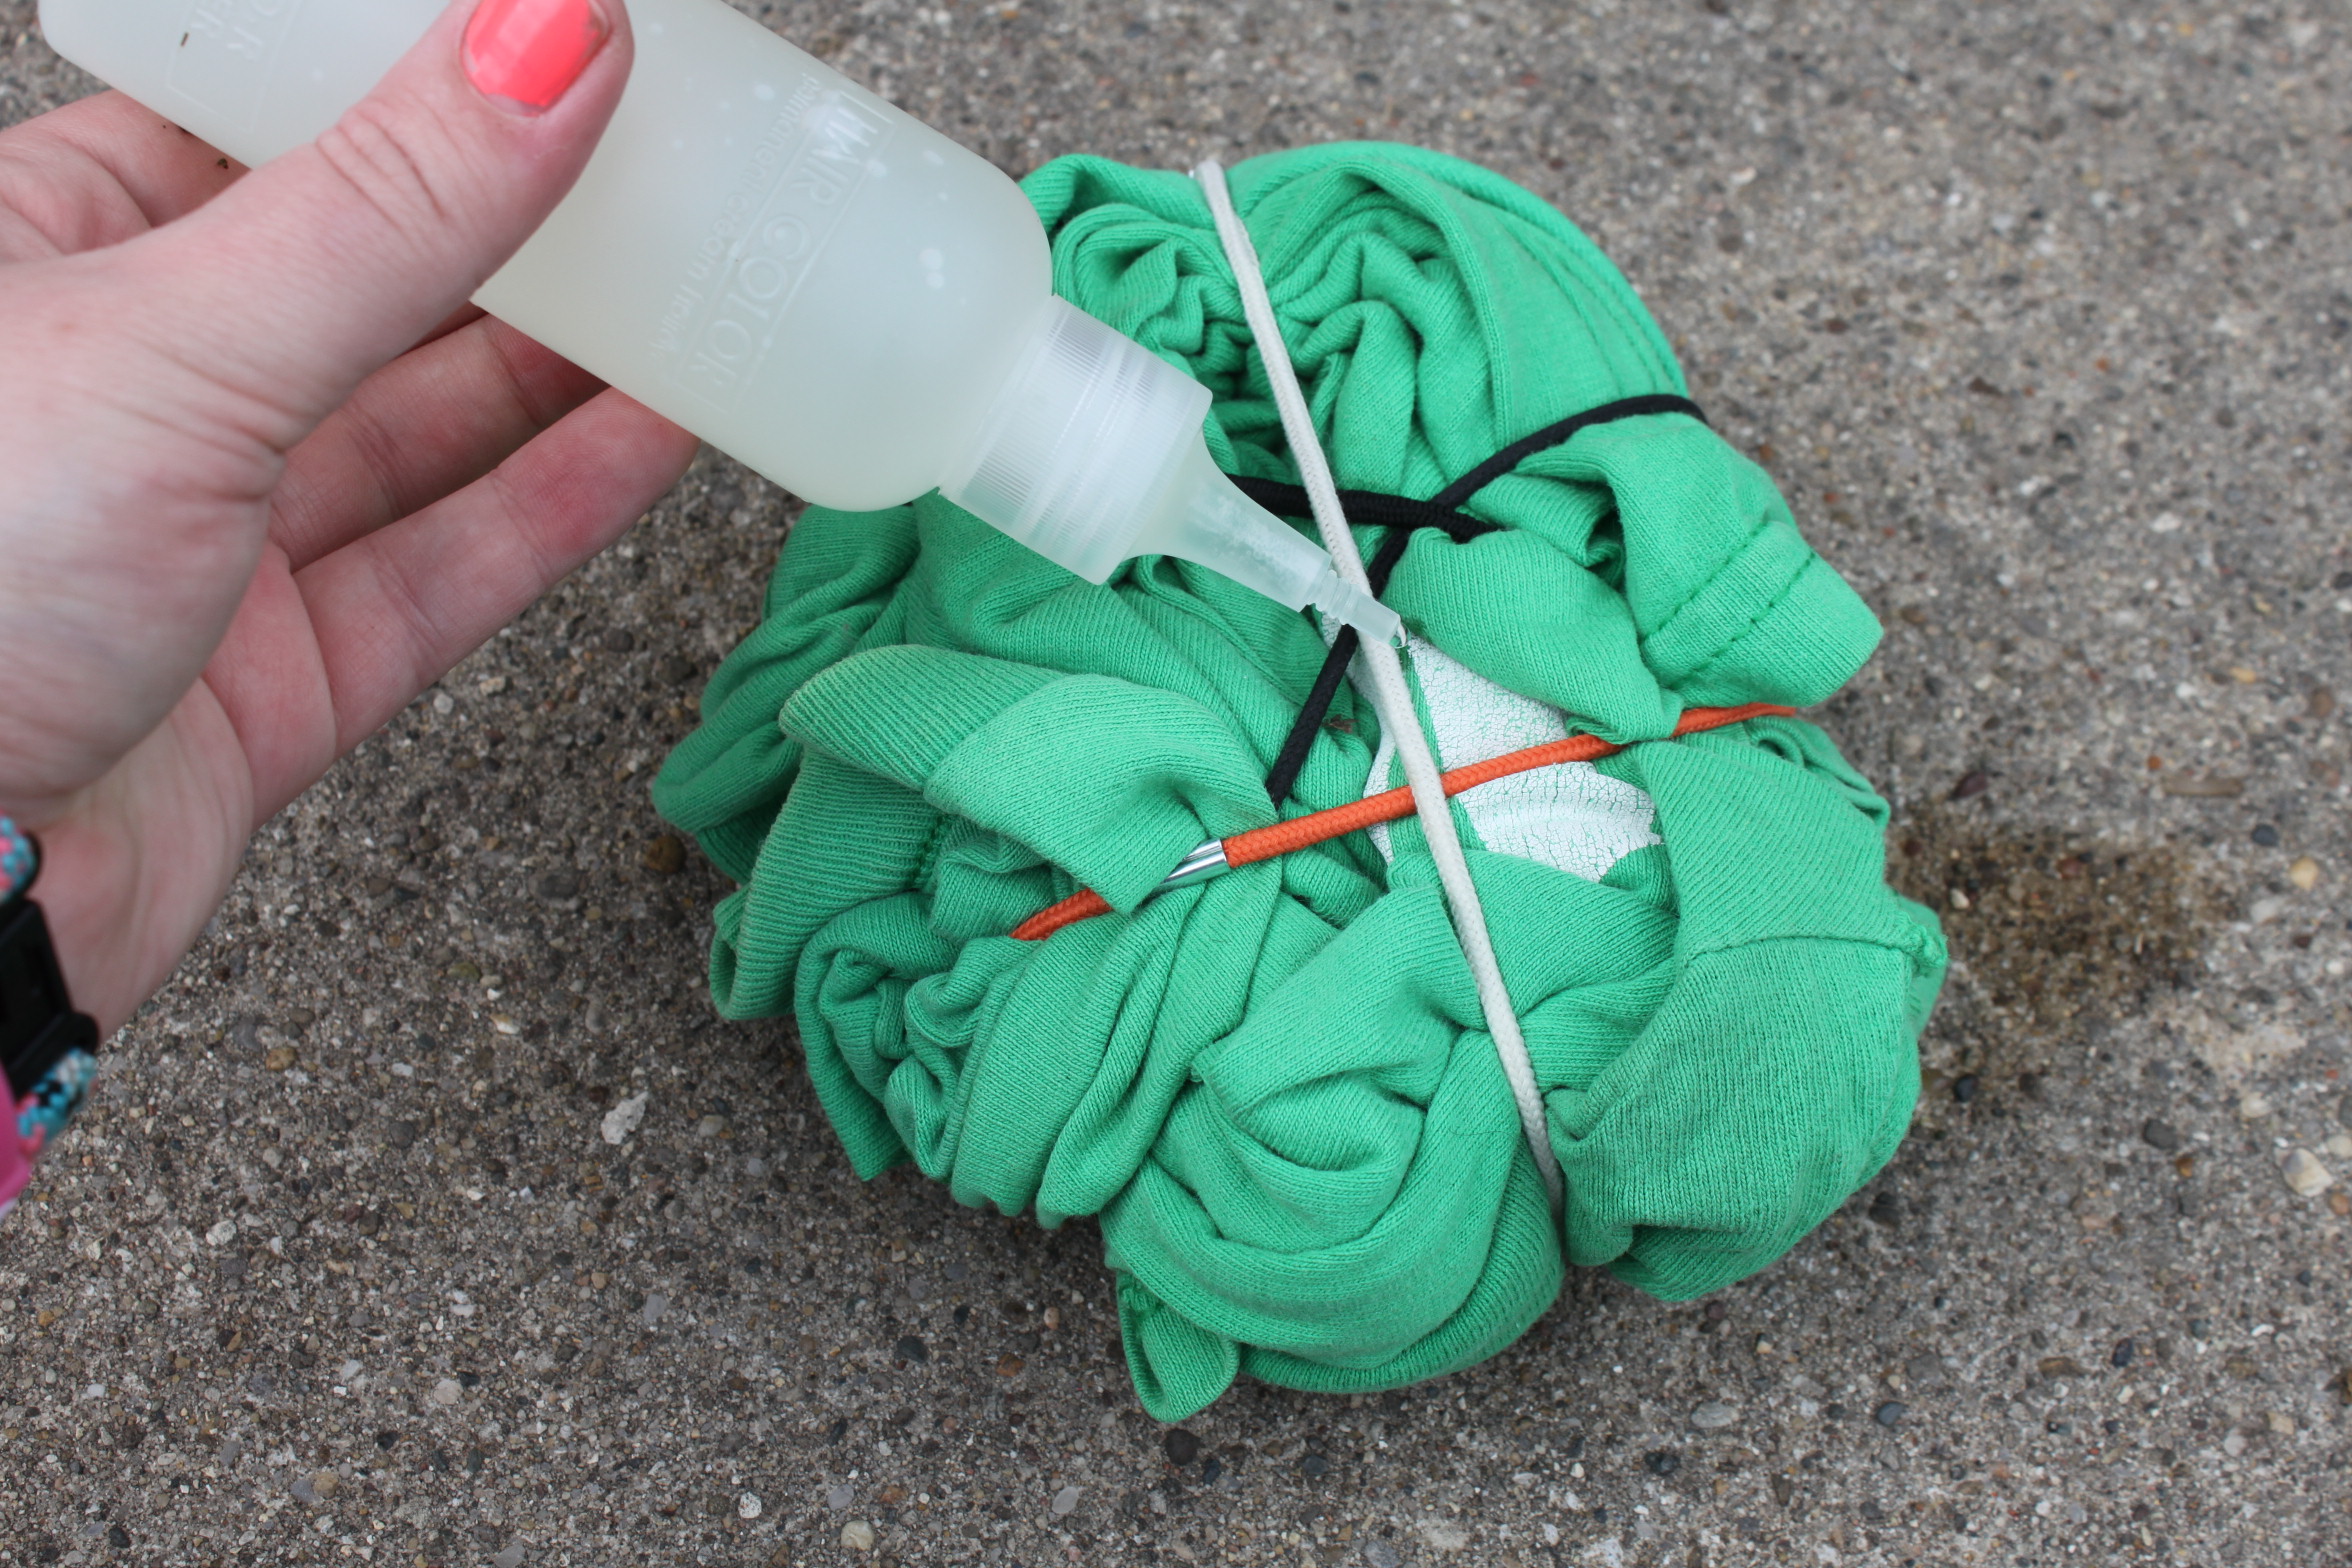
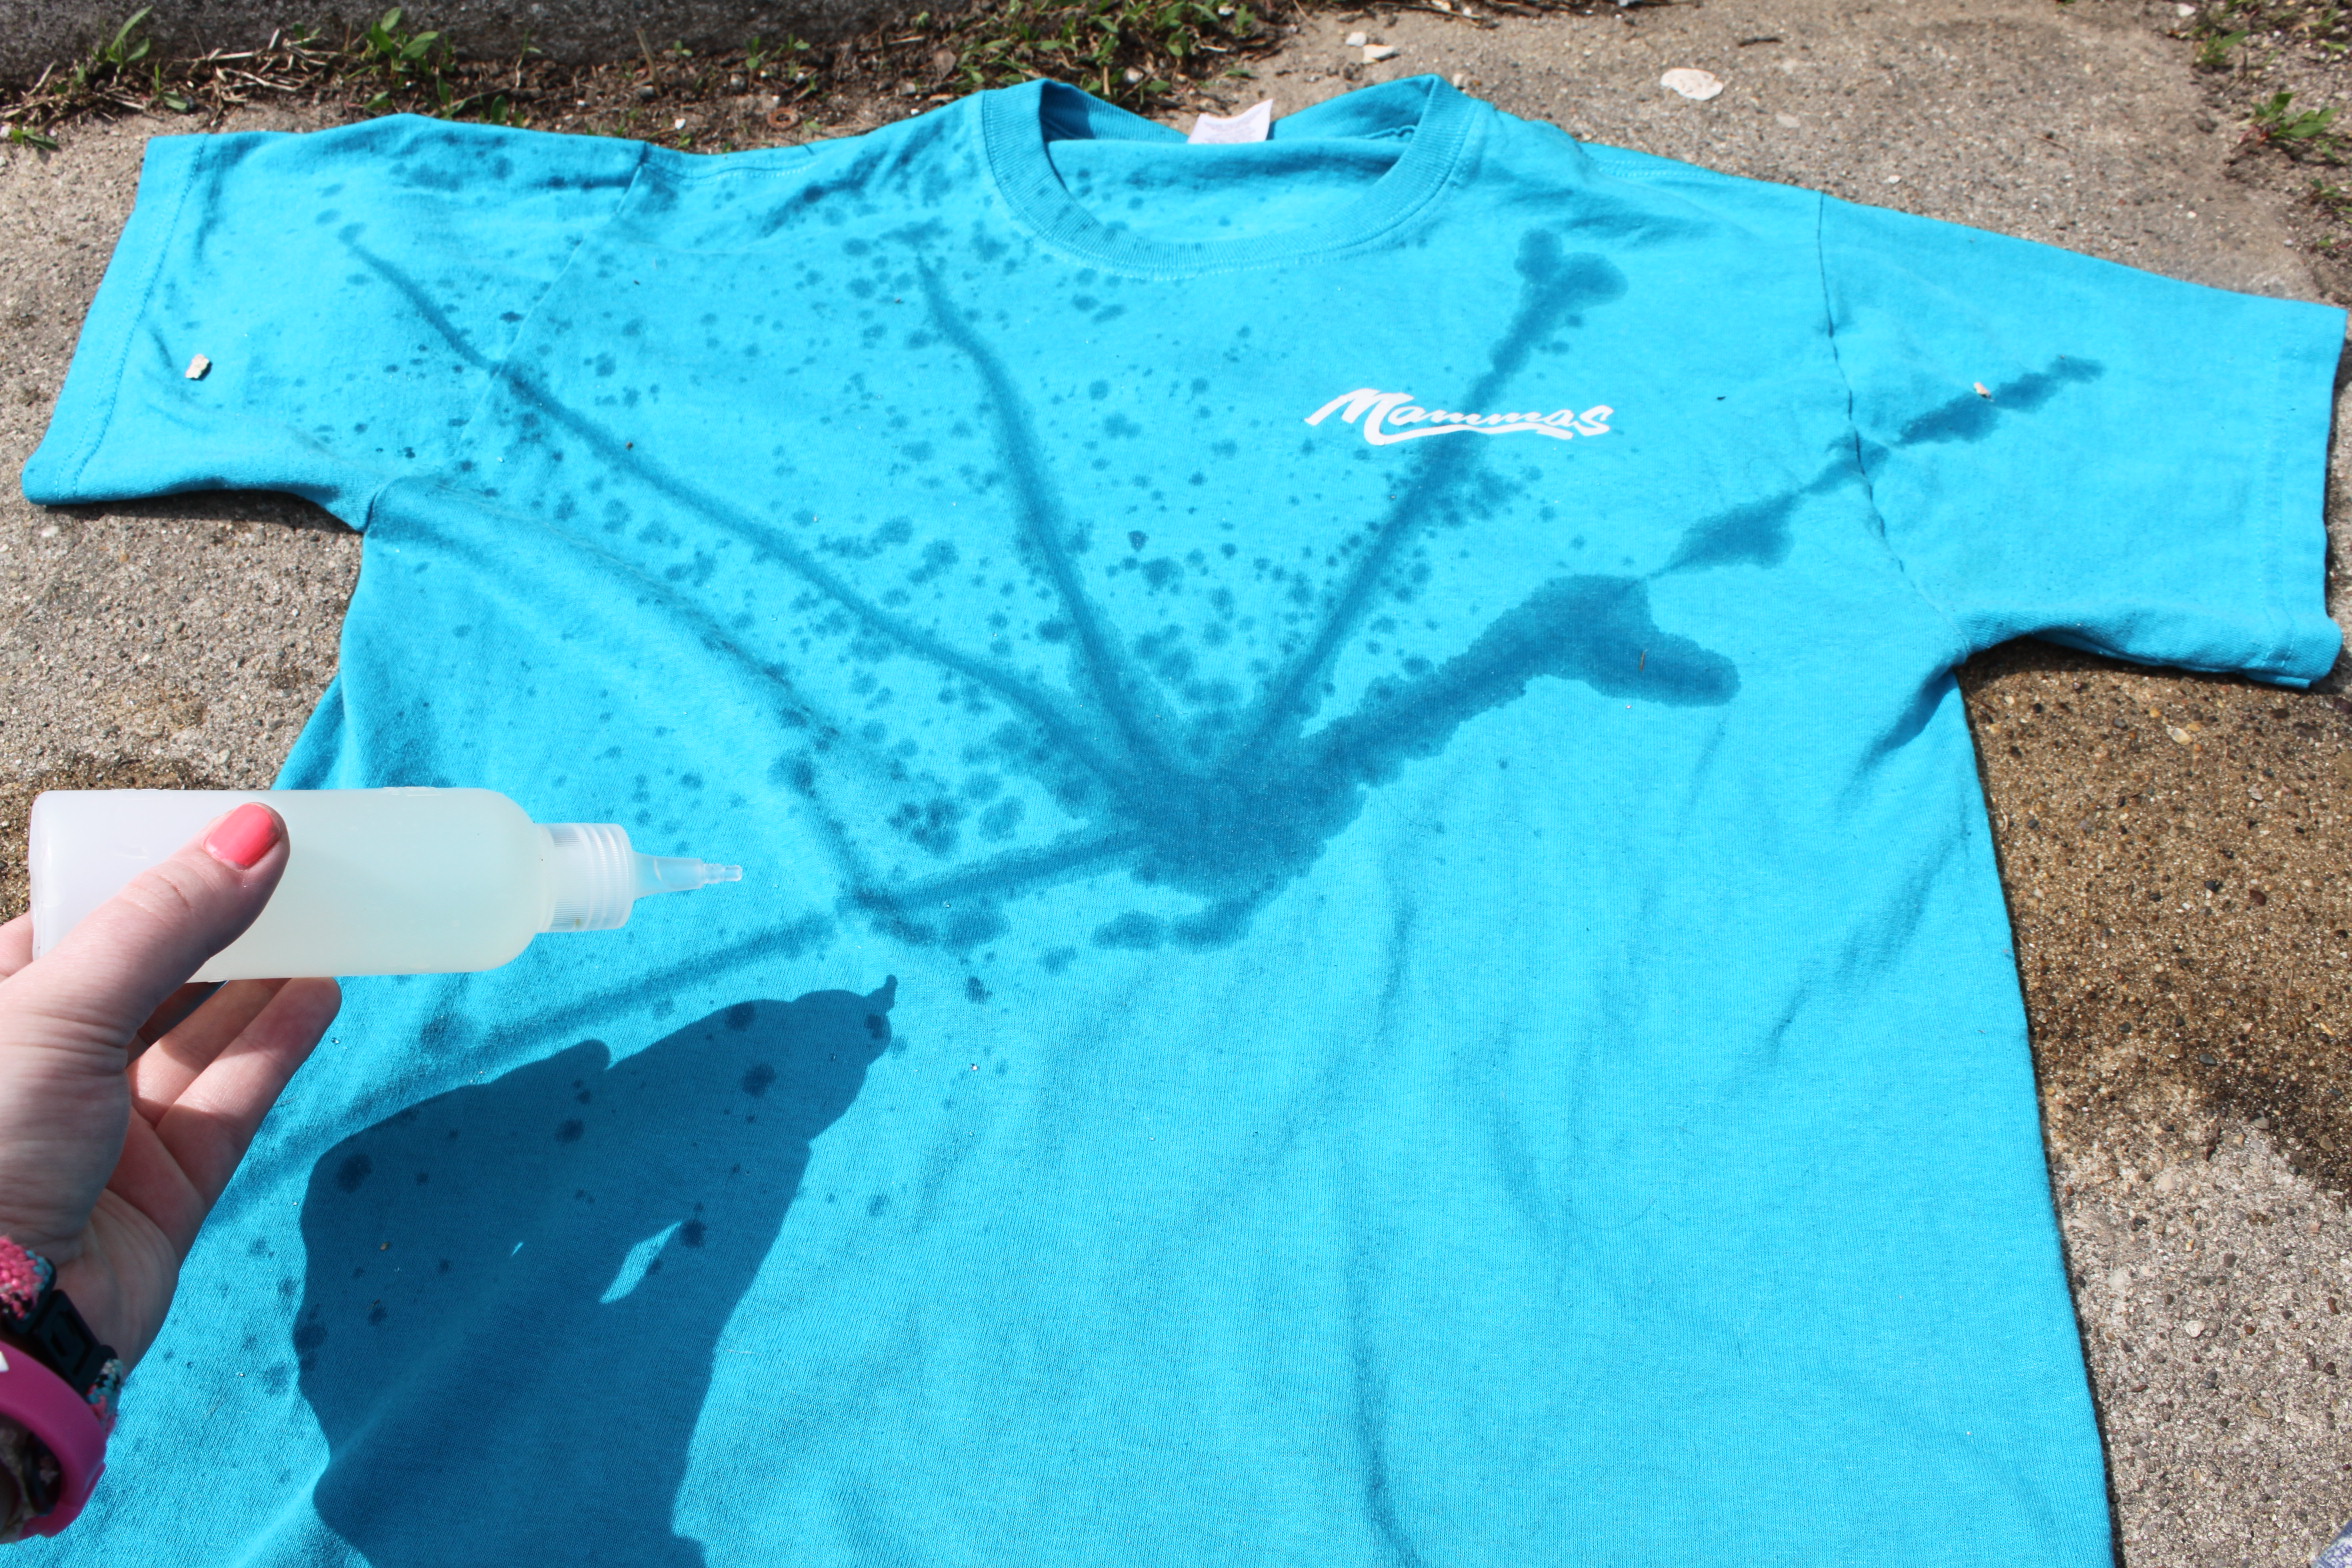
Bleach. Hair ties (or rubber bands). Water. An old bottle with a tip similar to photo. (I used old hair dye application bottle)
Gloves are optional, but highly recommended– bleach can damage your skin.

One or more old t-shirts.
- Fill bottle with 80% bleach, 20% water and give it a little shake.

Style One;
(my favorite)
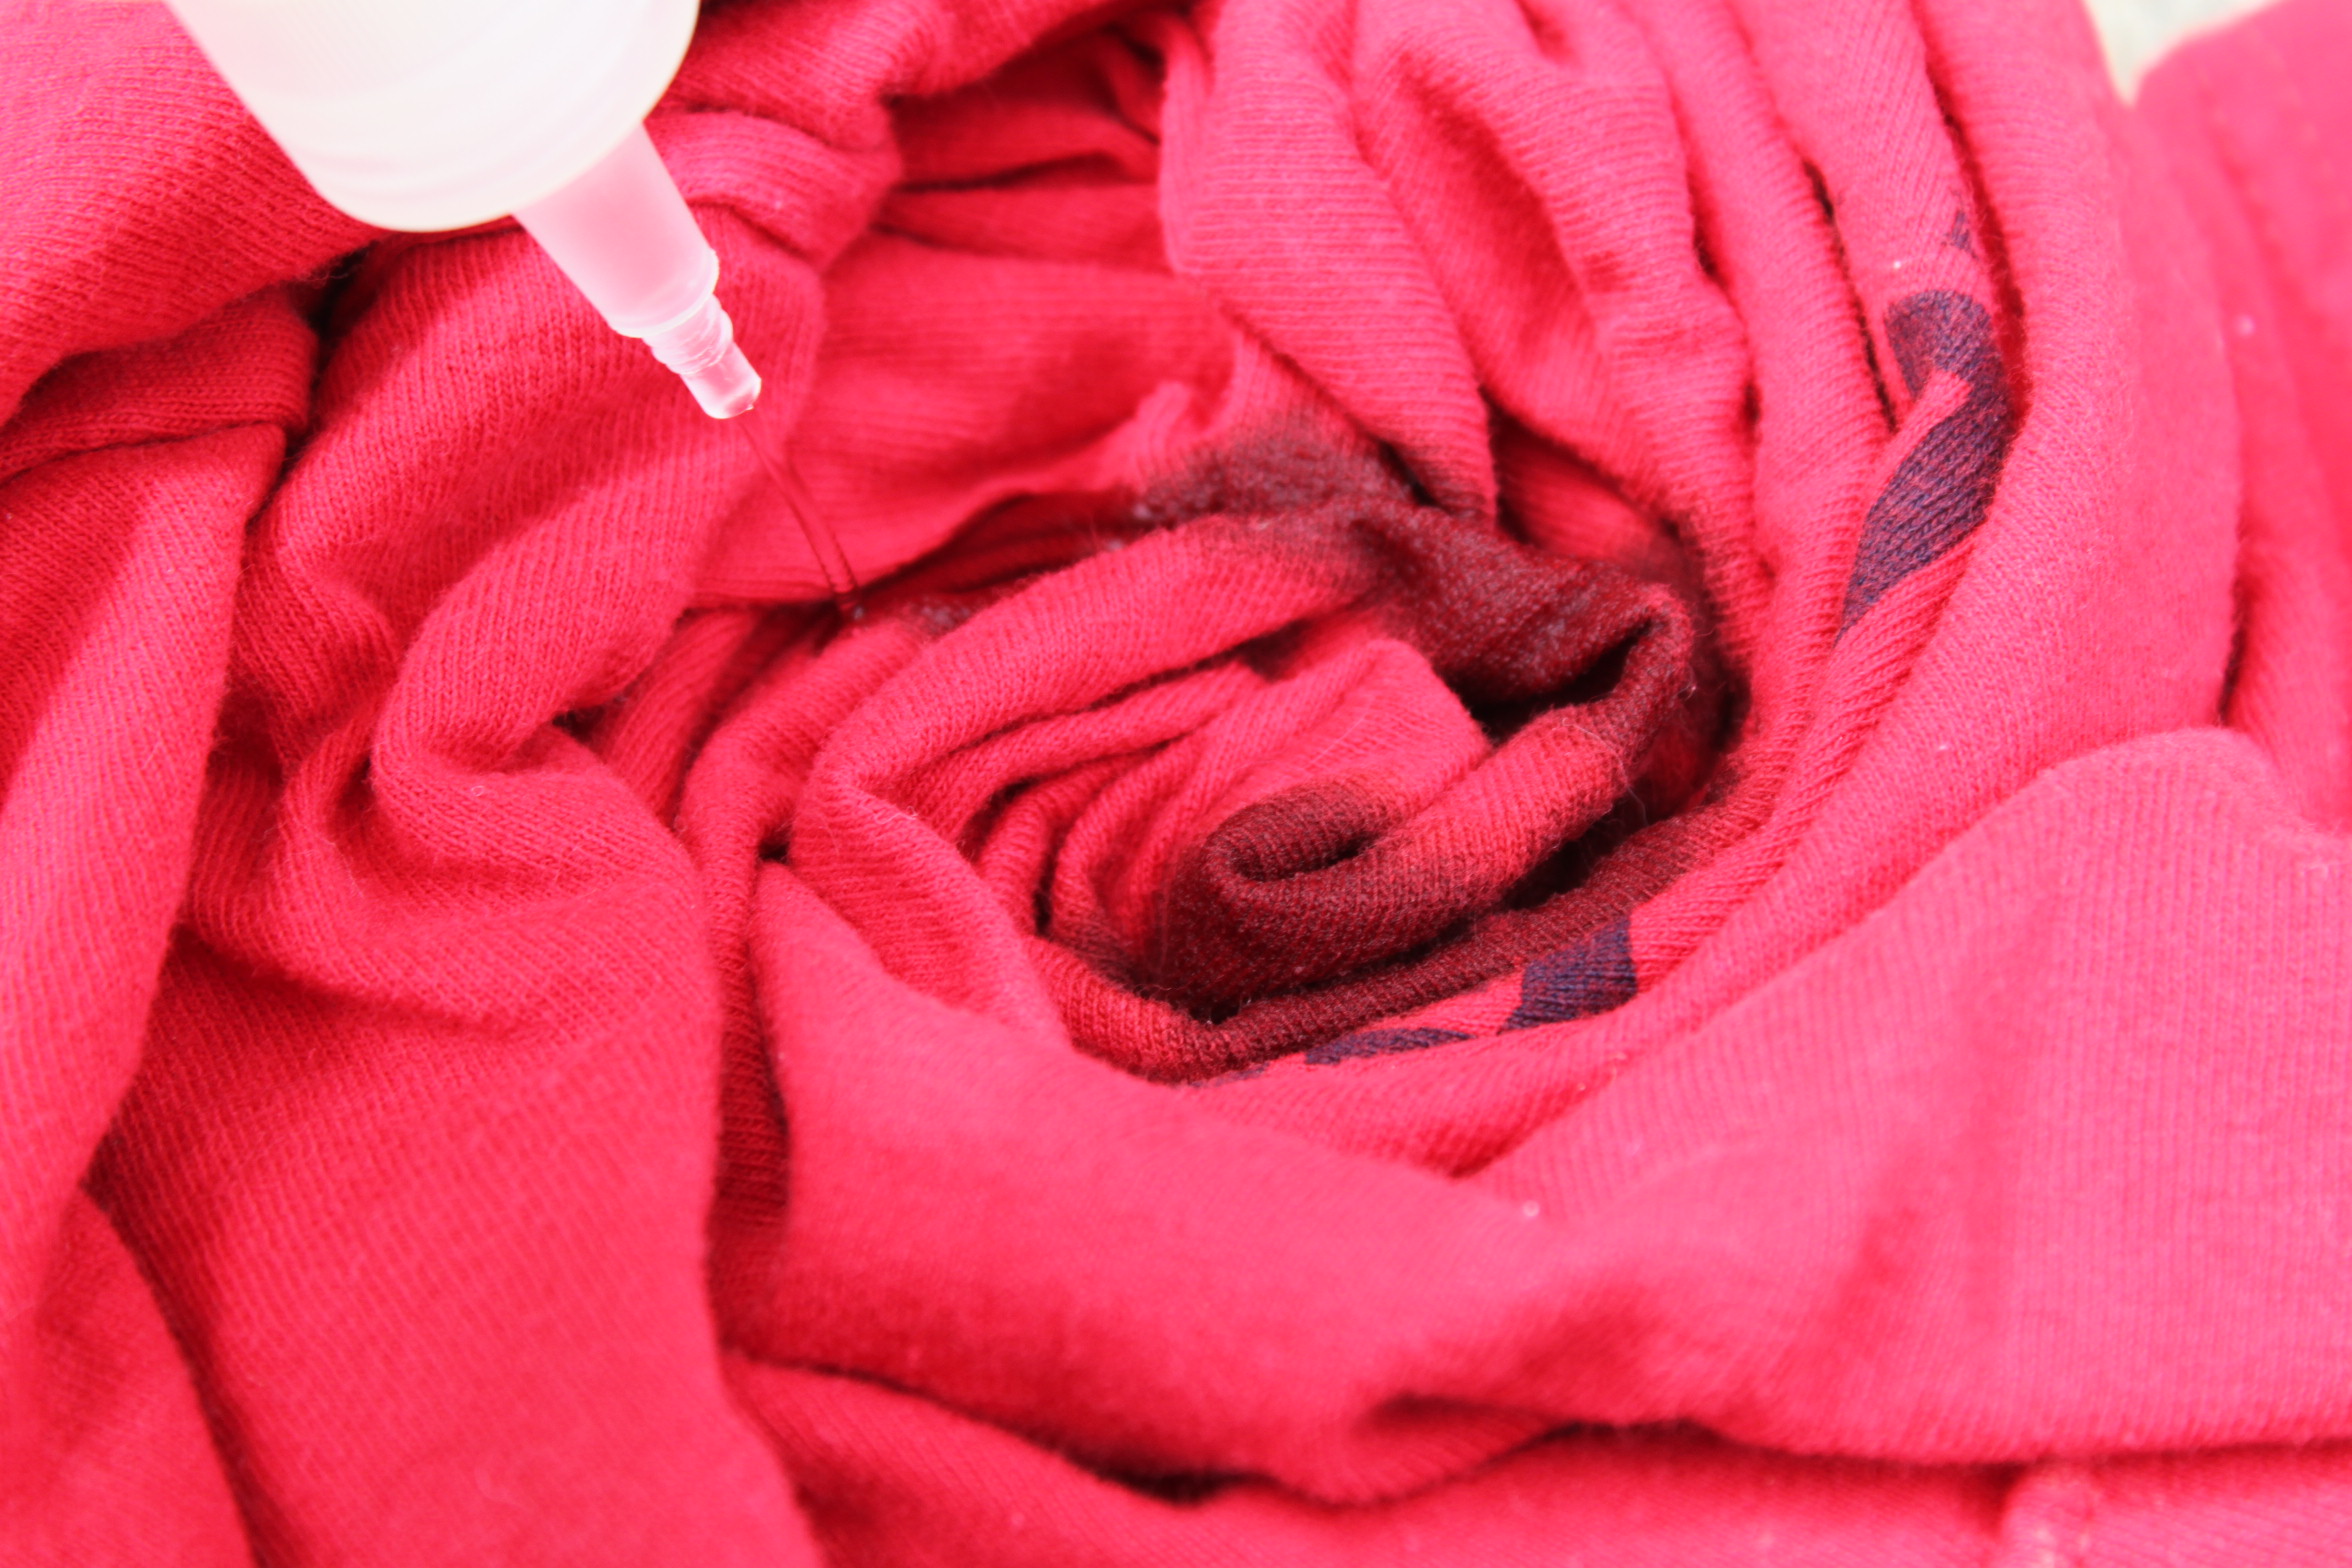
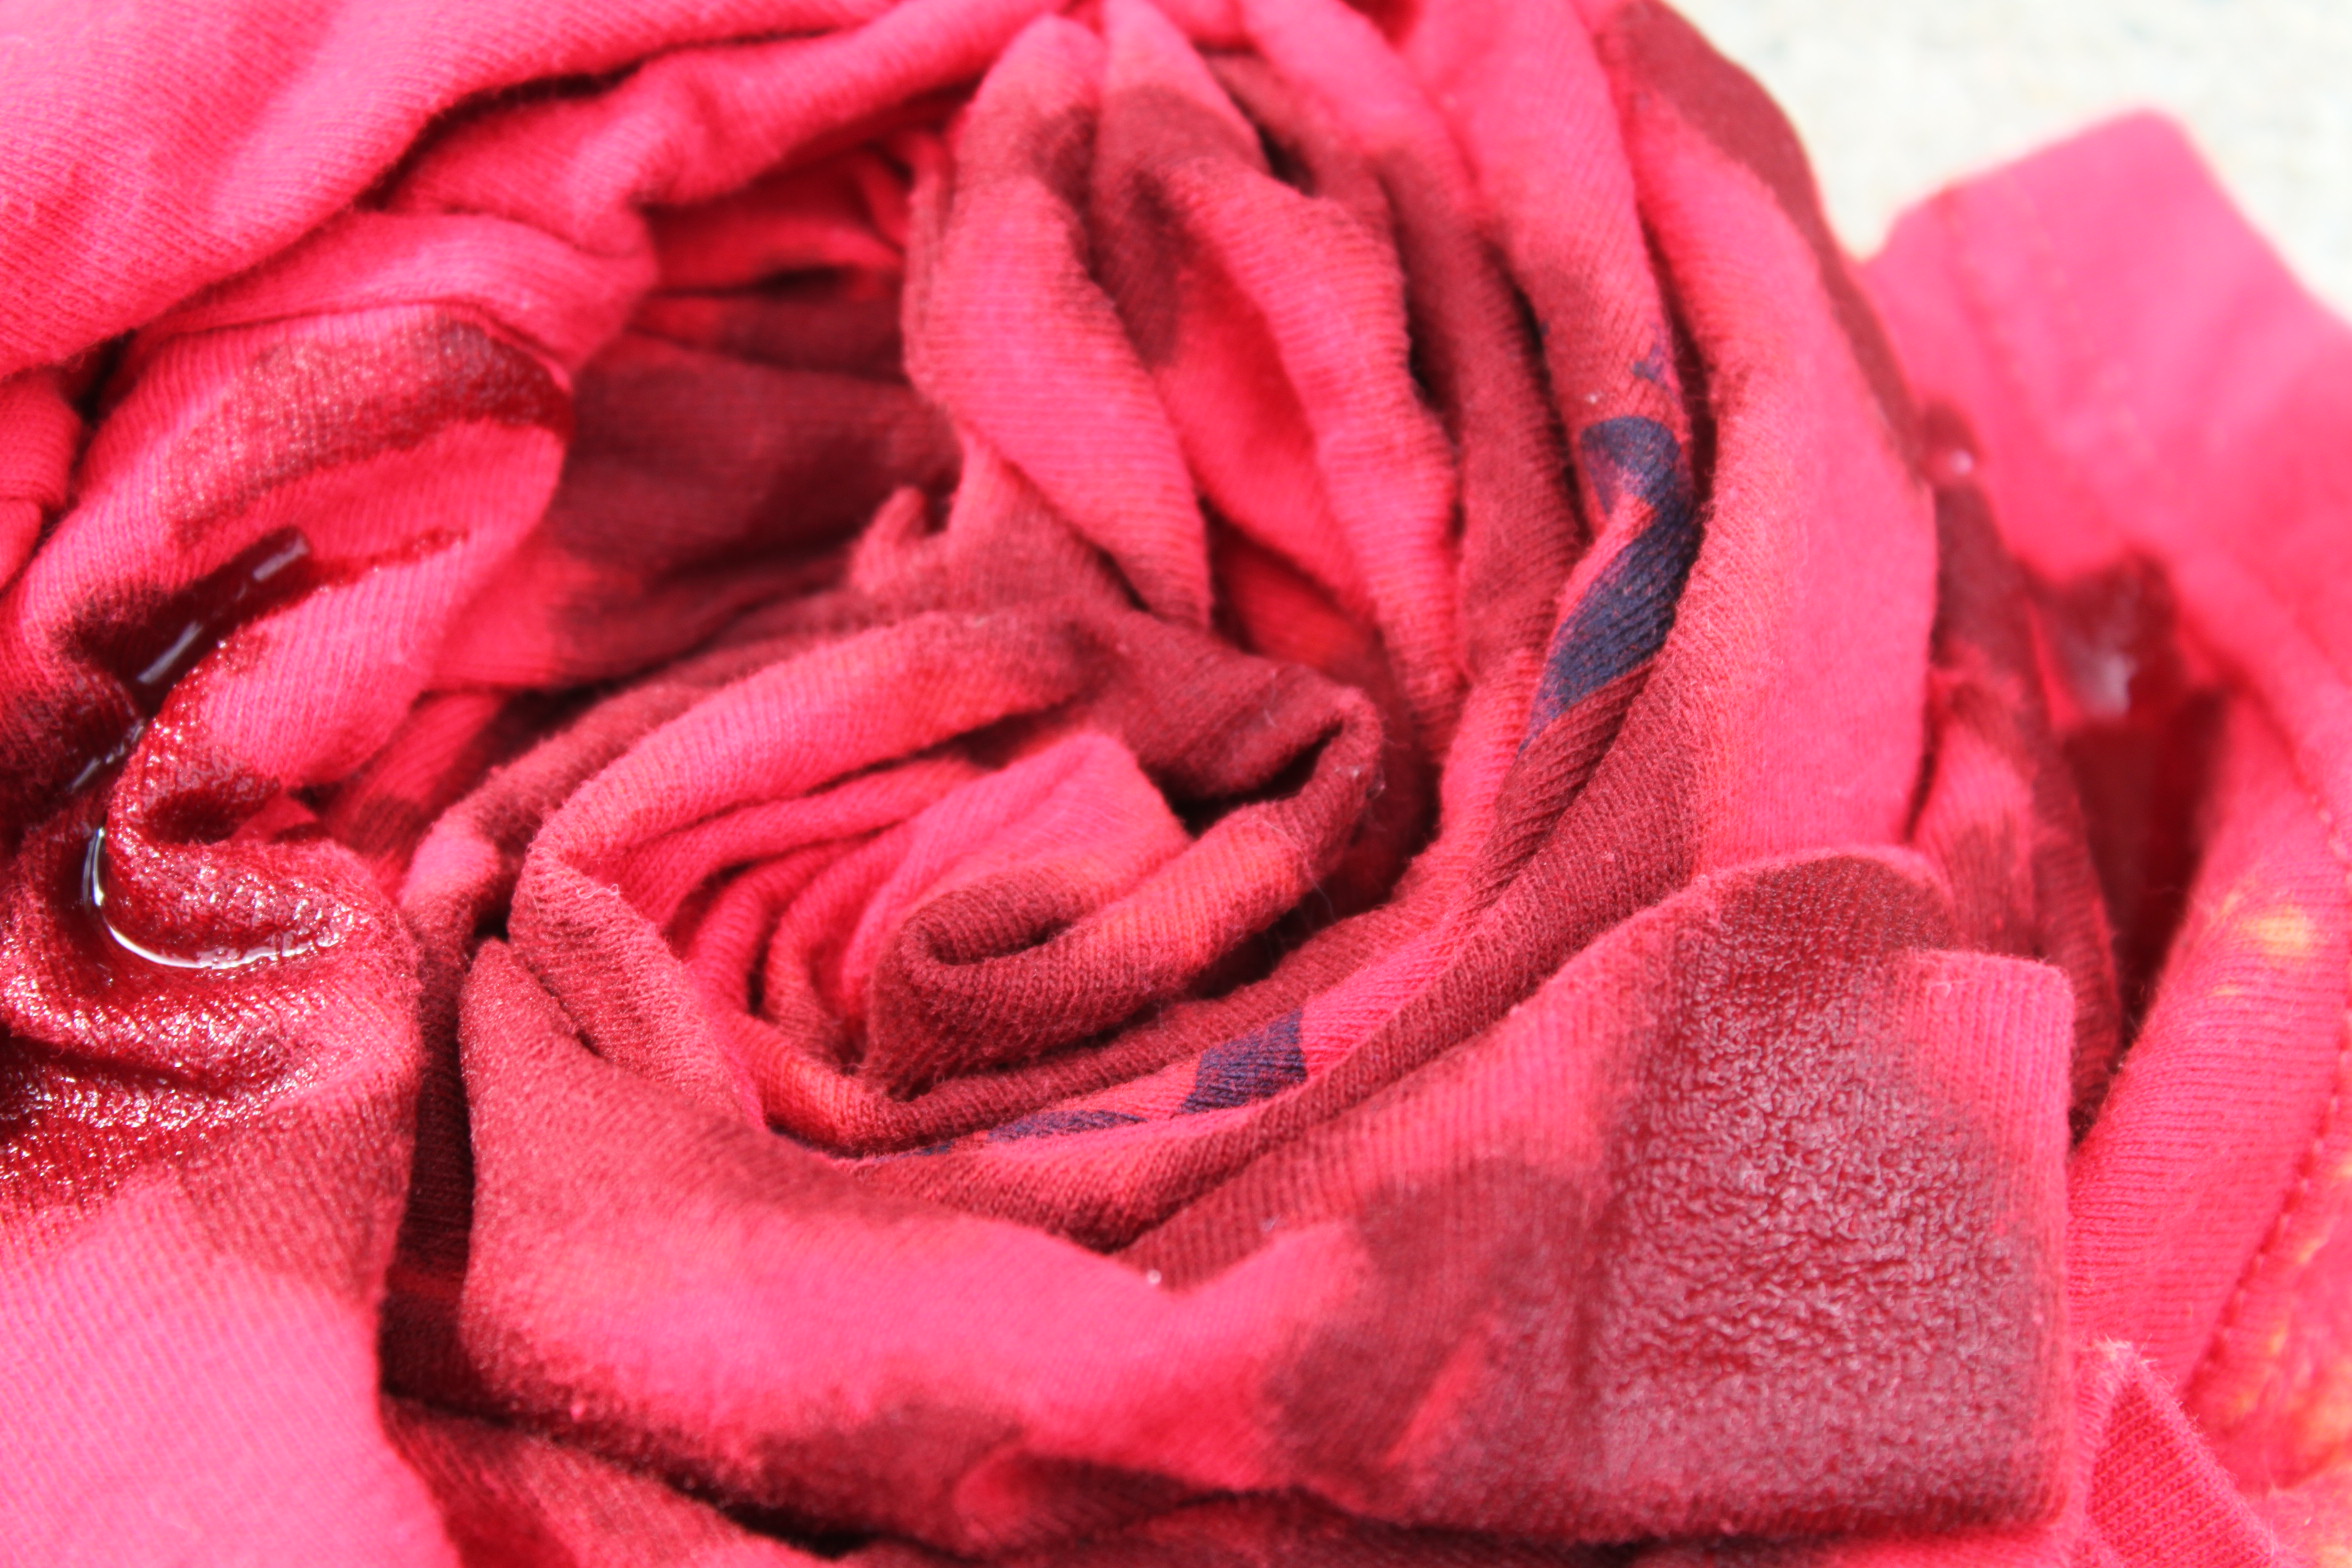
- Grab your first shirt and begin twisting counter-clockwise from the center.
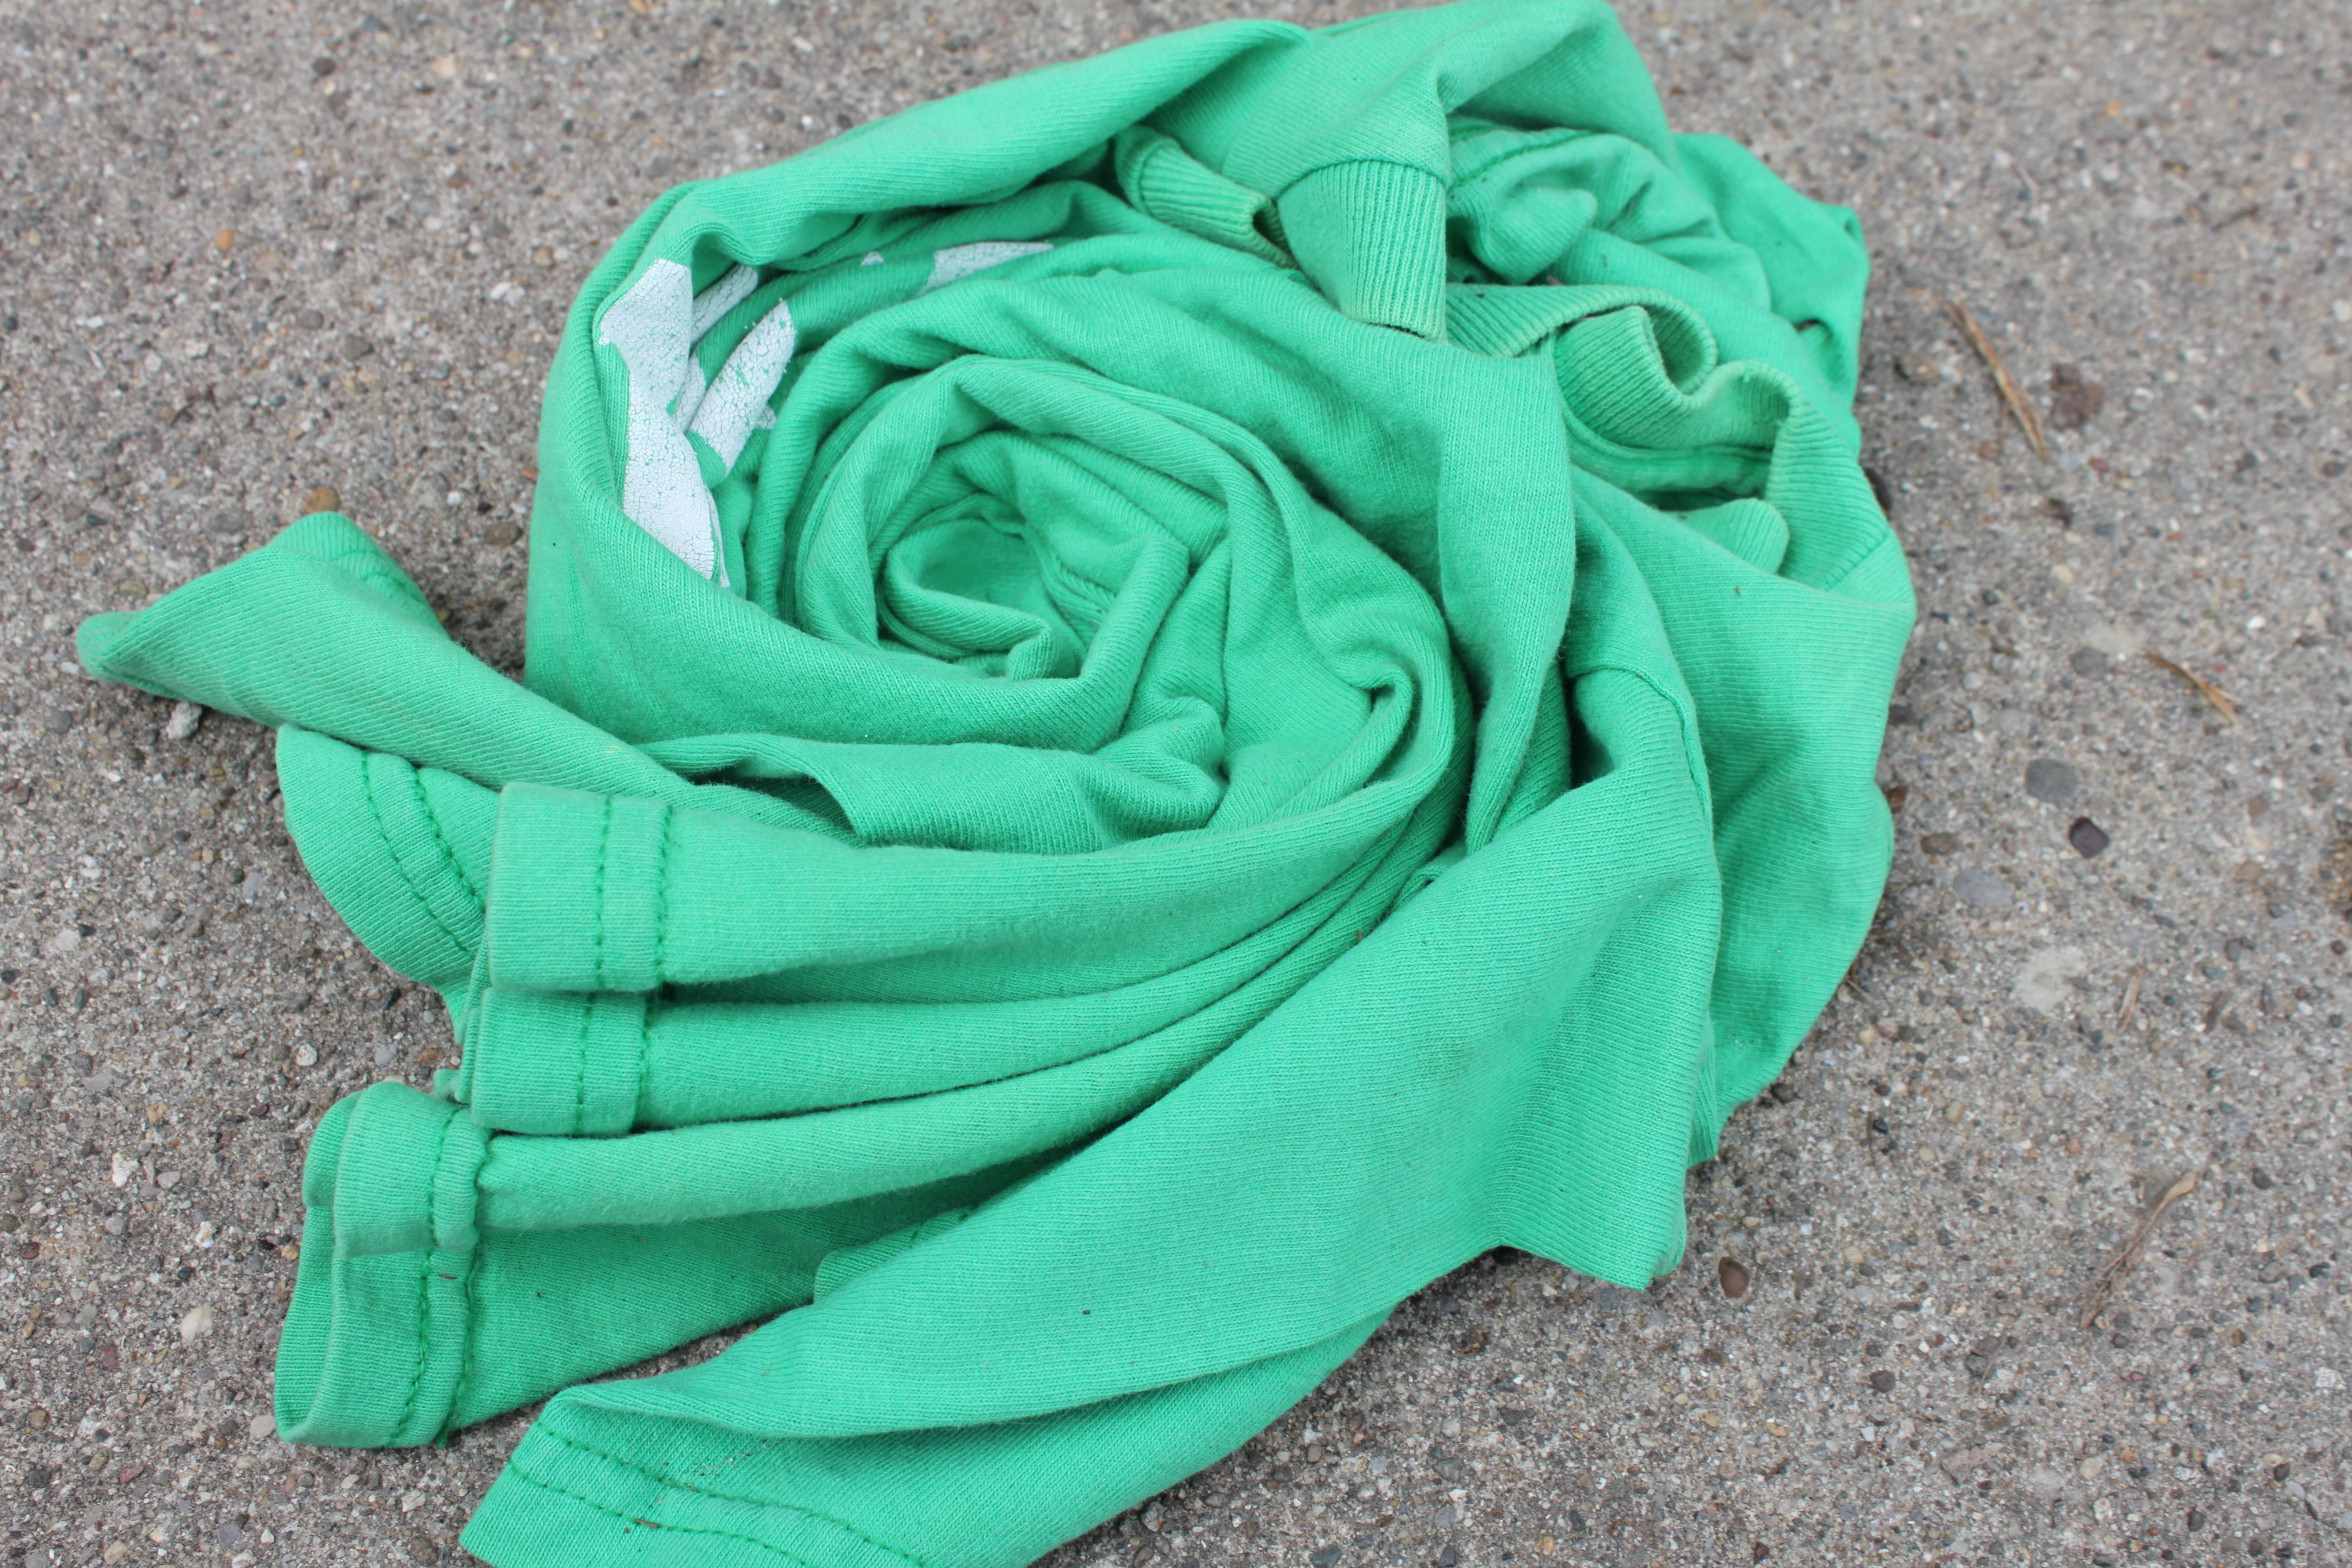
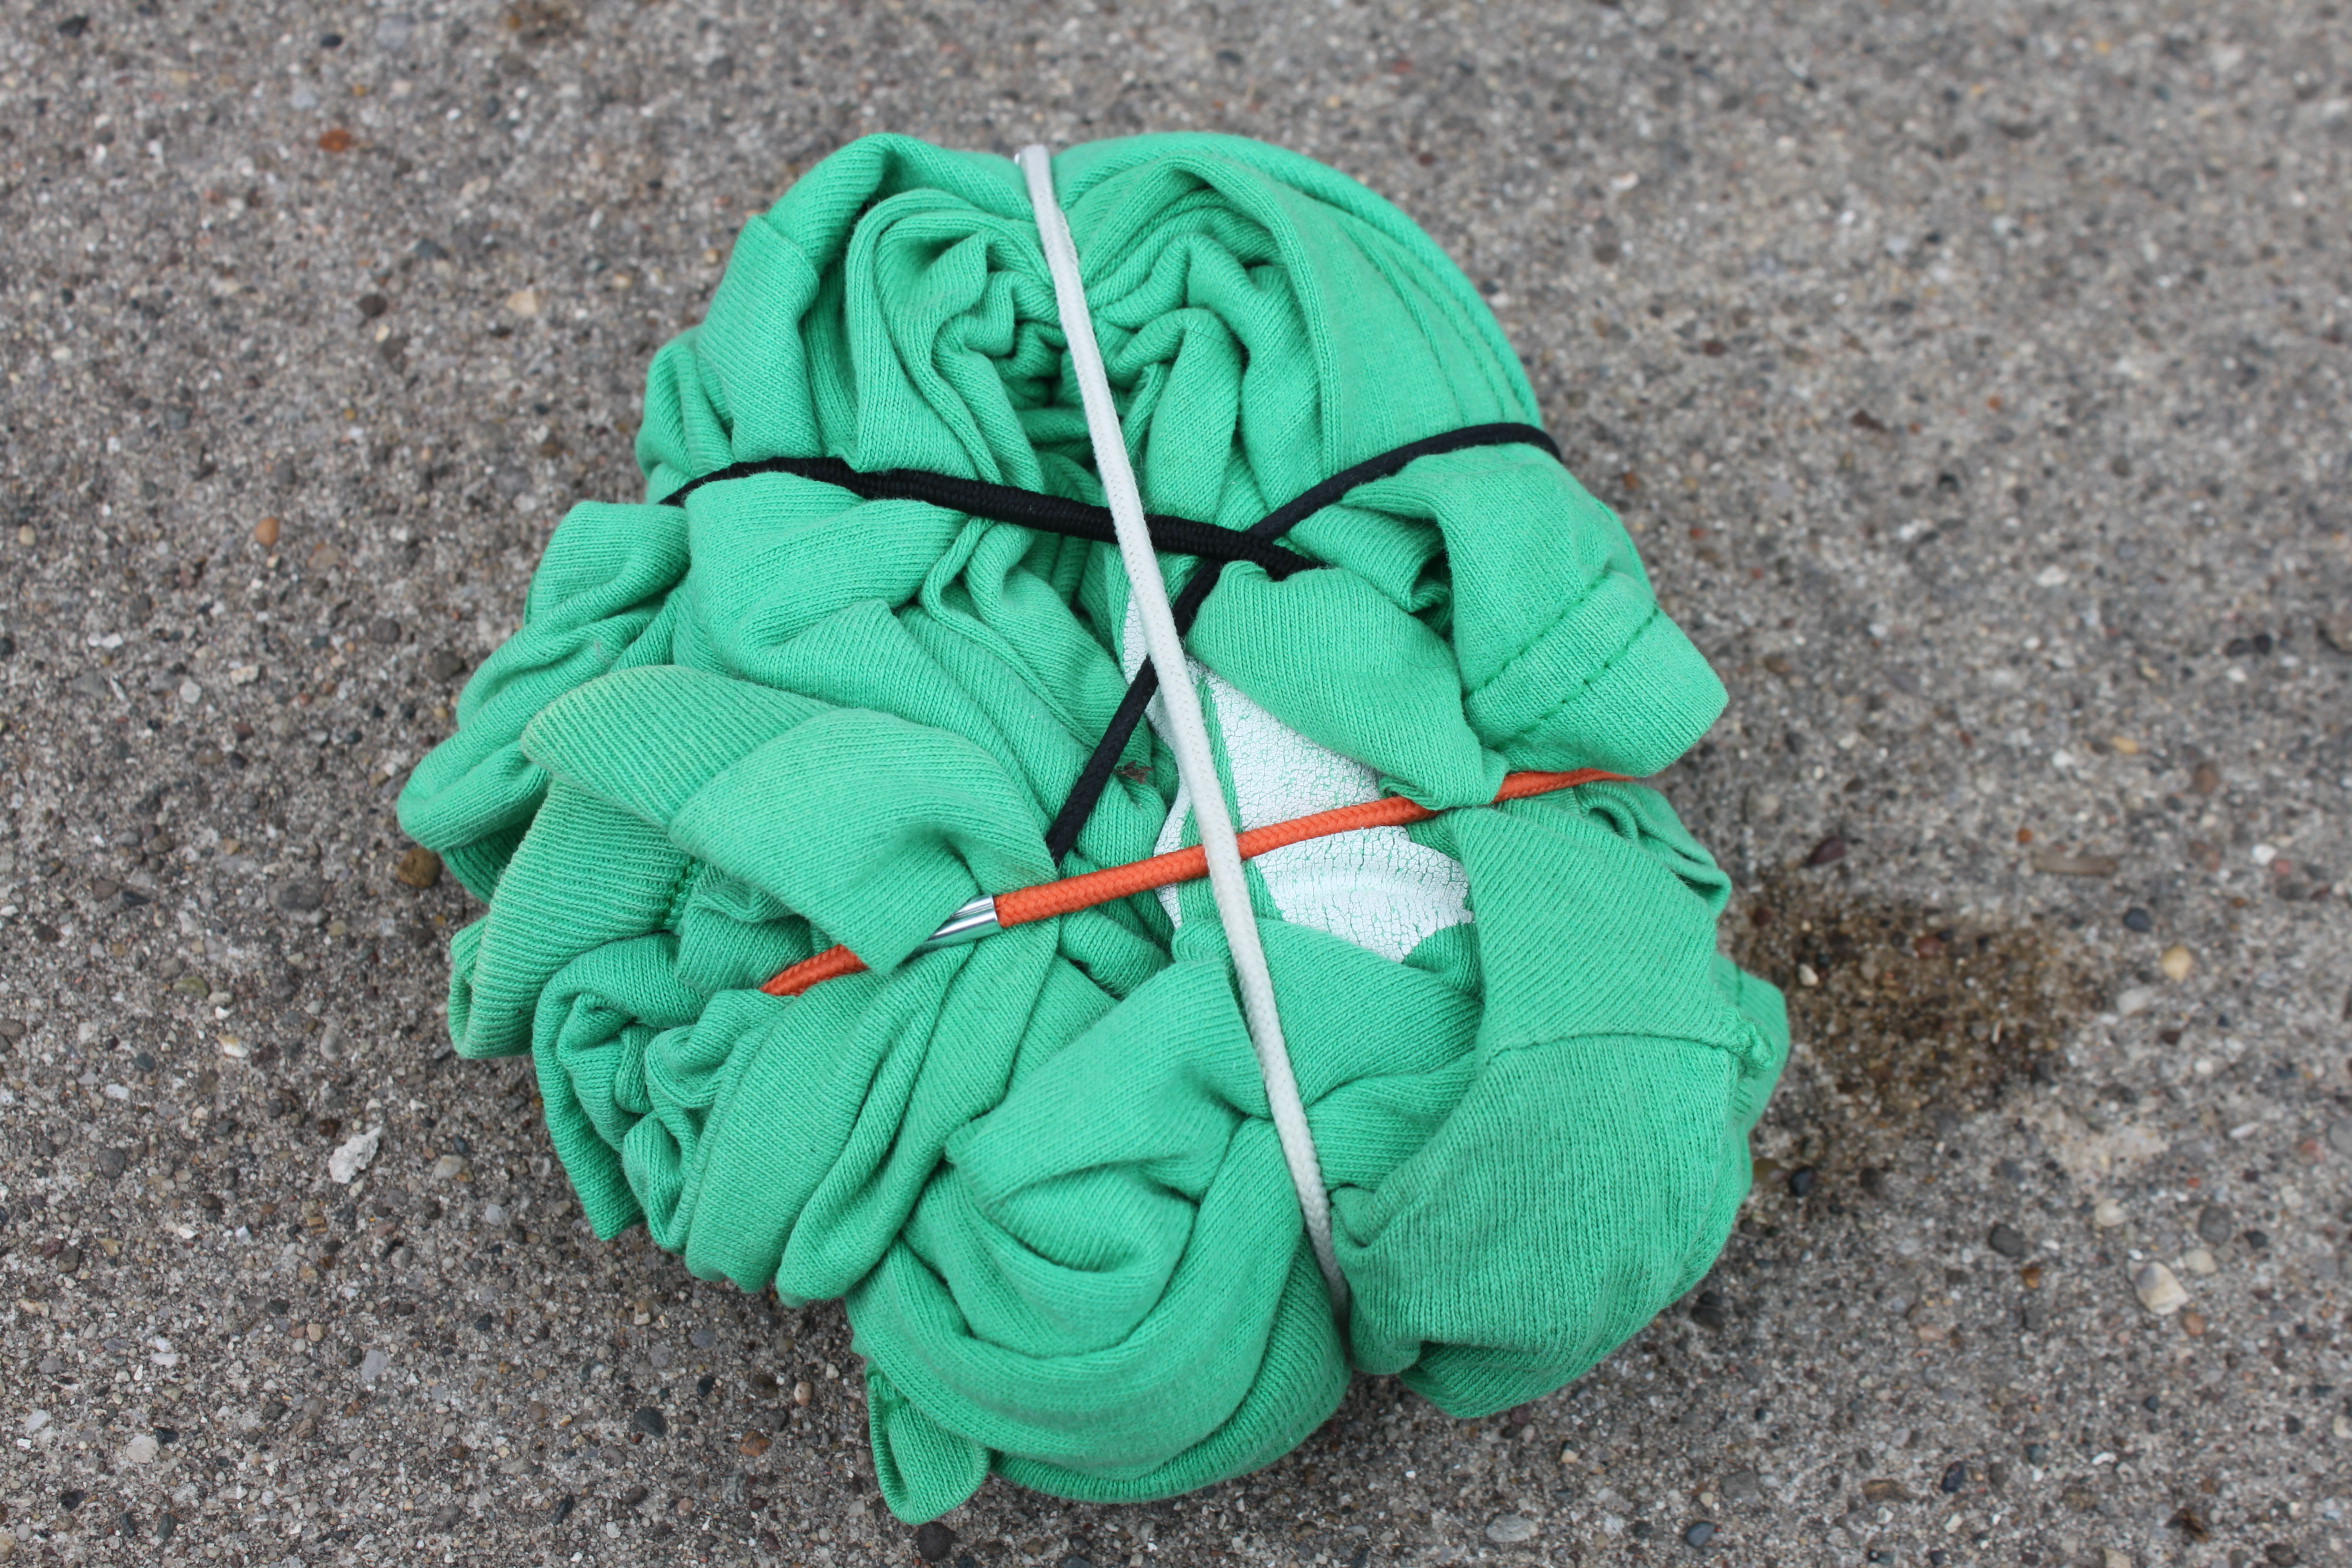
- Once you have it spun completely around, grab your hair ties and place them all around like how you’d slice a pizza, if that makes sense?
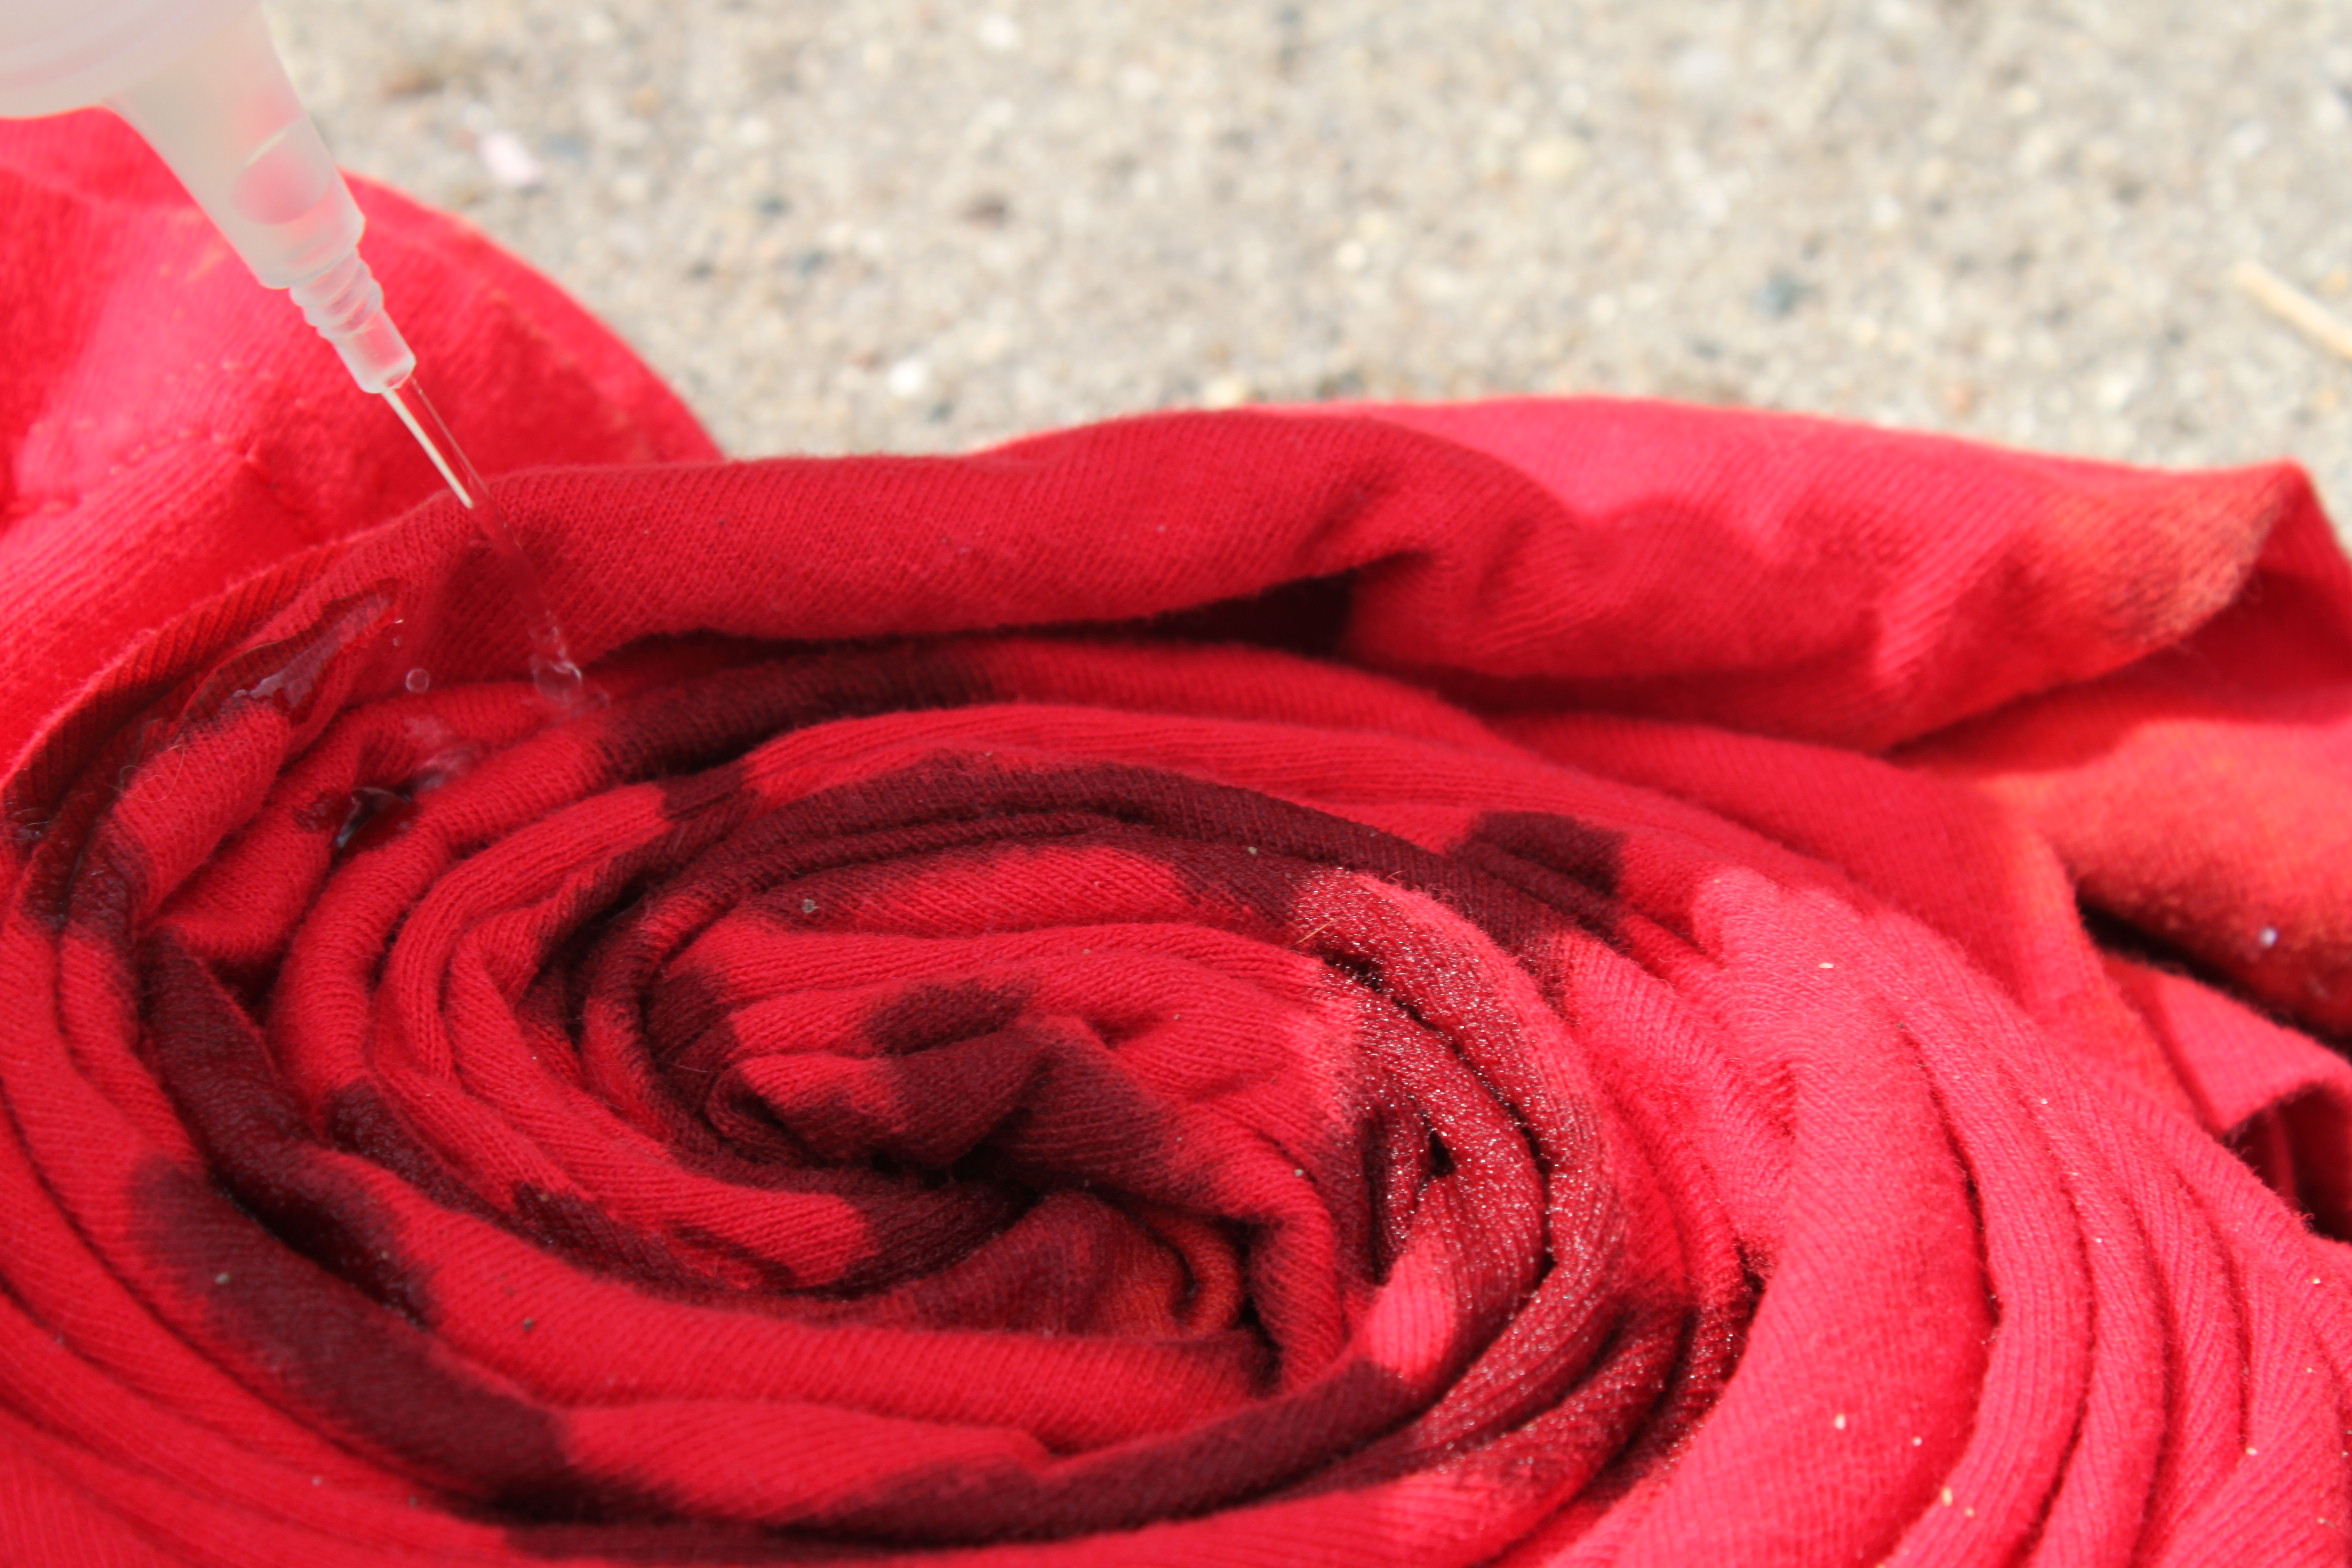
- Now grab your bottle of bleach/water and cover majority of both sides with the liquid.
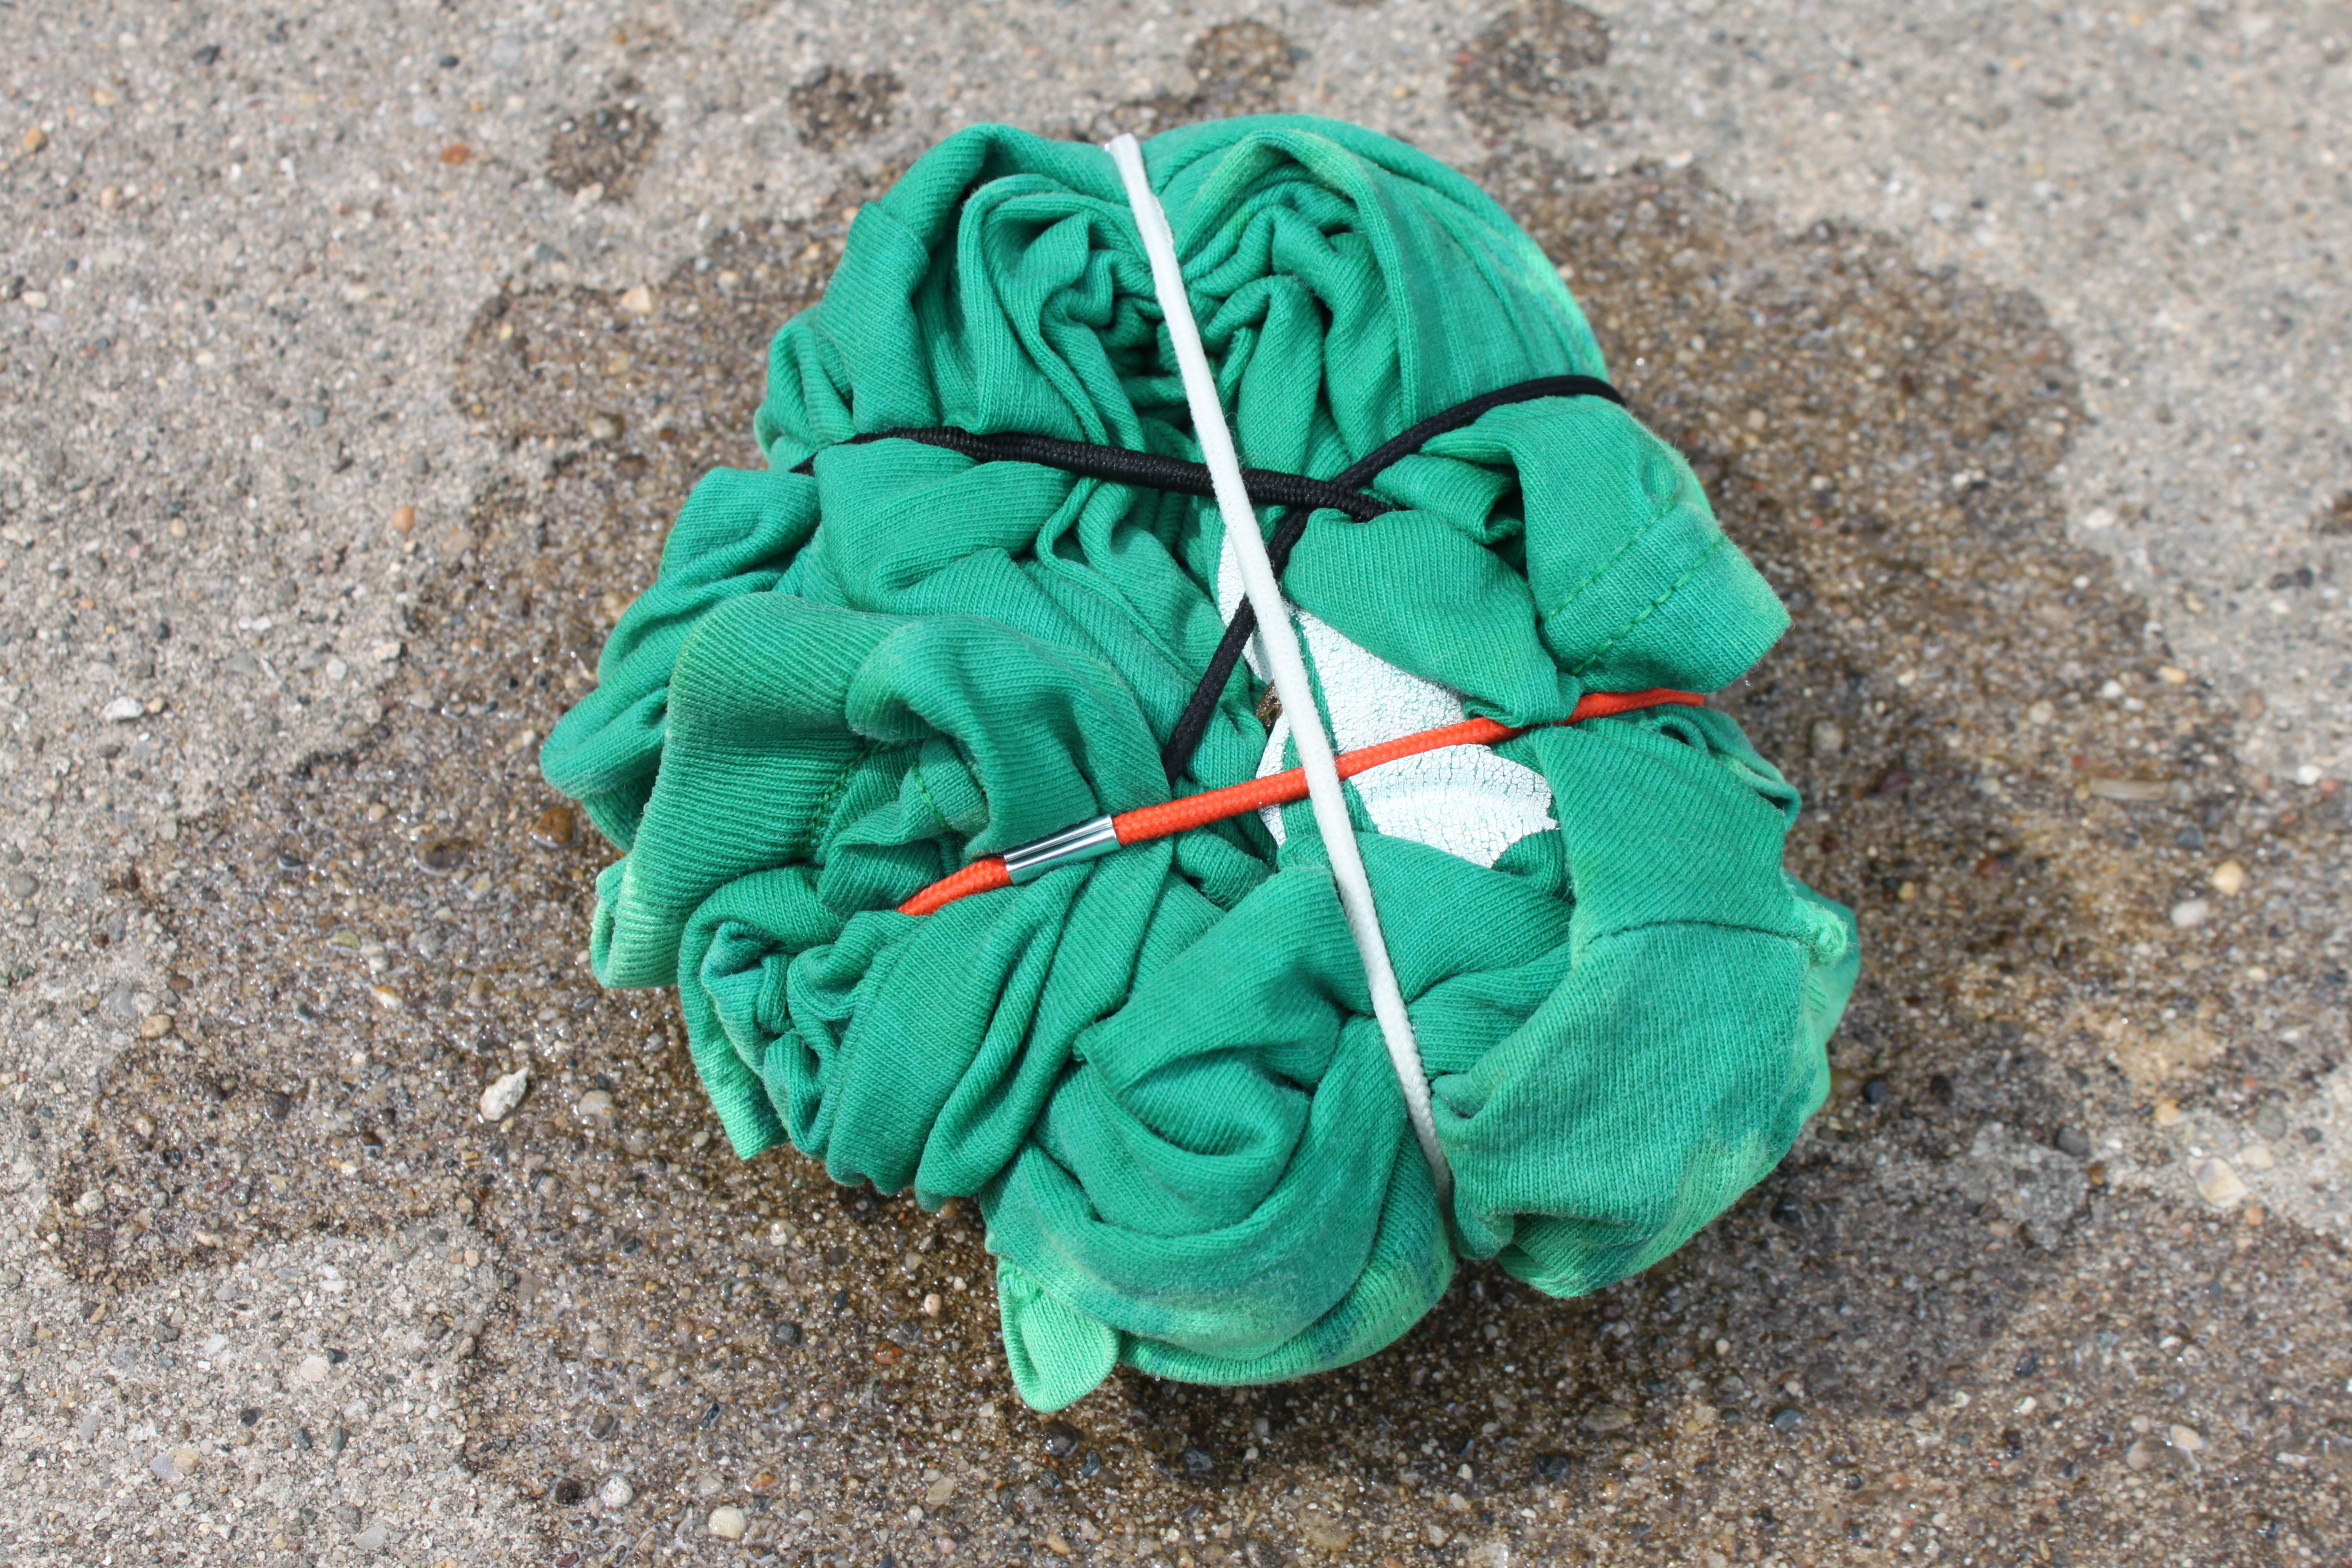
- Let sit for about 15 minutes, or until the bleach has reached your desired color.
Style Two;
- Grab your shirt and begin spinning counter-clockwise like in Style One.


- Now, we are not going to use hair ties for this one. So, the next step is to grab the bottle of bleach/water and put some liquid in the middle of the spiral and follow some of the lines until you get to the outside of the shirt.

- Flip over this shirt carefully, keeping it spun. Repeat spiral with liquid on the new side. (This side will be easier to see the spirals.)

- Let sit for 15 minutes or until bleached to the color you desire.
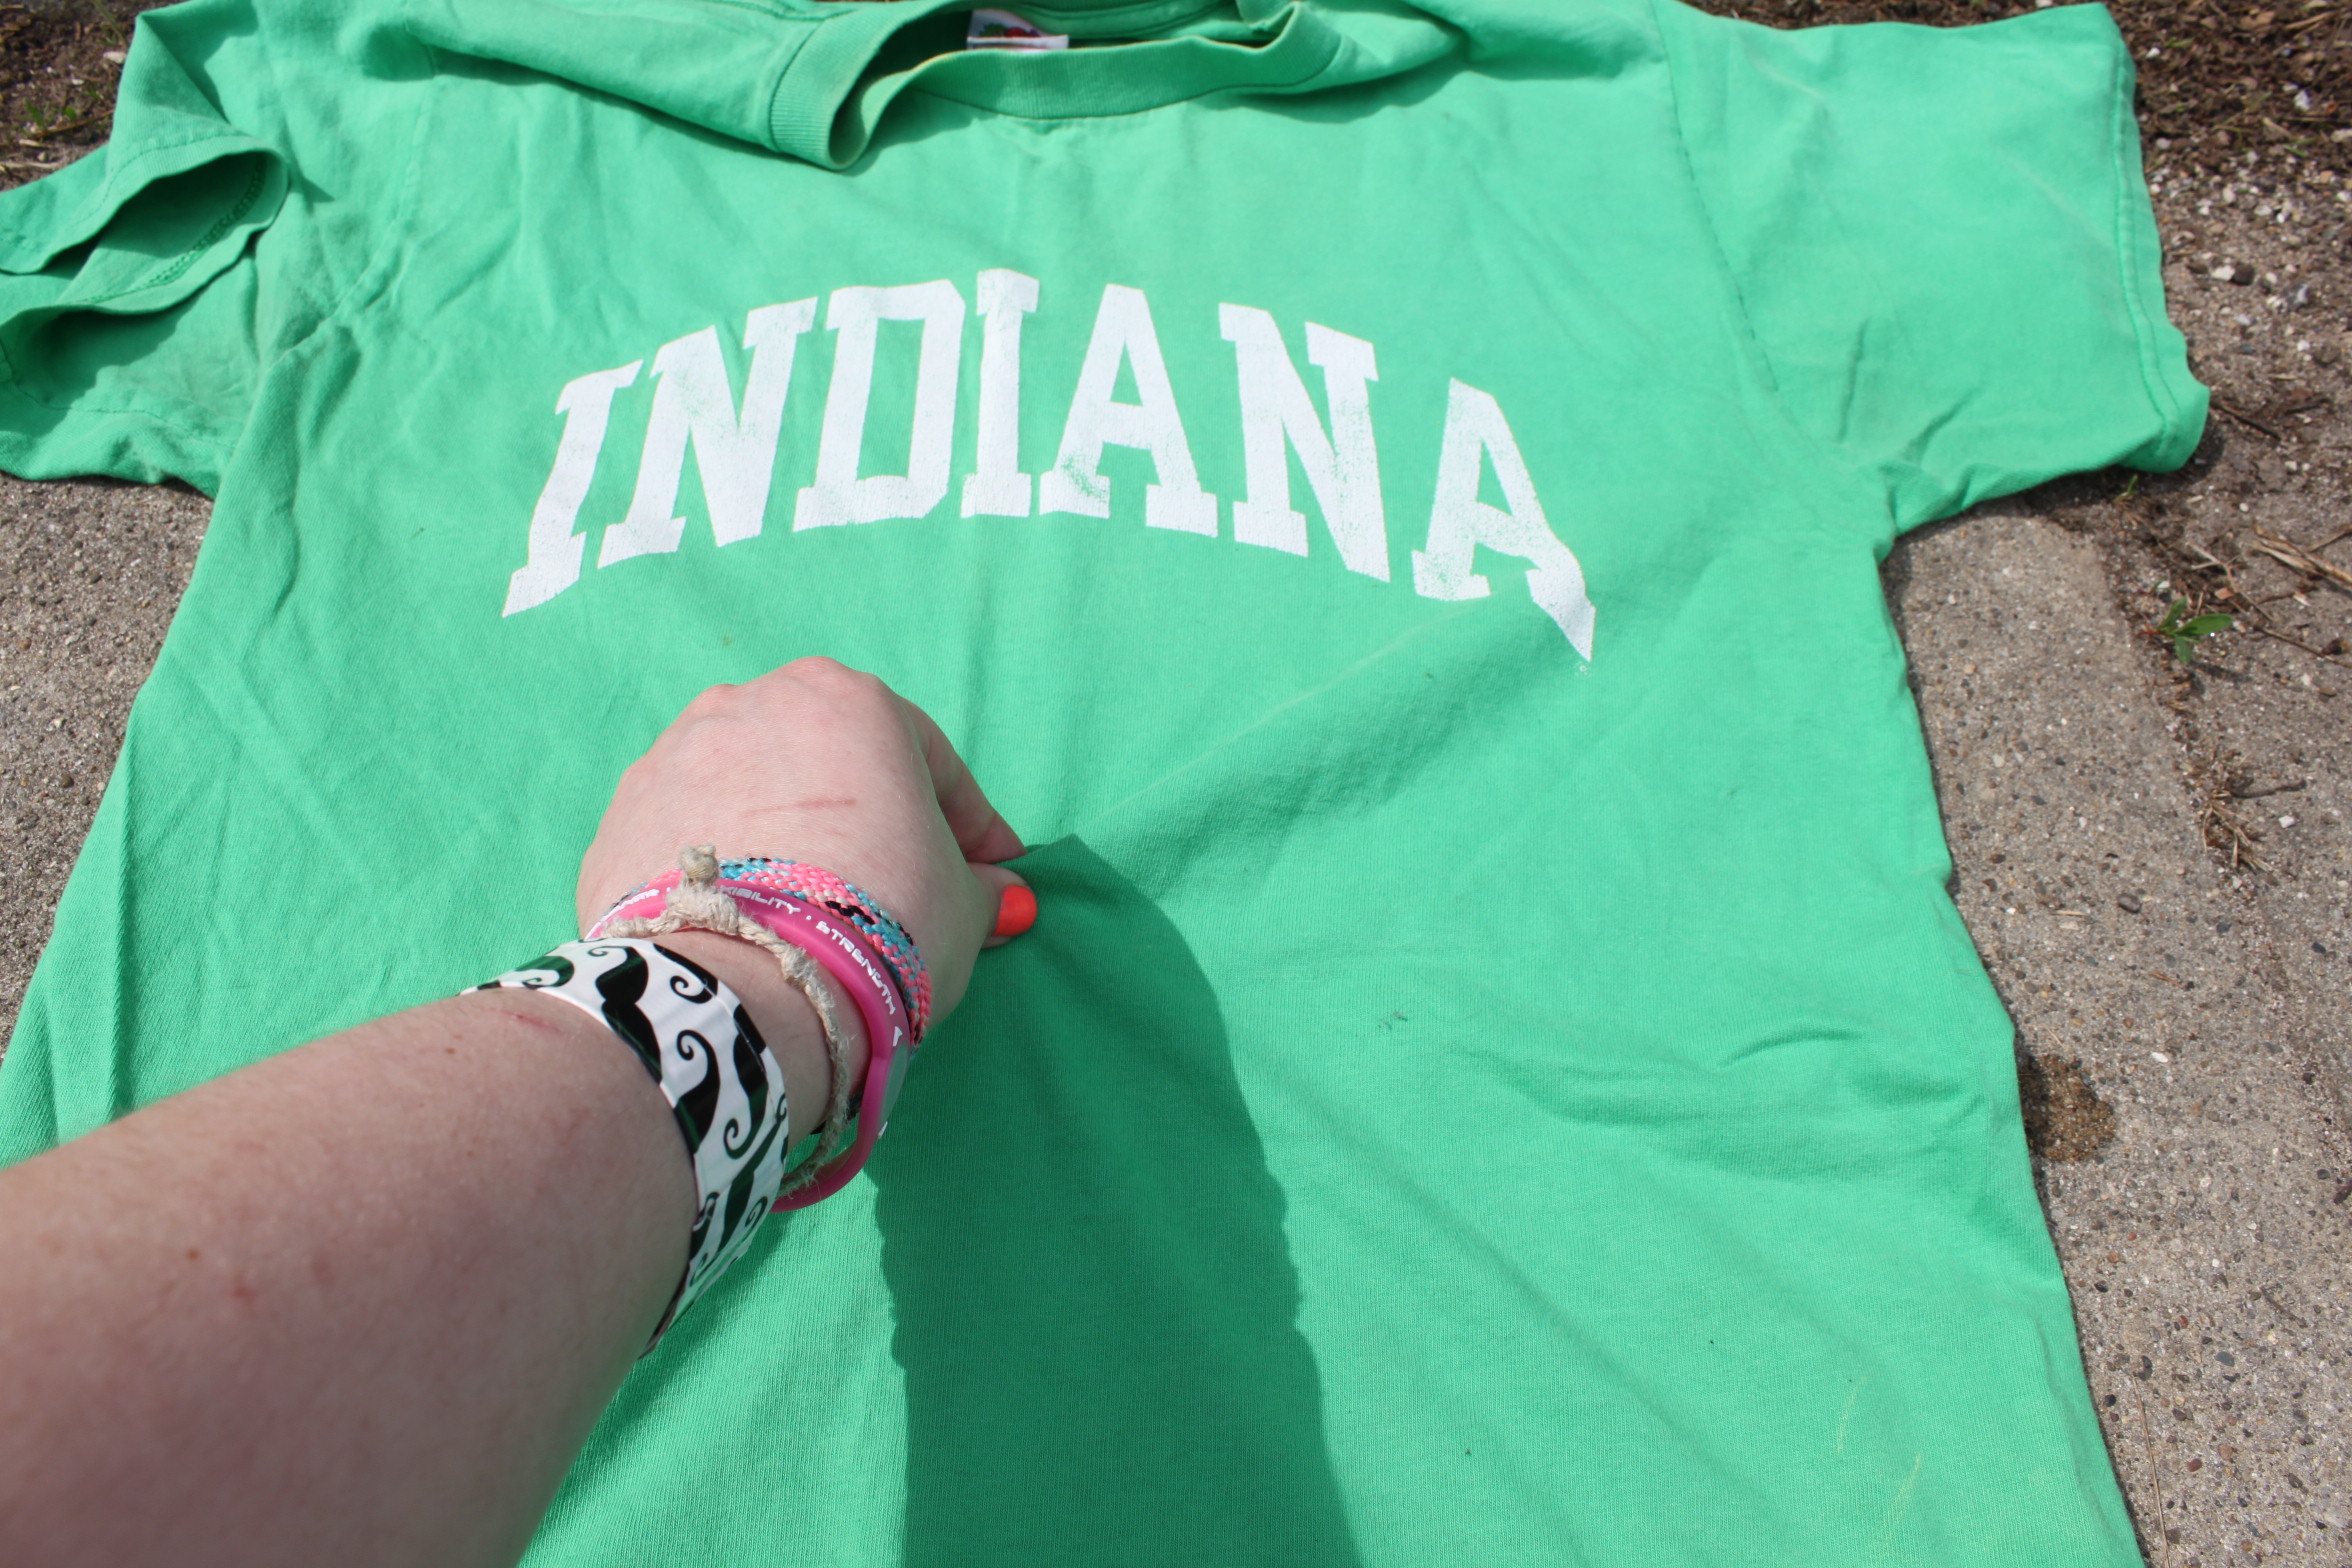
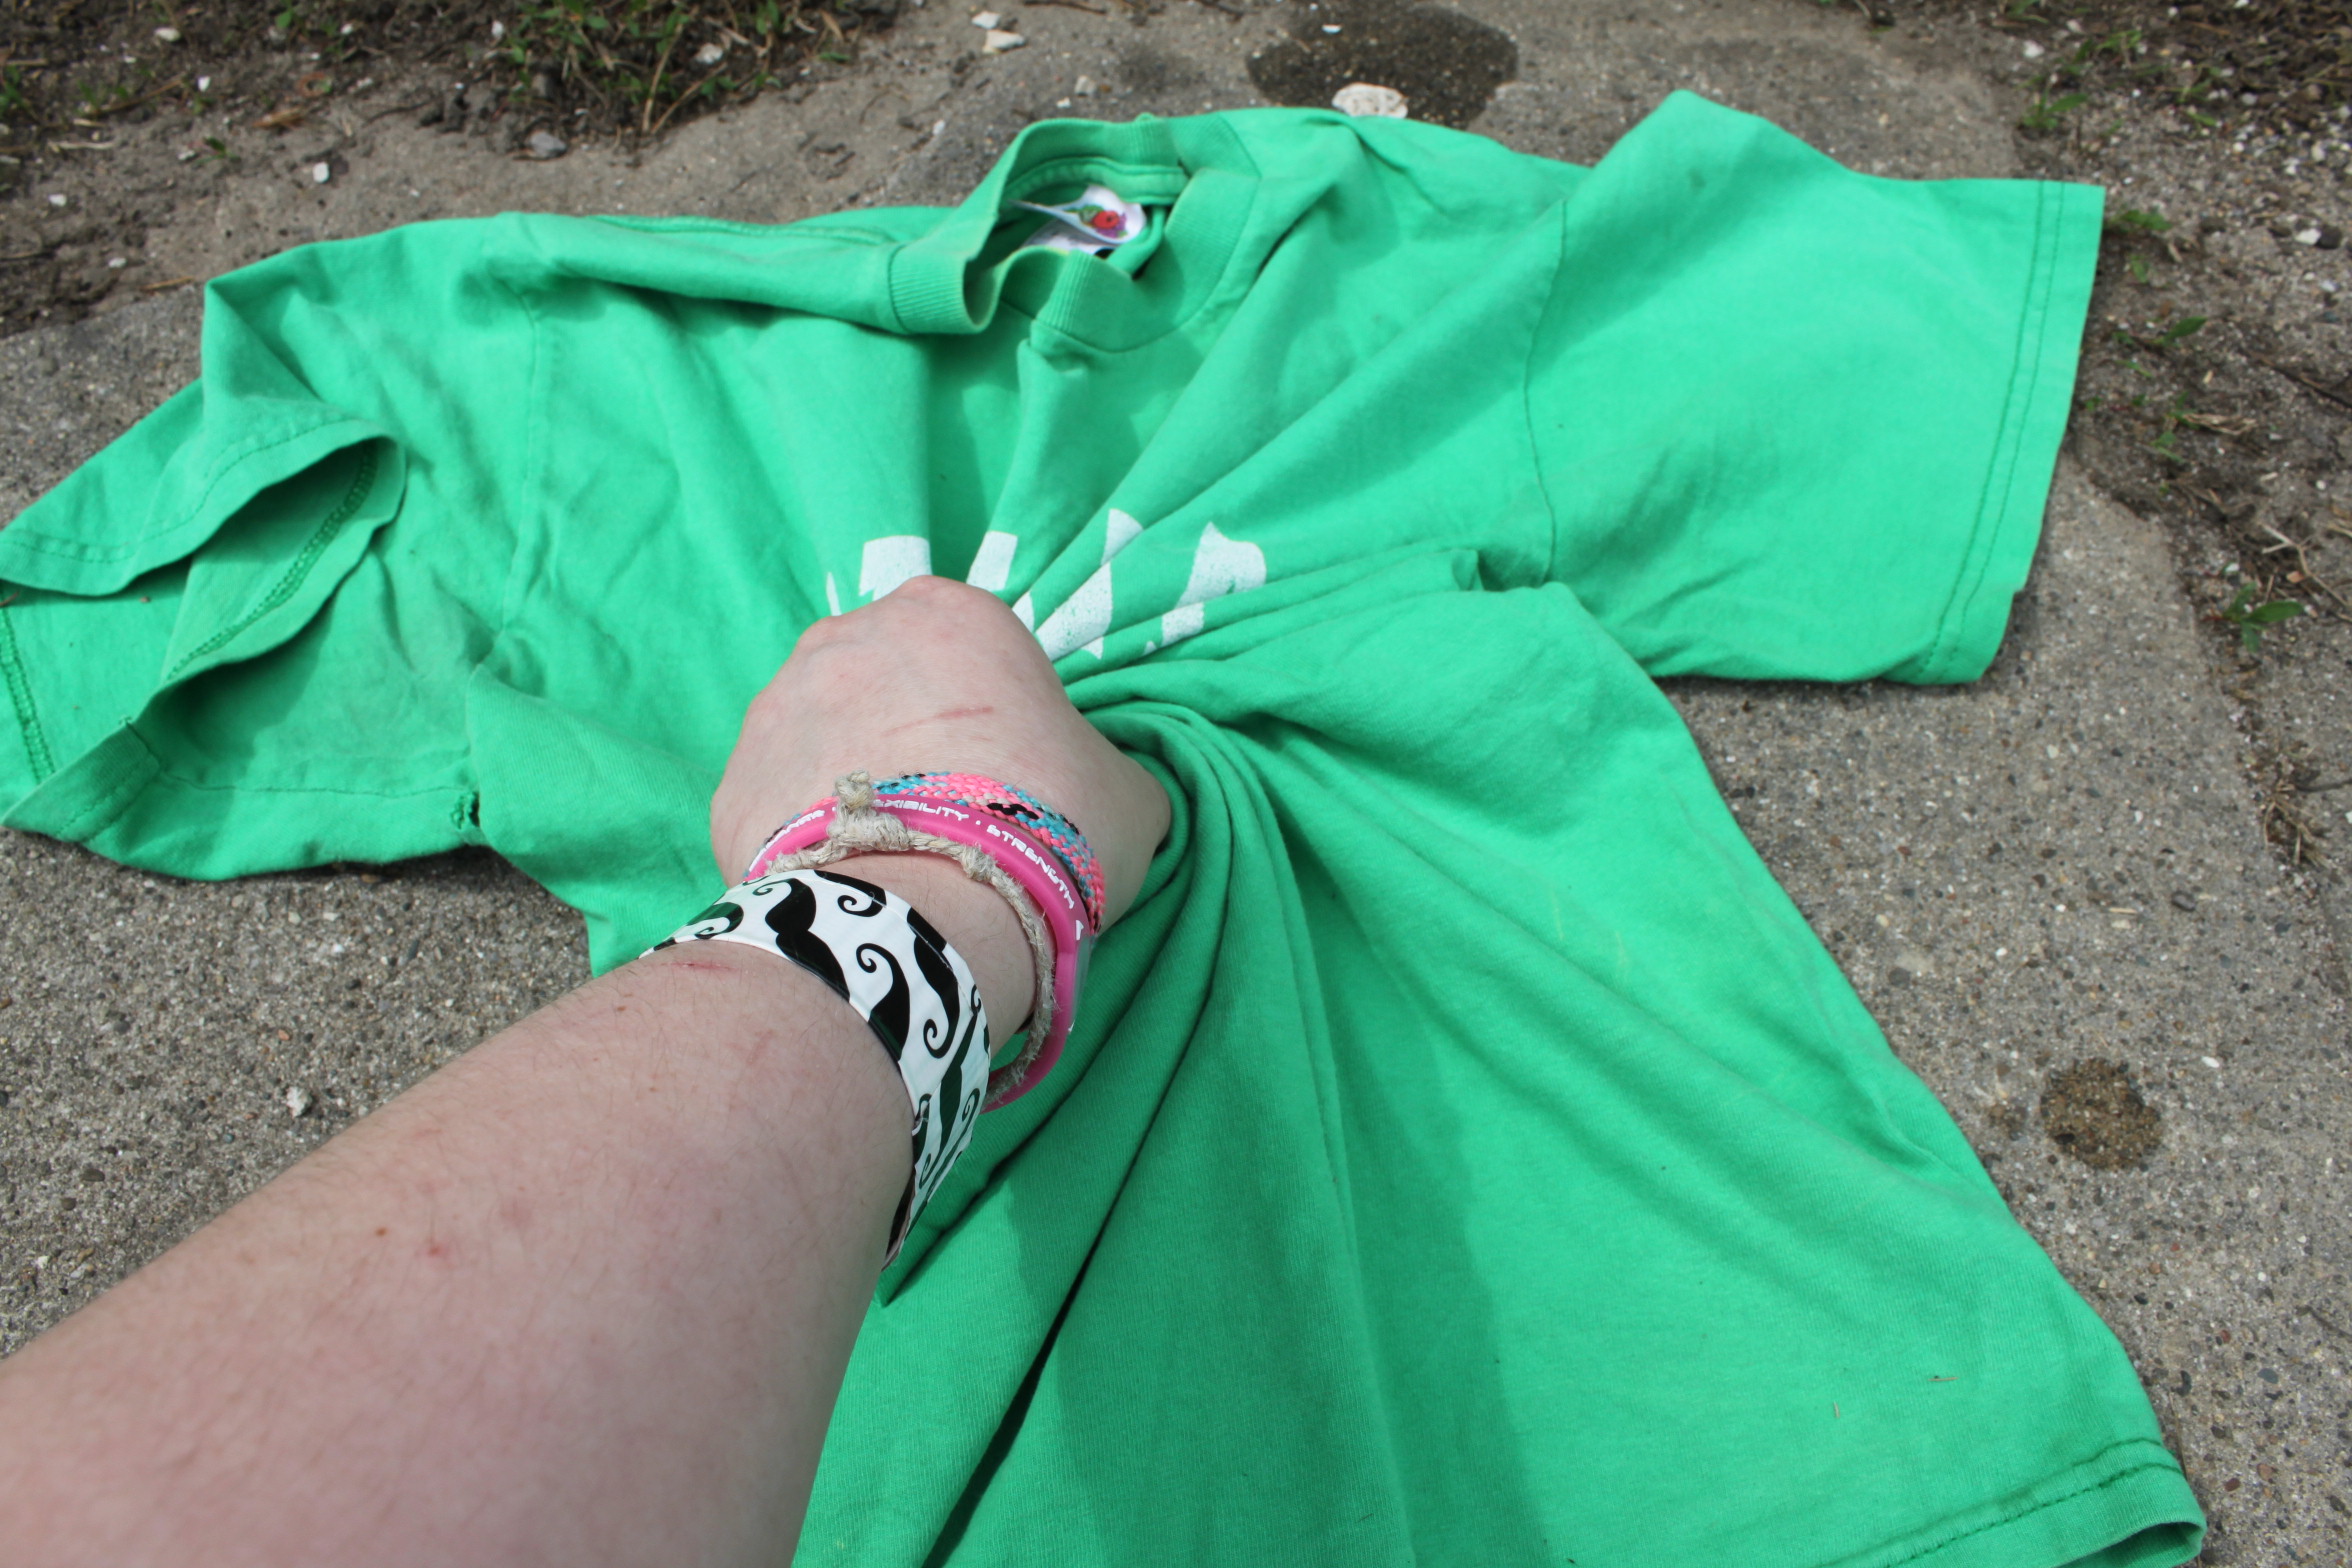
Style Three;
- Grab your shirt and lay it out flat.

- Take your bottle of bleach/water and begin making whatever designs you like. (For a more precise design such as words. Use a Bleach Pen
!)

- Flip over and repeat.

- Let sit for 15 minutes or until bleach parts turn desired color.
Last step: Grab your shirts, wash them, dry them.
(I like to hand wash them to make sure the bleach doesn’t ruin other clothes.)
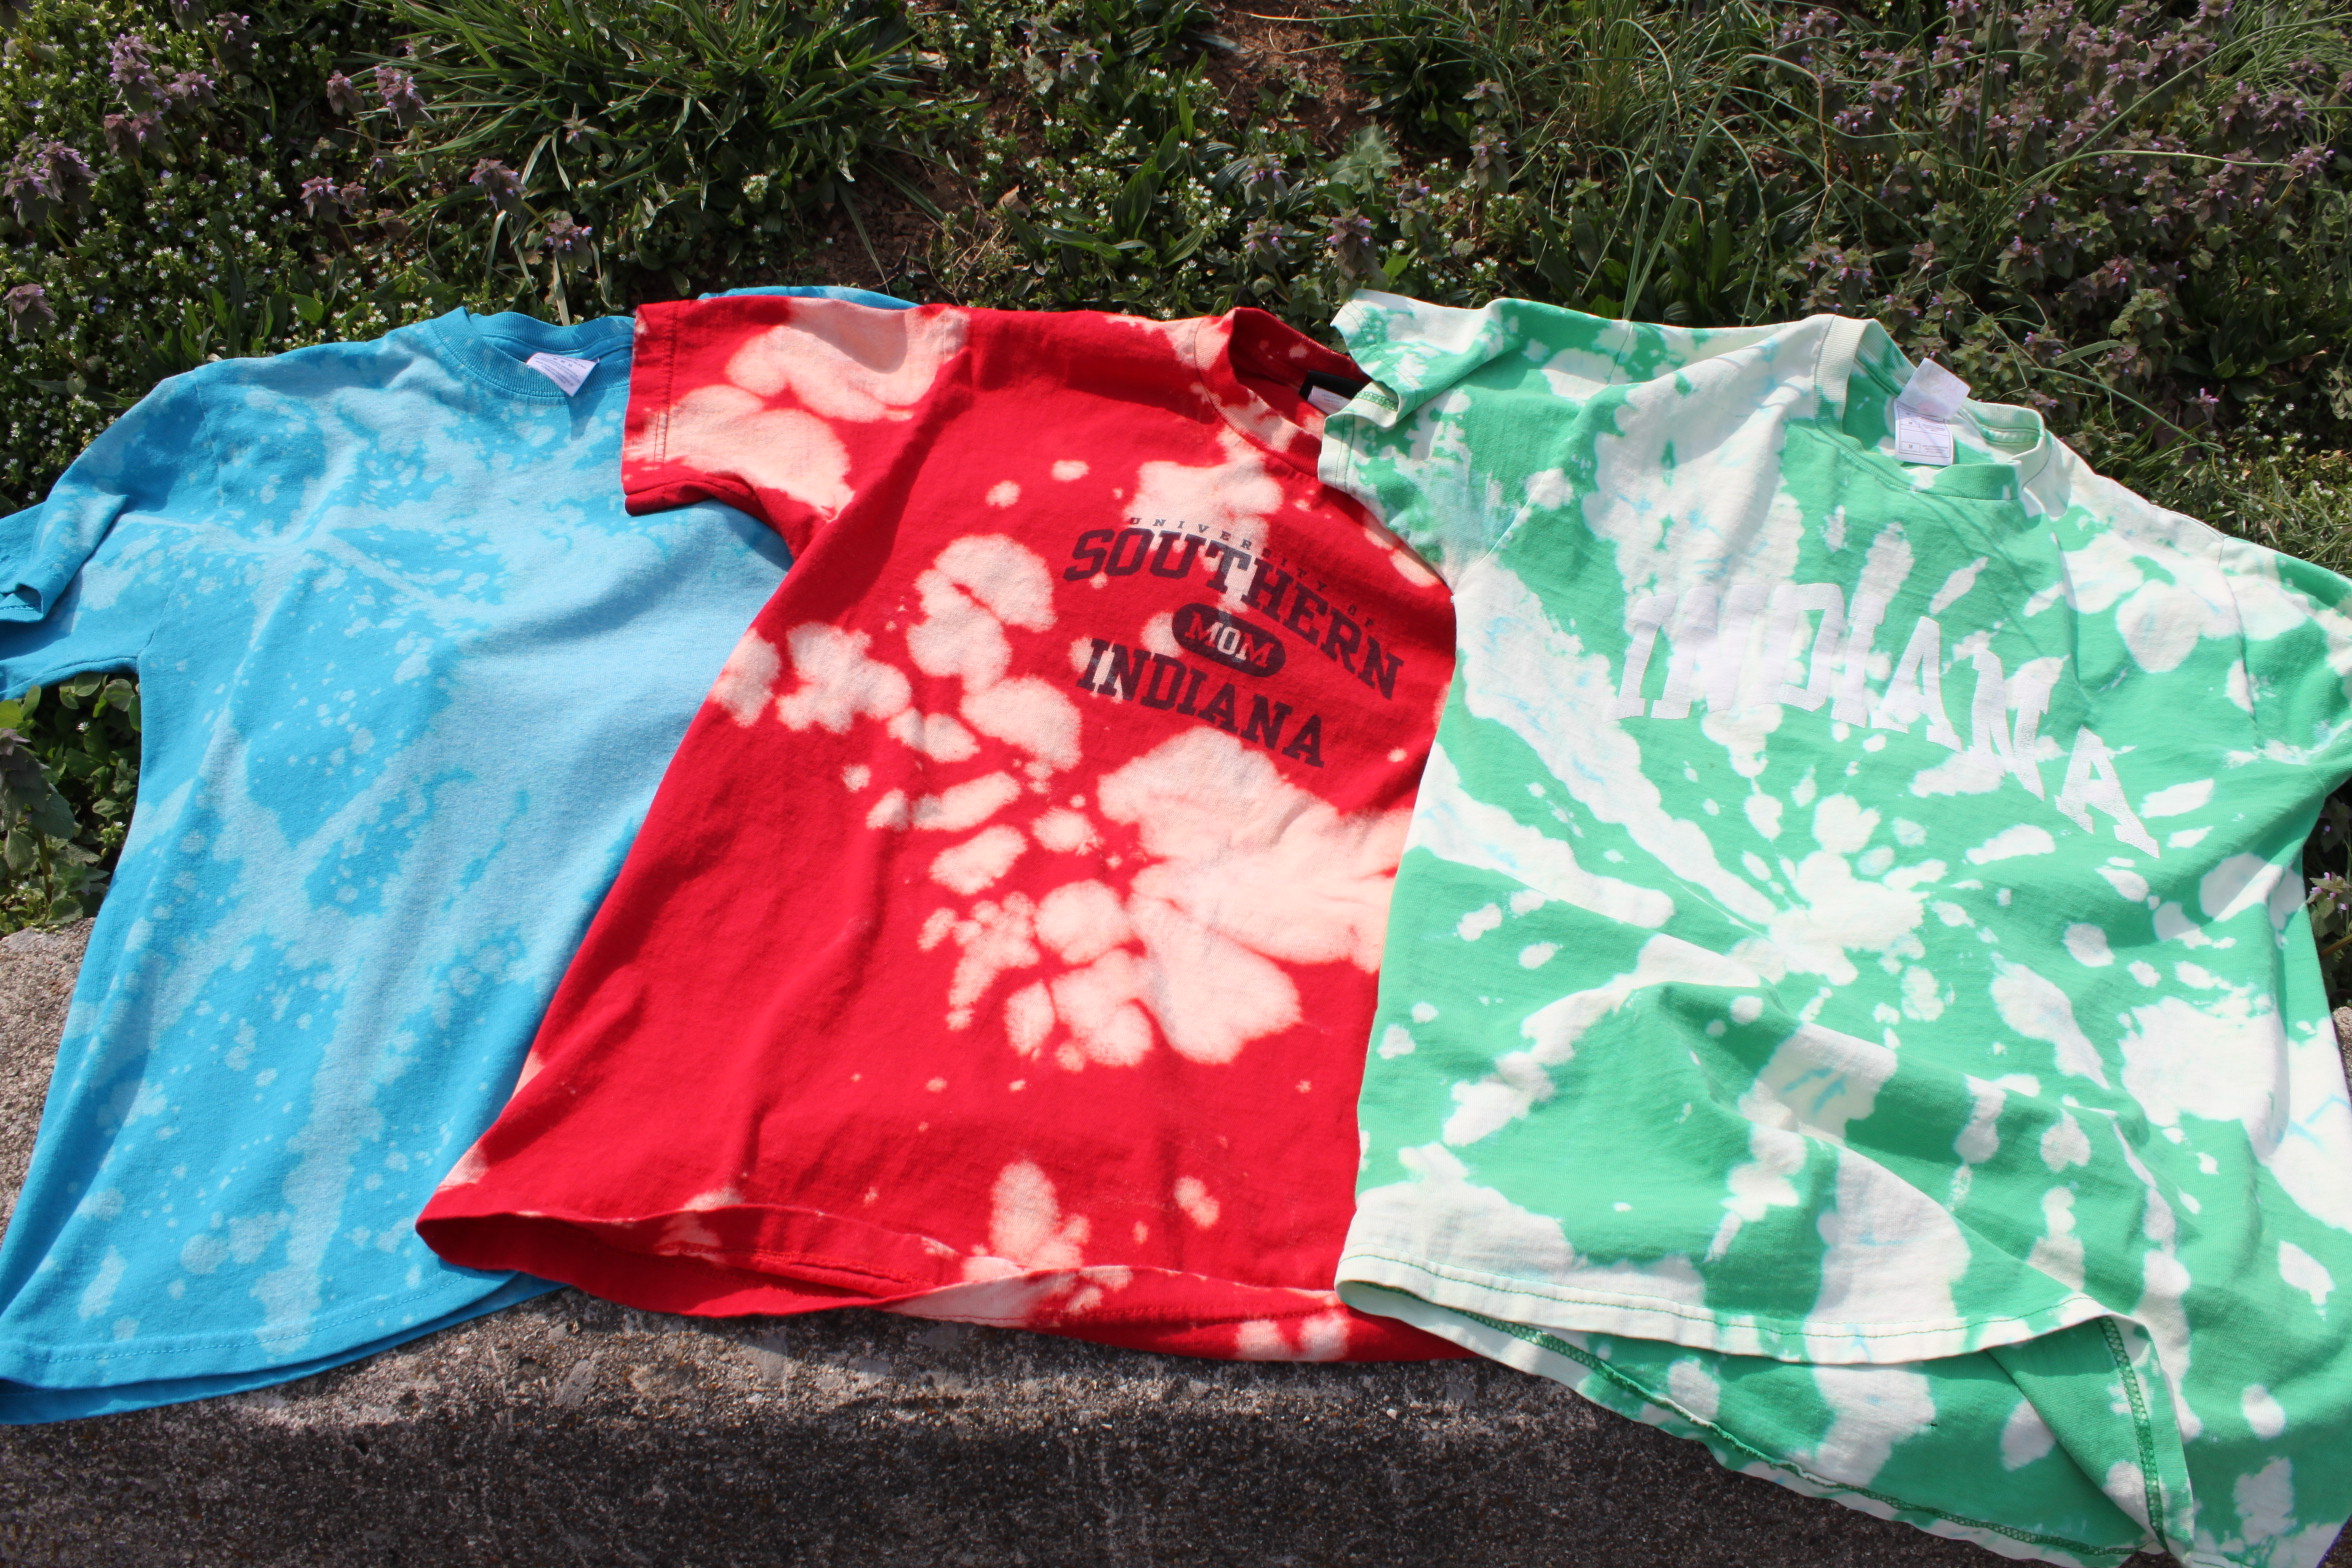
LET’S SEE HOW THEY TURNED OUT!
- Style One;
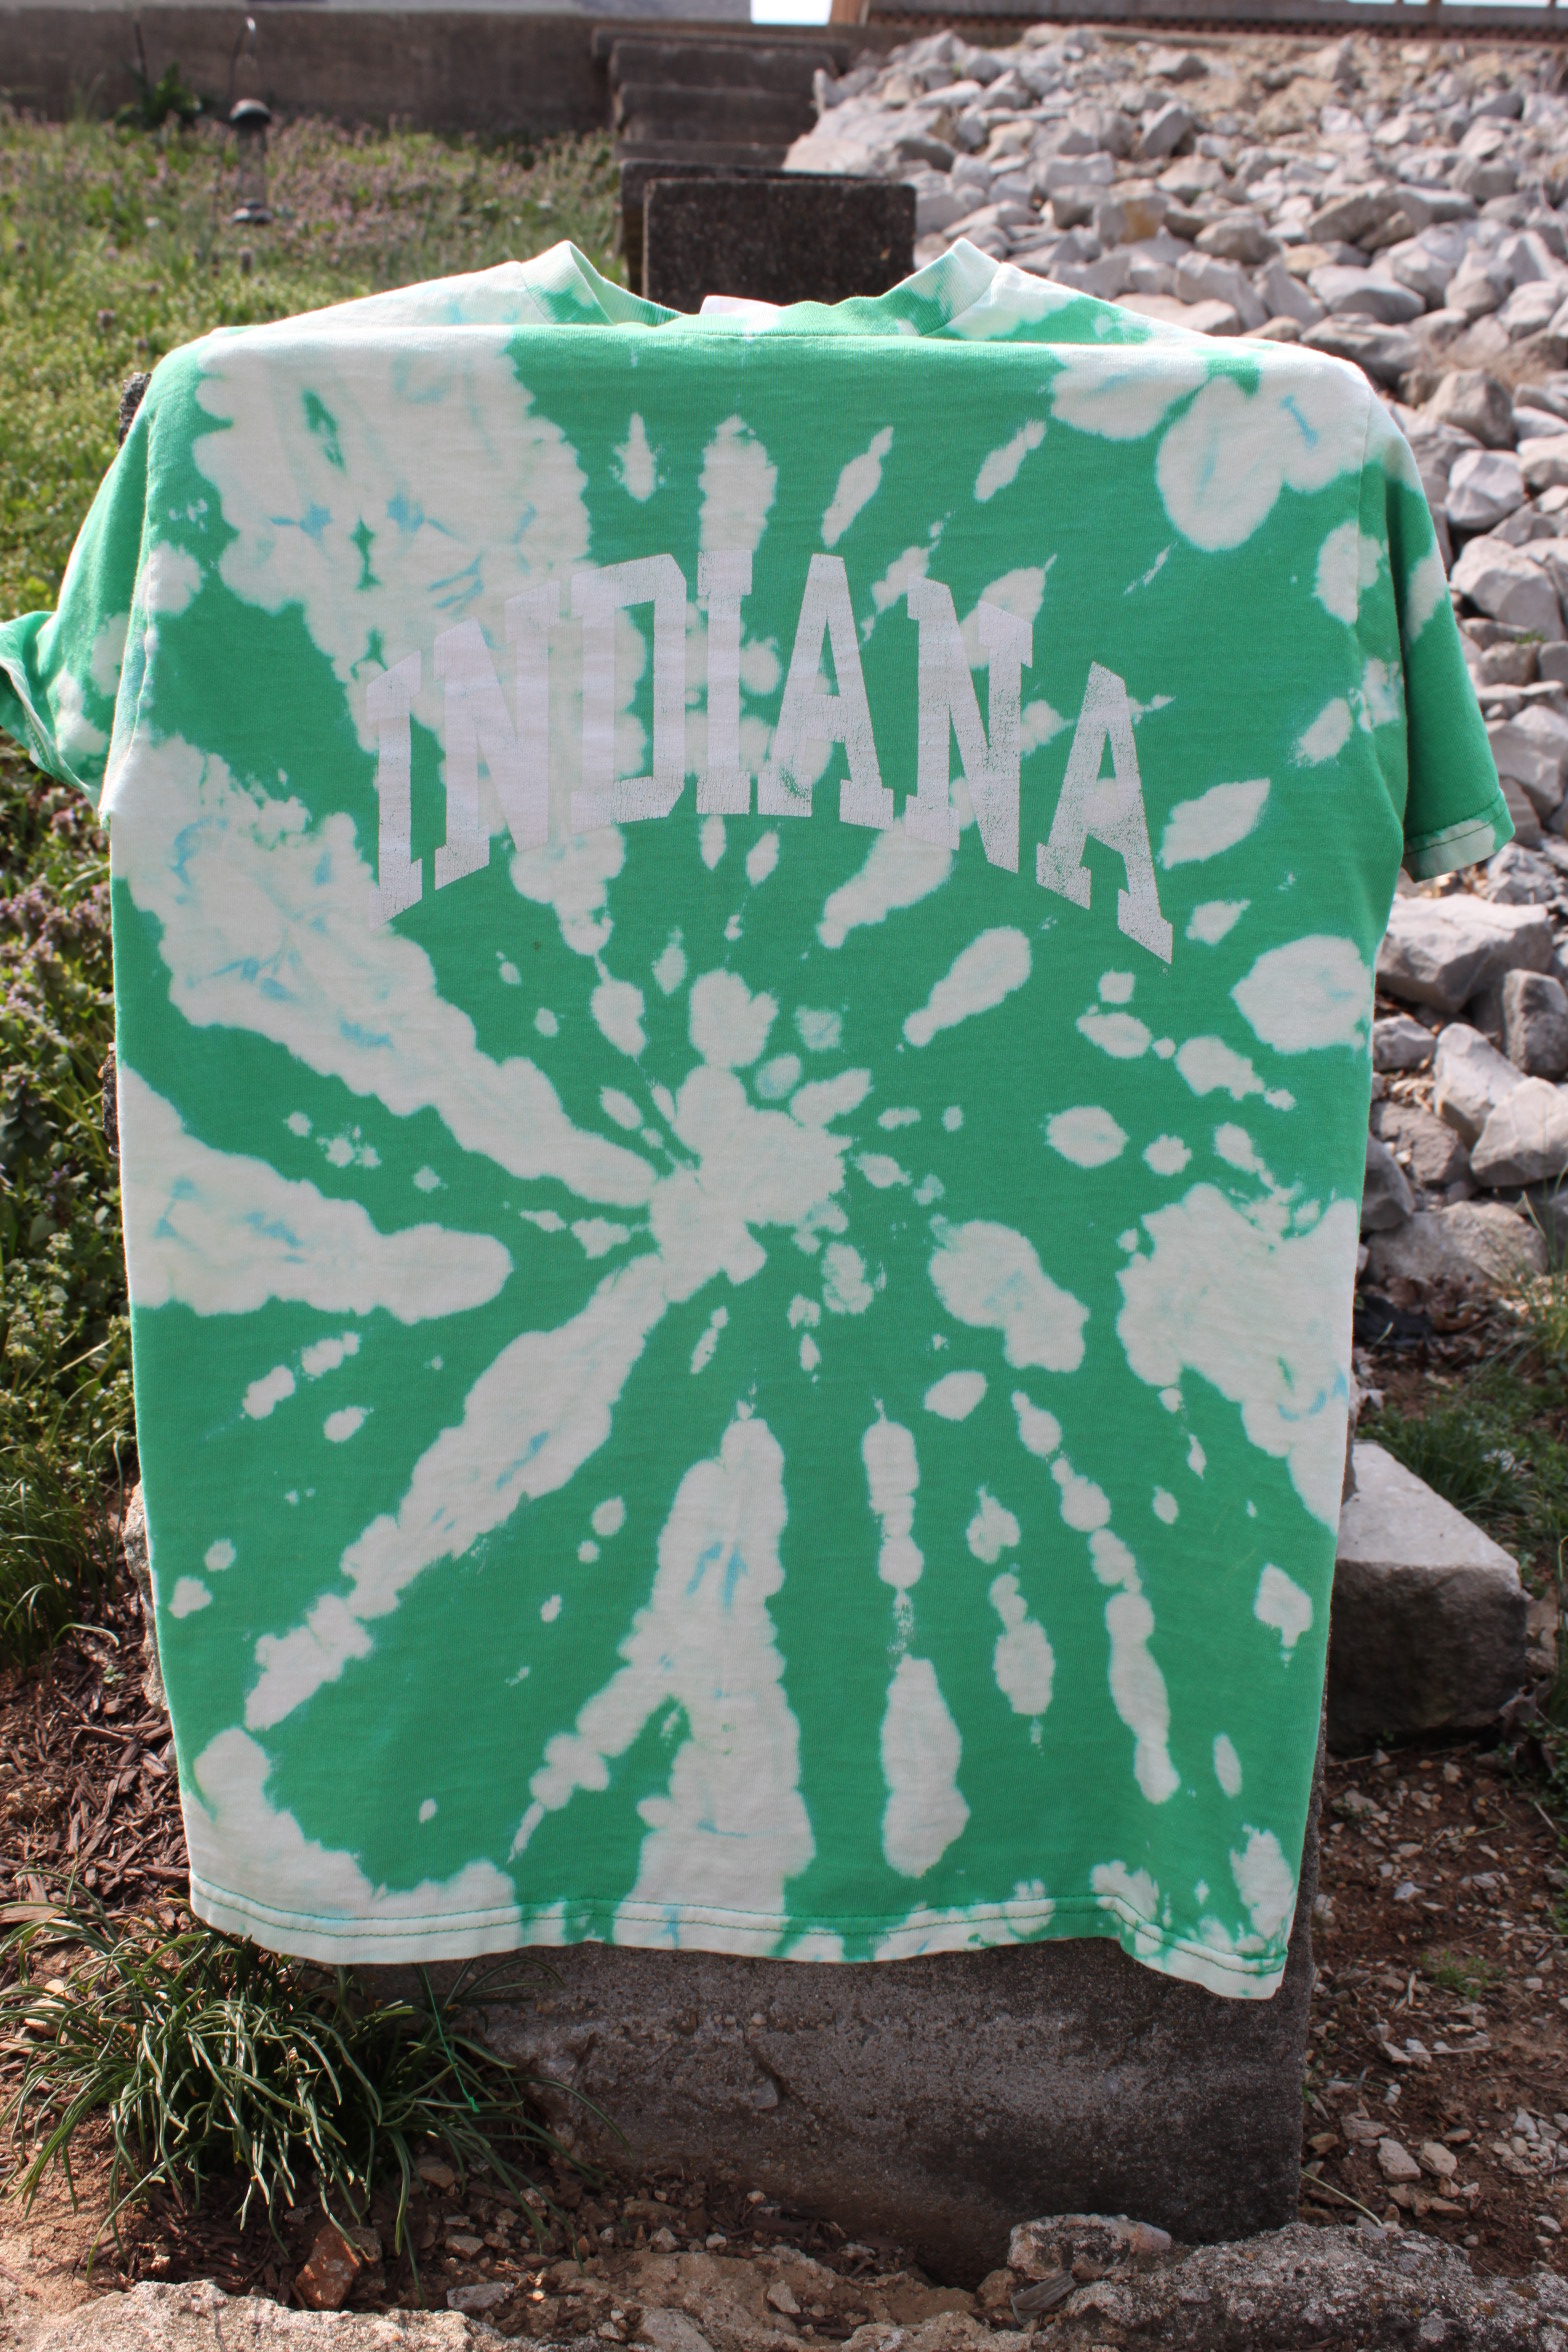
(Front)

(Back)
- Style Two;
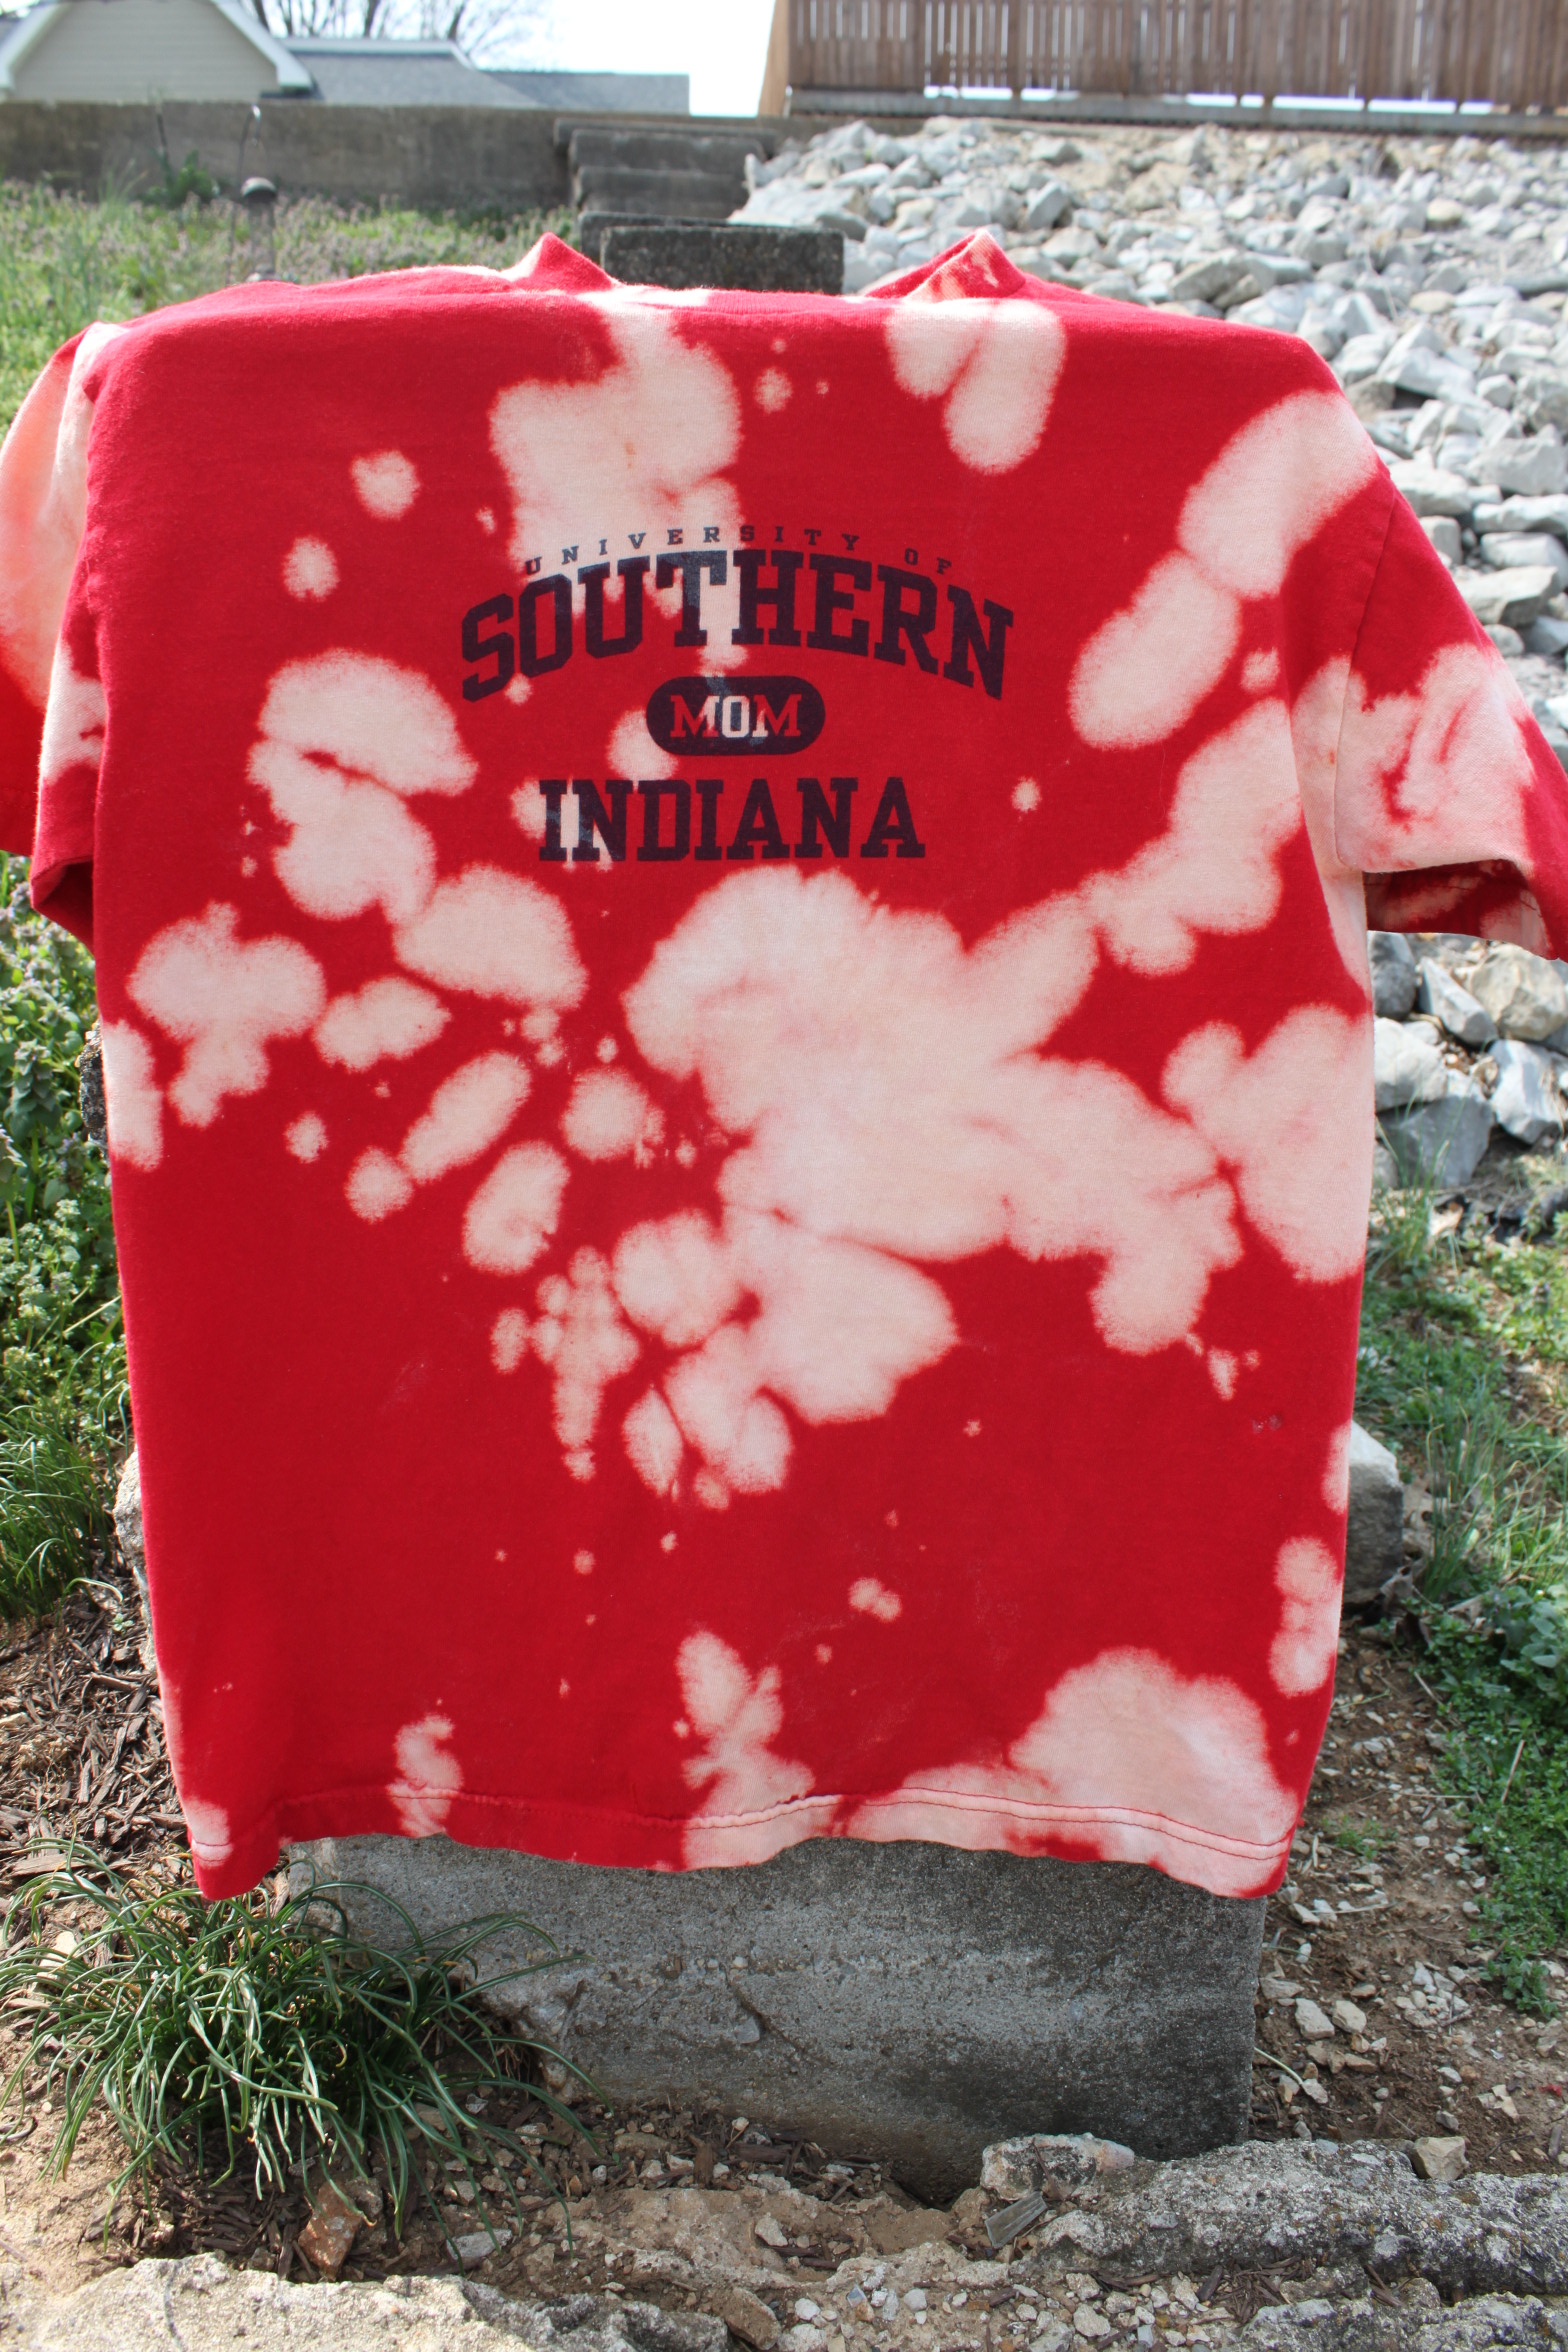
(Front)
(Back)
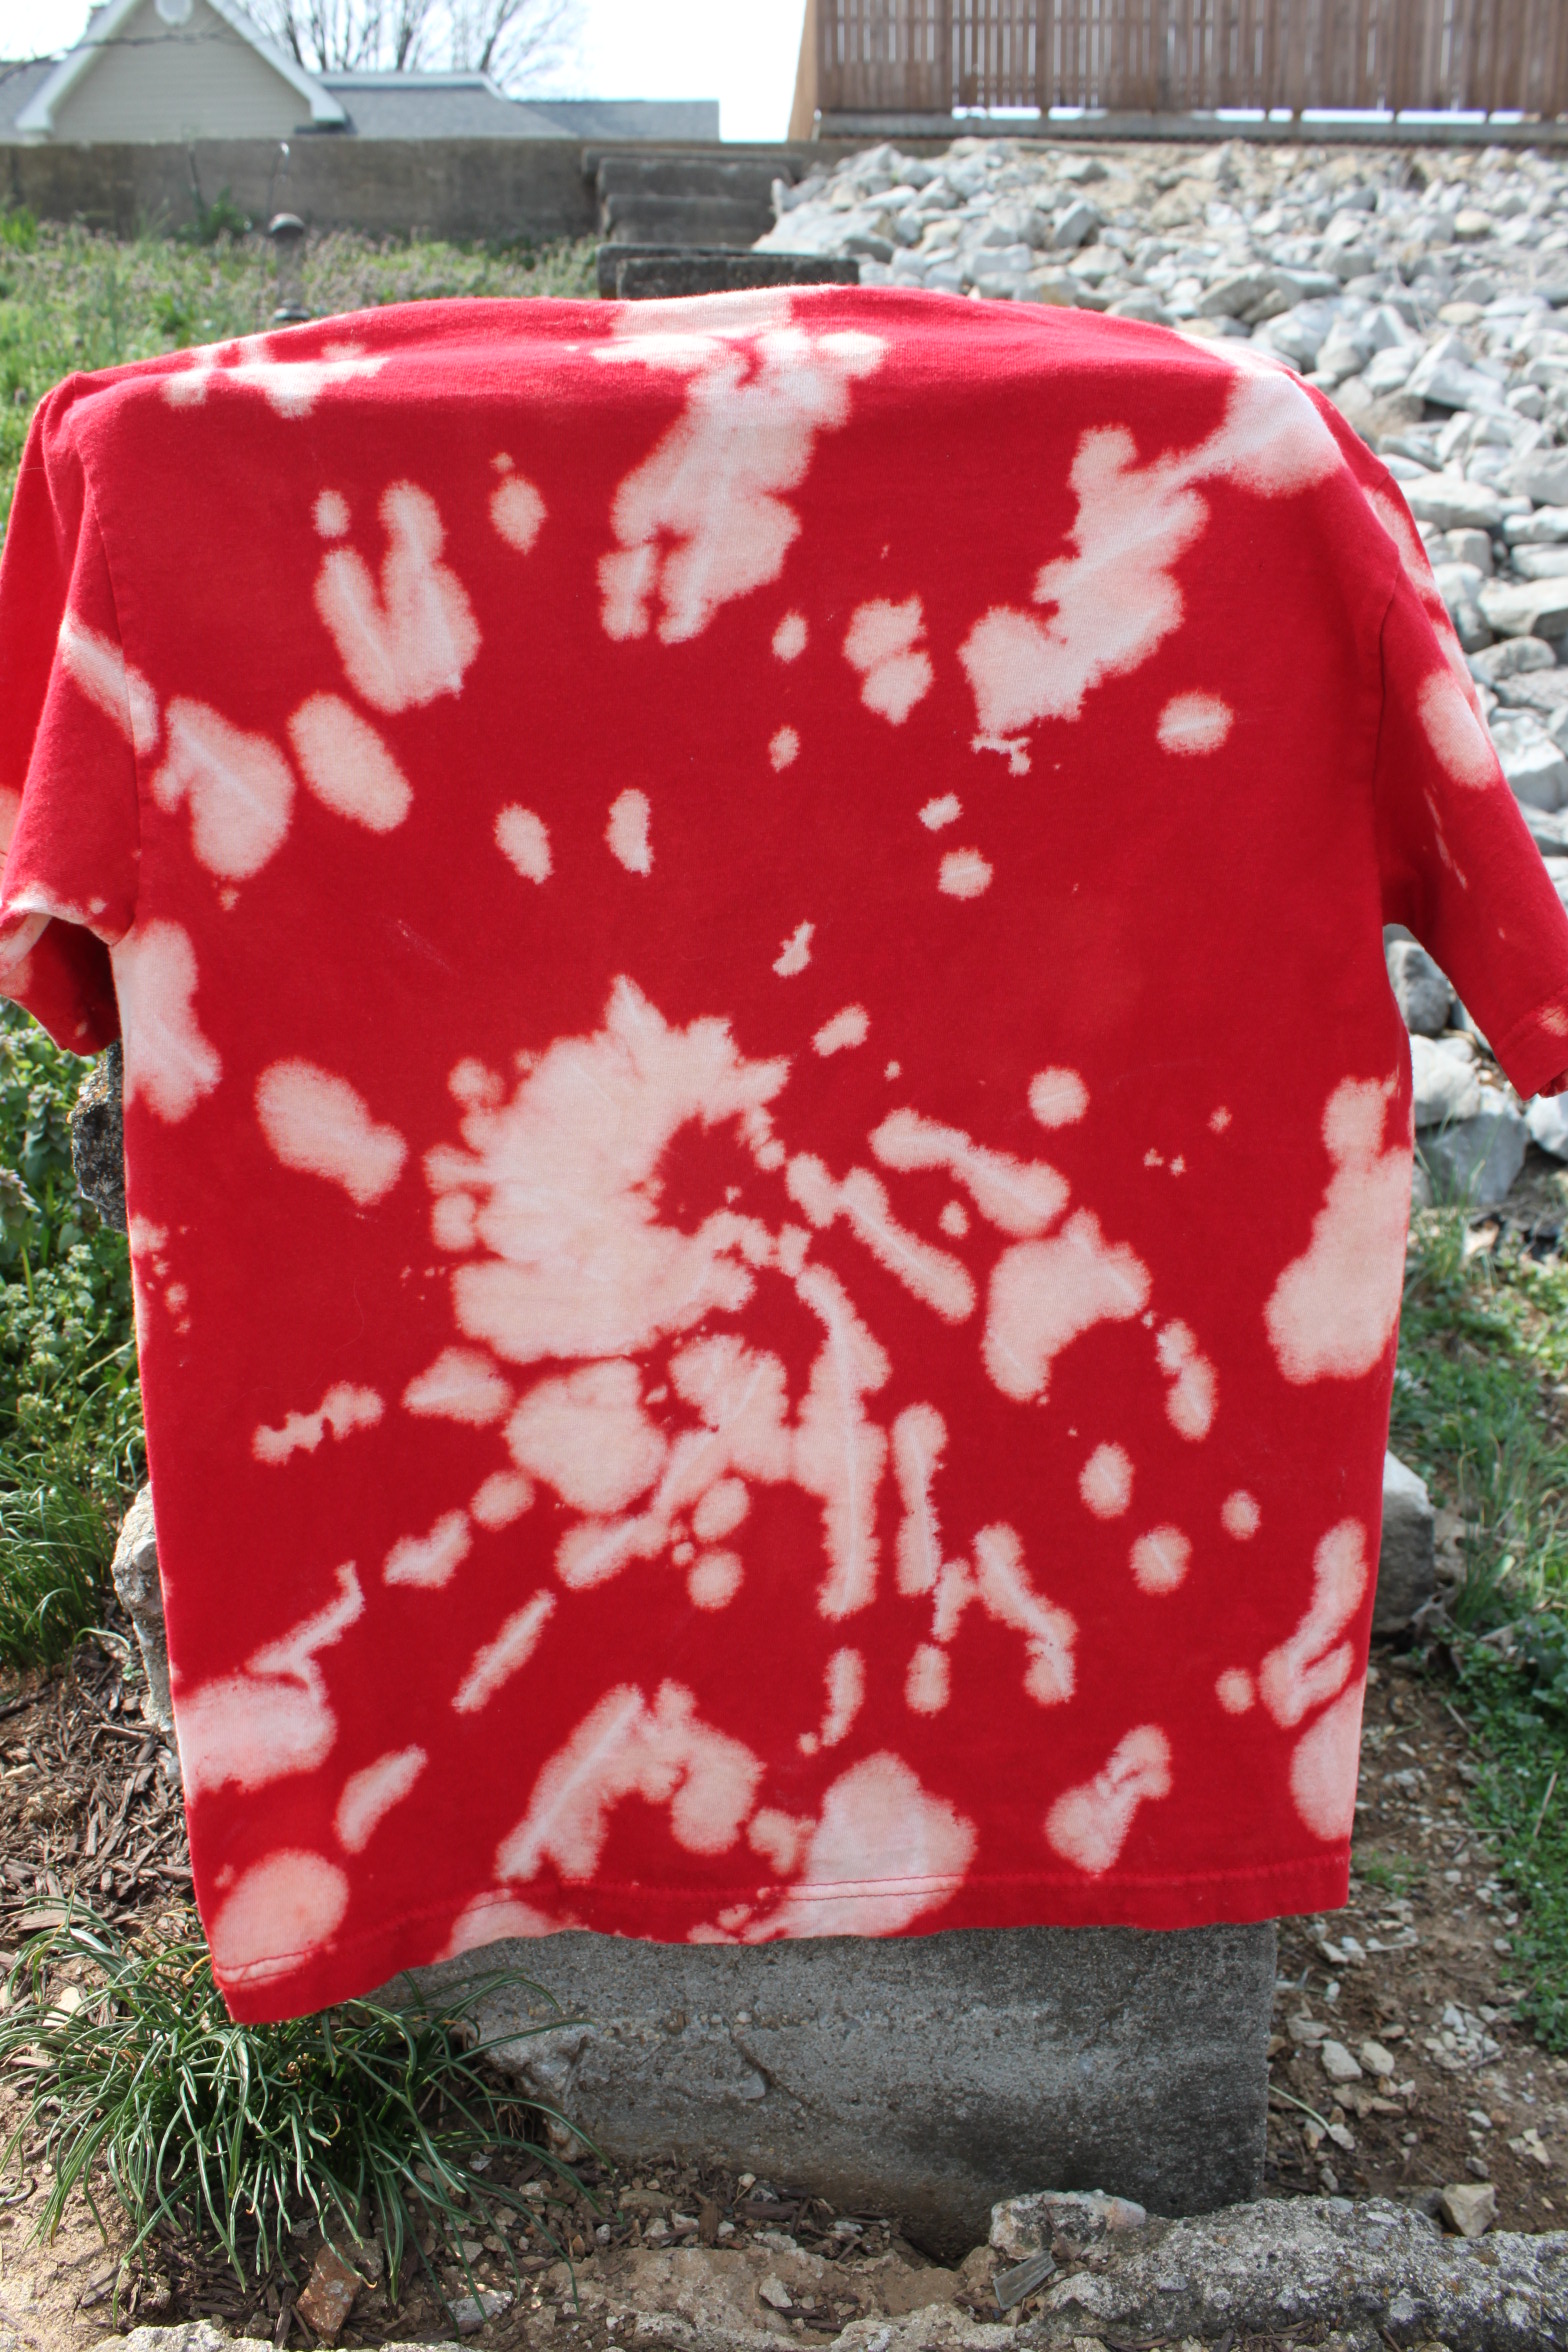
- Style Three;

(Front)

(Back)
Have fun!
Don’t forget to post pictures of your bleach tie dye shirts below!
Week Two: Time For Action!
Today is the day we take out that list we made last week and get to work!

First things first. We need to go through our list of projects we want to accomplish this year and star (or underline, highlight, circle) those that are MOST important.
This week’s CHALLENGE:
- Accomplish ONE (or more if you have the time) project you have written on your list!
- Next thing I want you to do–Go to every clothing closet in your house and turn your hangers backwards. Weird, right? Well, each time you wear something, wash it, and put it back into the closet, you’re going to hang the hanger the regular way. That way by the time the year is over with, you’ll be able to visibly see which clothes you have not worn in a year. You can sell, donate, or toss those items away at the end of the year!
BEFORE:

AFTER:

And I know what you’re thinking…
“But… Shalin, what if there’s a fire?” My answer is, “If there is a fire, grab something more important than clothes.”
So, that’s it for this week. Pretty easy but will make a world of difference at the end of the year!
Comment below and tell me what you’re tackling this week!
Before and After pictures are always great to see as well…
Where to Find Me
Green Onions are MAGIC!
After spending what seems like the majority of my day on Pinterest, I found several links about Green Onions (aka Spring Onions, Scallions) and how they have a renewable energy and will keep growing! I decided to try it out for myself a few weeks ago and let me tell you something… it WORKED and QUICKLY!!
Next time you buy green onions and use them, try this new trick!
When using the green onions, only chop them down to about where the white starts–close to the bulb.
- Grab that old spaghetti sauce jar you kept, and washed that’s just been taking up space, and fill it half way with water.
- Throw those bad boys greens in the jar!
- Sit next to a window (or some say in a fridge will work).
- In a day or two, you’ll begin to see them growing!
I’d say…
NEVER BUY GREEN ONIONS AGAIN!
But… after doing some research, many individuals say that this process only works between 4-6 times before they will stop growing.
However, you will save some money in the process and the kiddos love watching them grow!

And while we’re on the subject of green onions and how amazing they can be… let me tell you a little more about their benefits!
- They are available year round.
- They can be eaten raw, grilled, or any other way you’d like to use them.
According to Suite 101 they can also:
- Lower blood sugar
- Decrease high cholesterol and blood pressure levels
- Reduce the risk of developing colon and other cancers
- Reduce inflammation
So, buy those green onions– keep them growing, and continue enjoying the benefits of these delicious greens!
Oh, and check this out:

