I have been wanting to try tie dying with bleach for a while now. The weather was absolutely beautiful today so I figured I’d do it today! After watching some YouTube tutorials and reading online, I realized how easy it was. There is no “wrong” way to tie dye a shirt. It all depends on your preference. I tried three different ways with a few old shirts of mine.
What You’ll Need:
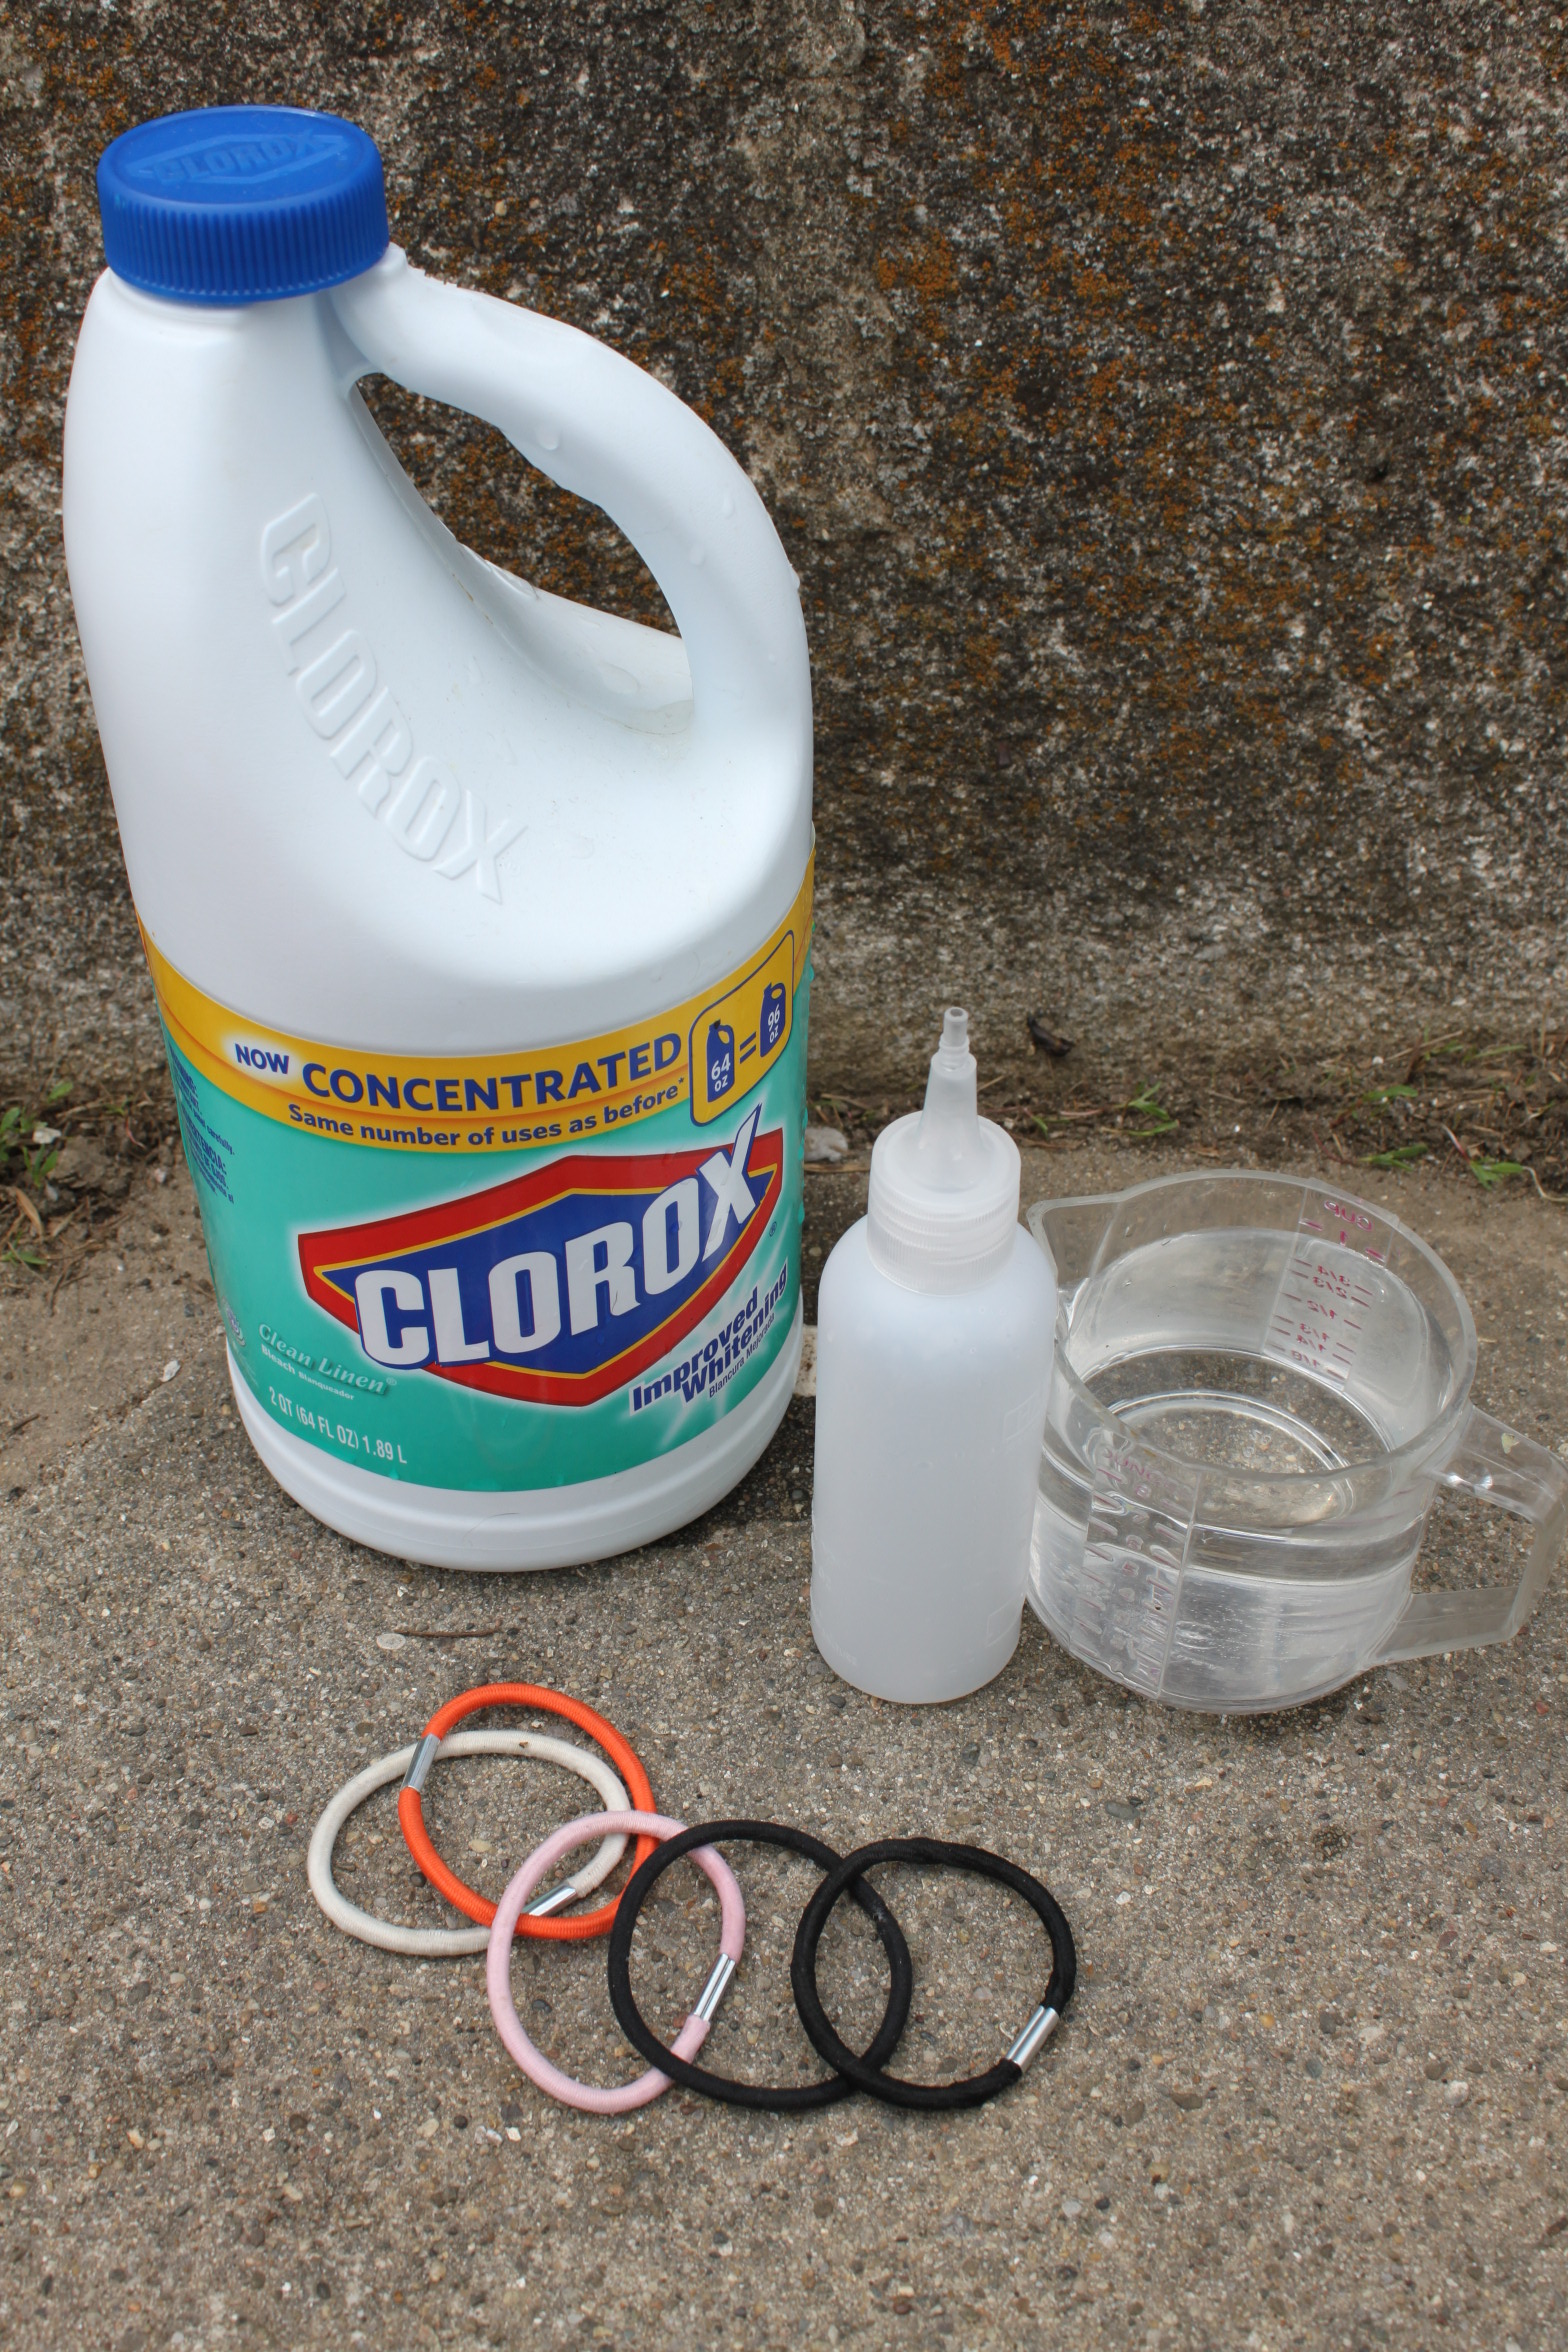
Bleach. Hair ties (or rubber bands). Water. An old bottle with a tip similar to photo. (I used old hair dye application bottle)
Gloves are optional, but highly recommended– bleach can damage your skin.

One or more old t-shirts.
- Fill bottle with 80% bleach, 20% water and give it a little shake.

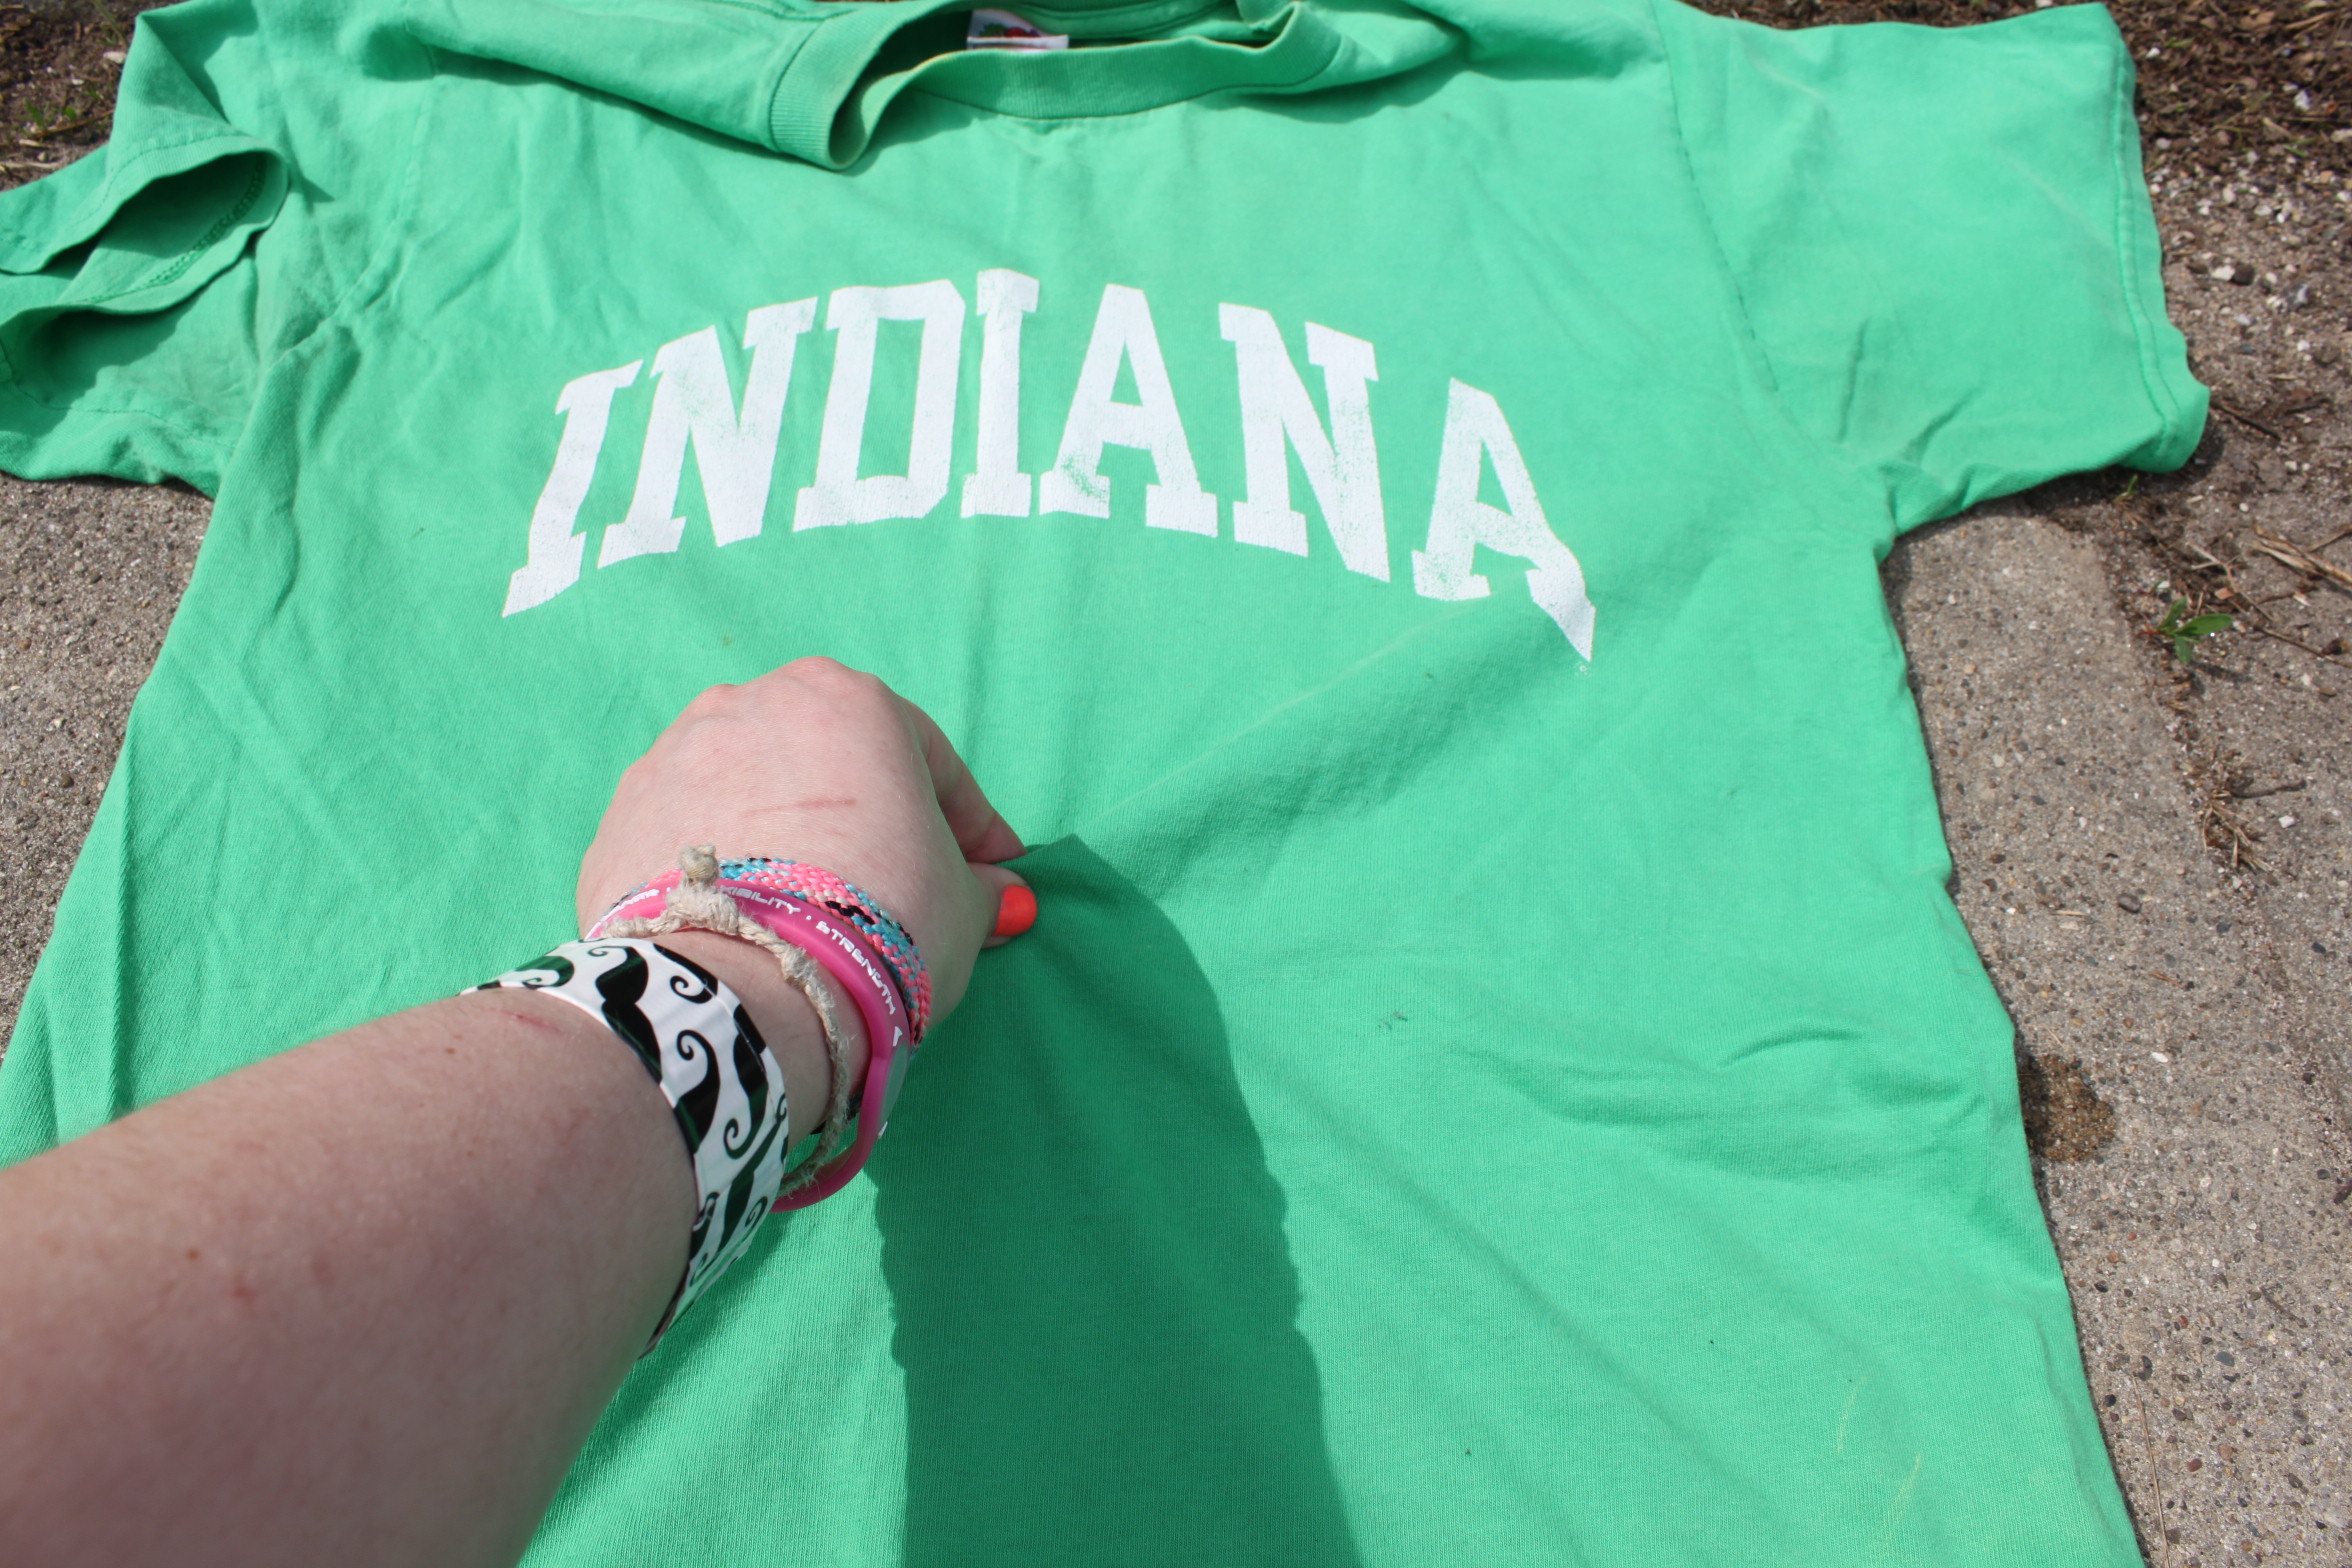
Style One;
(my favorite)
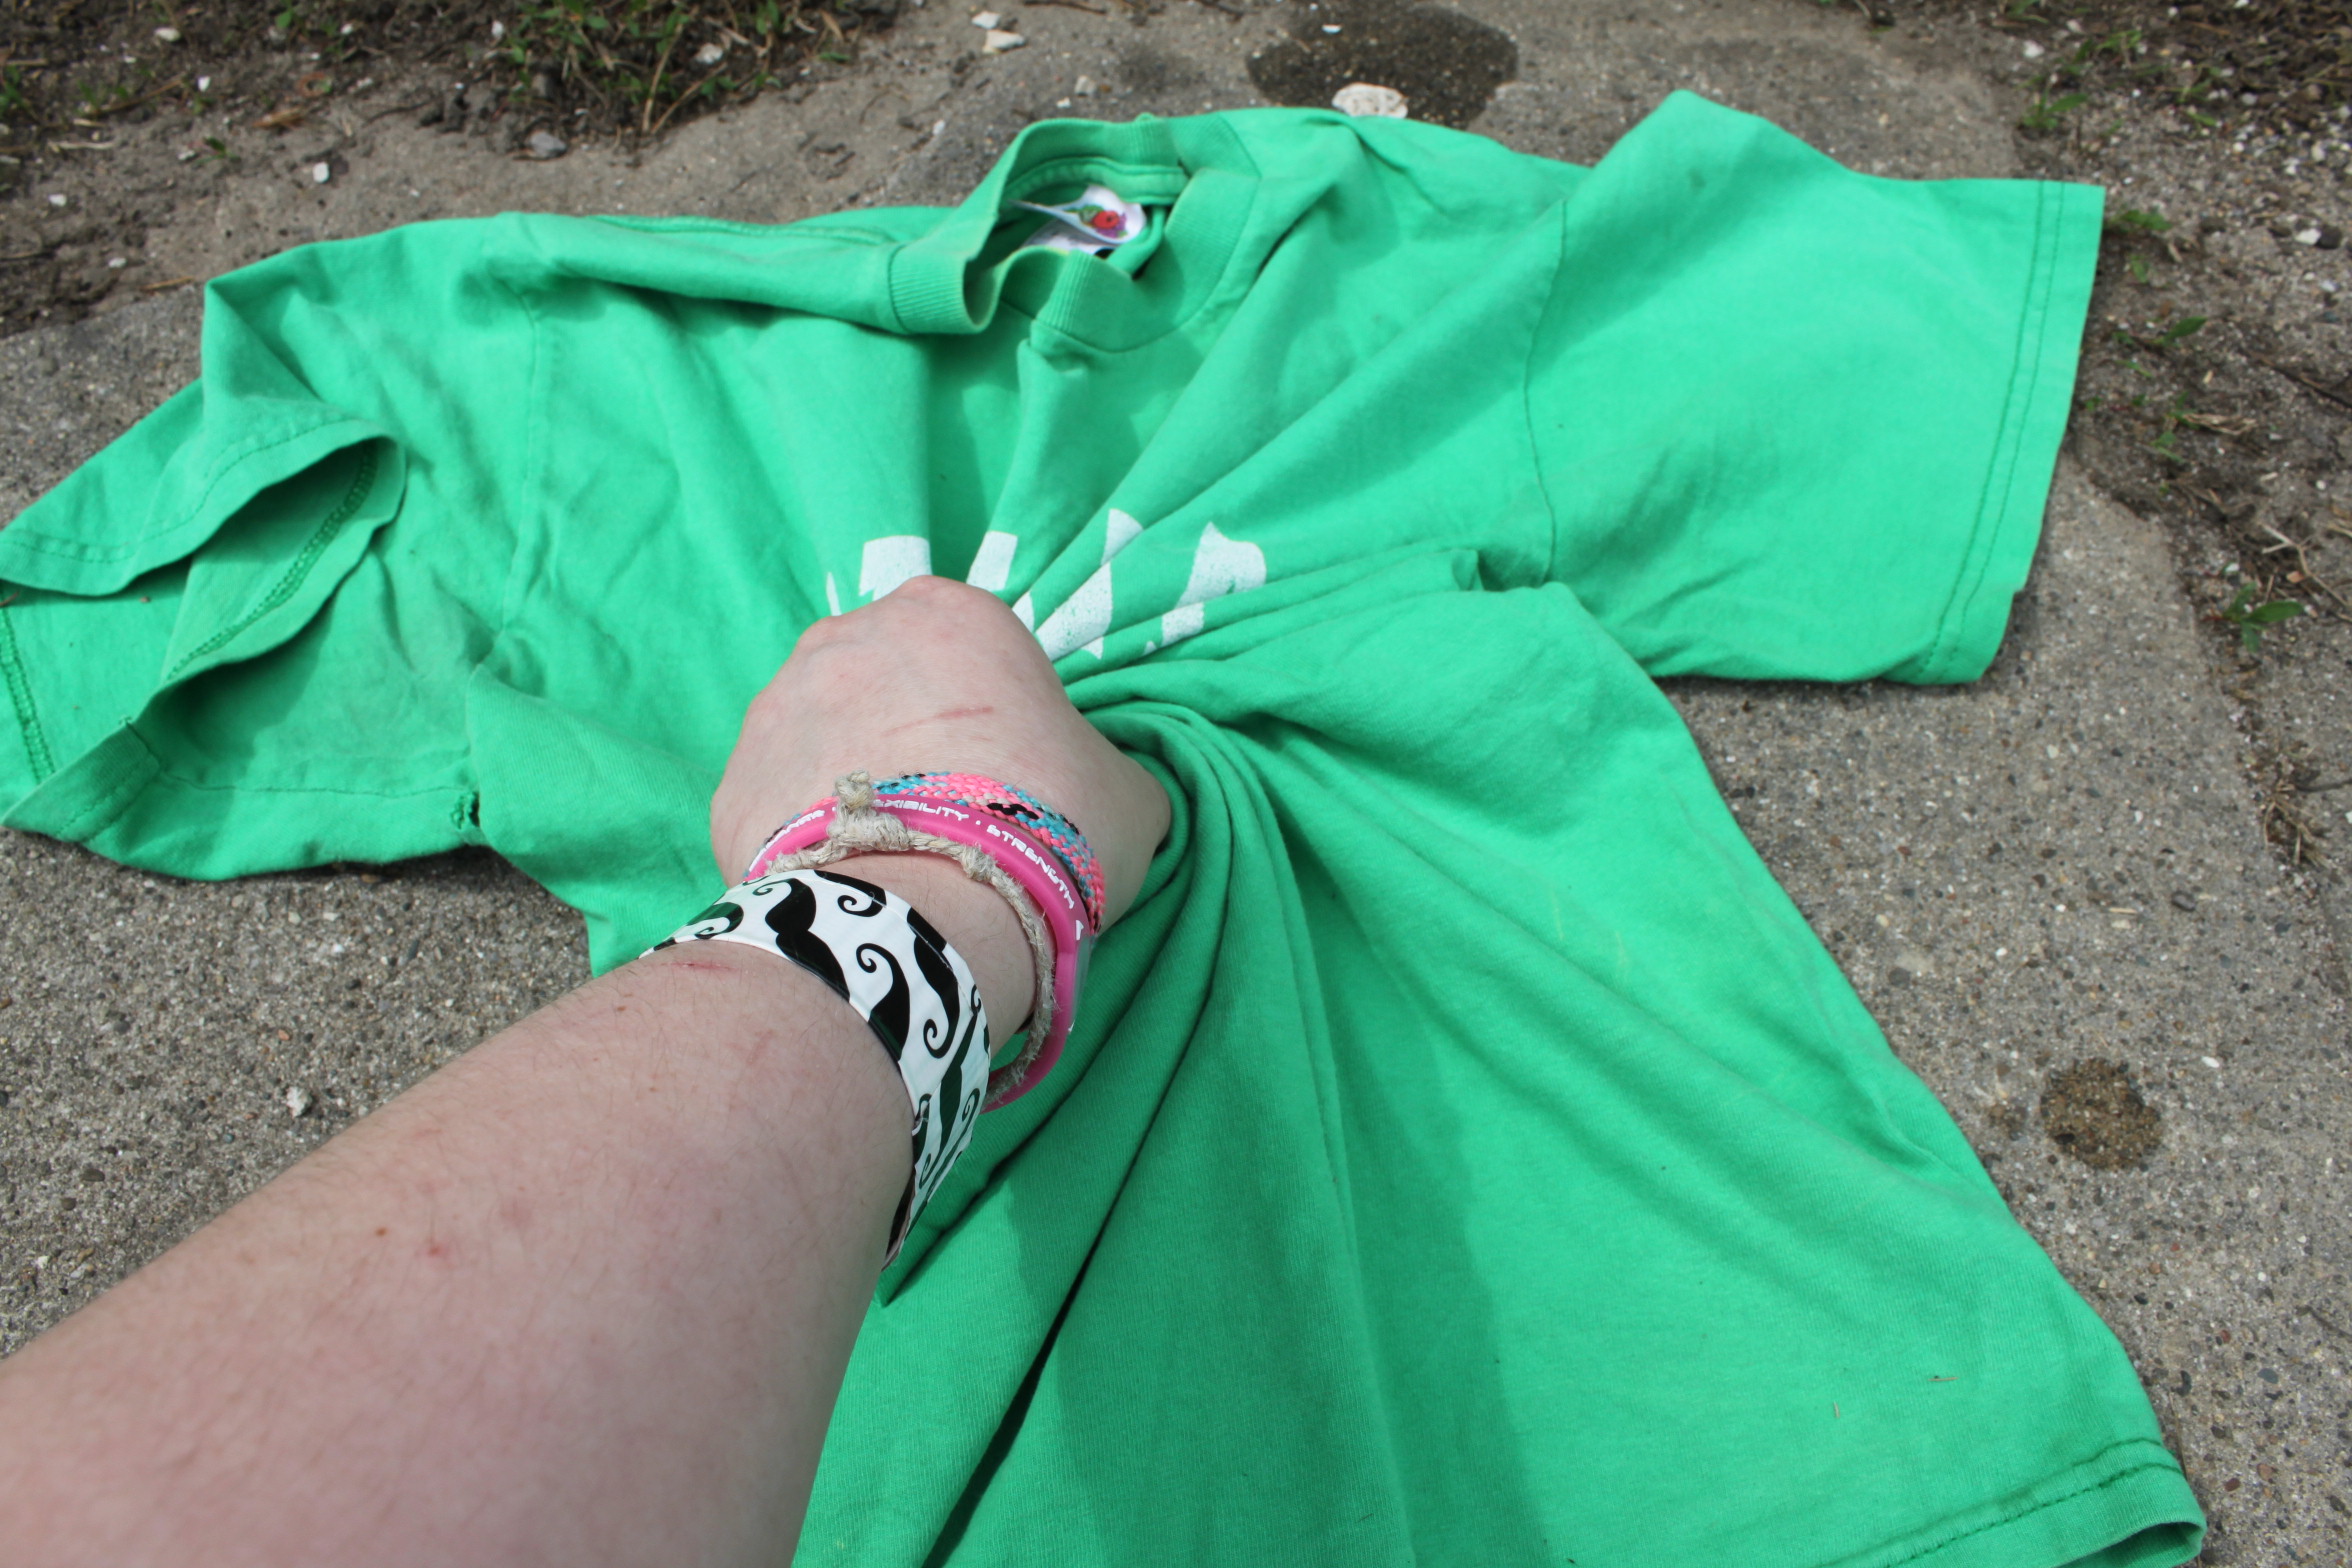
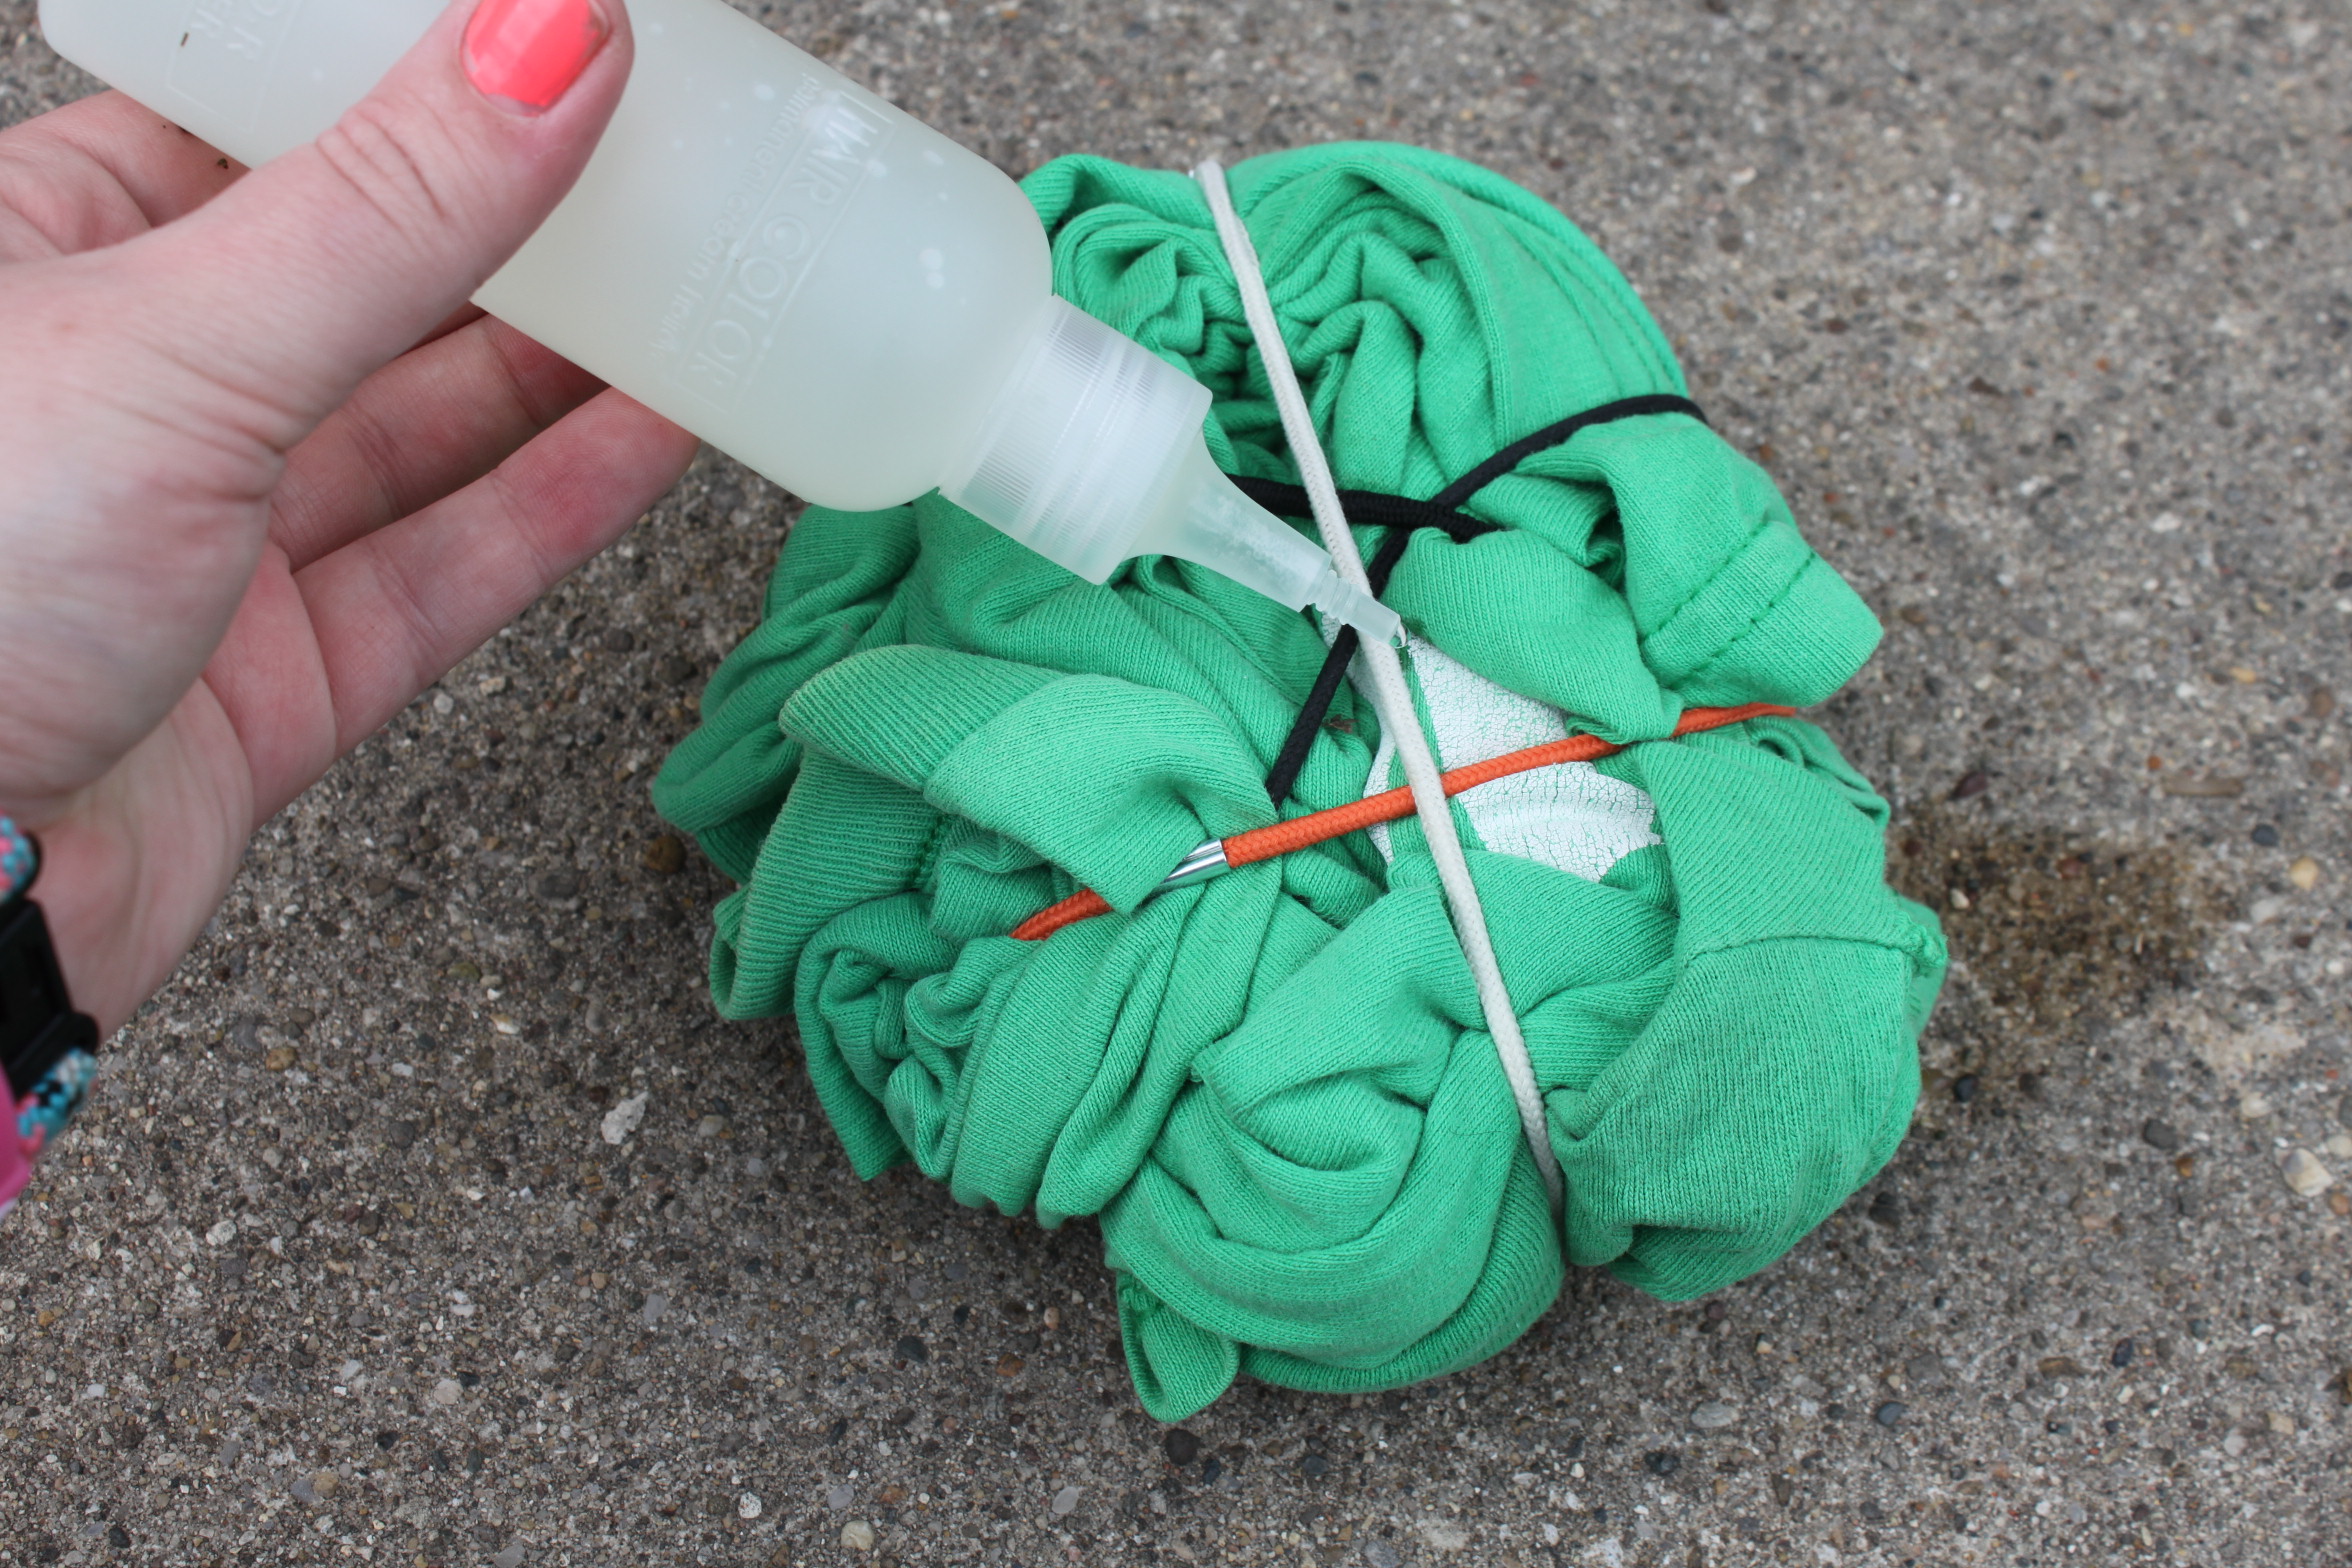
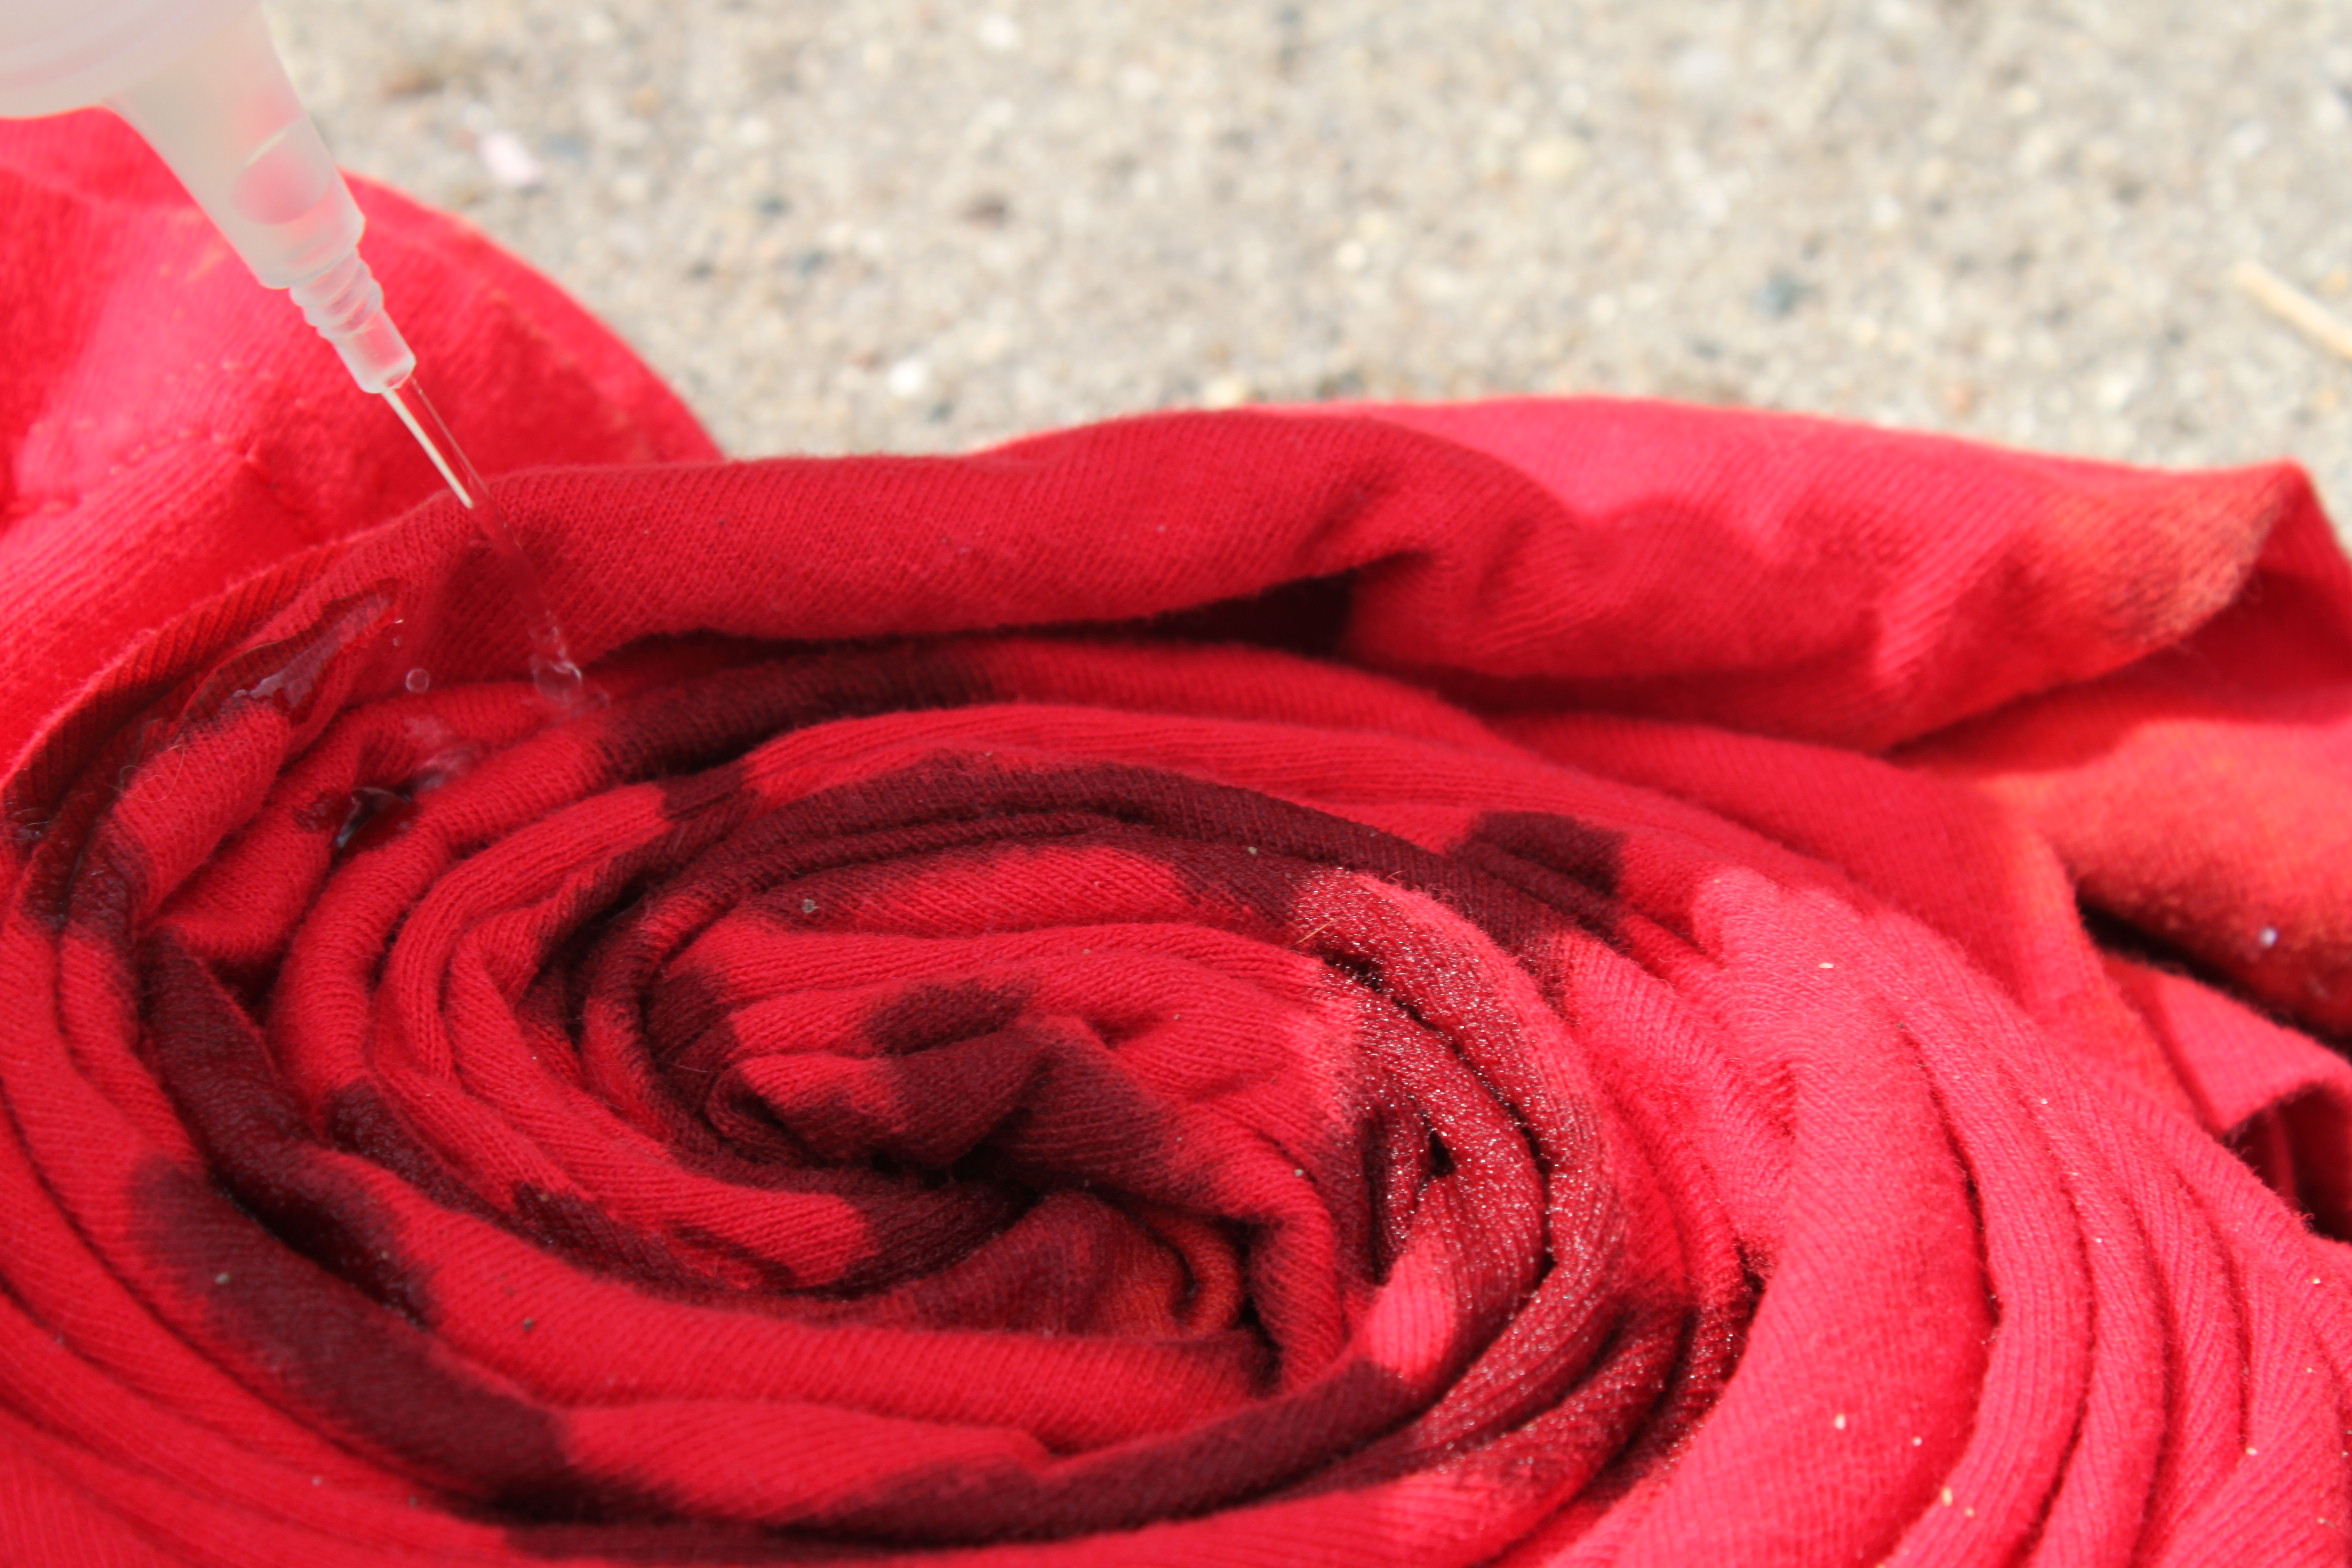
- Grab your first shirt and begin twisting counter-clockwise from the center.
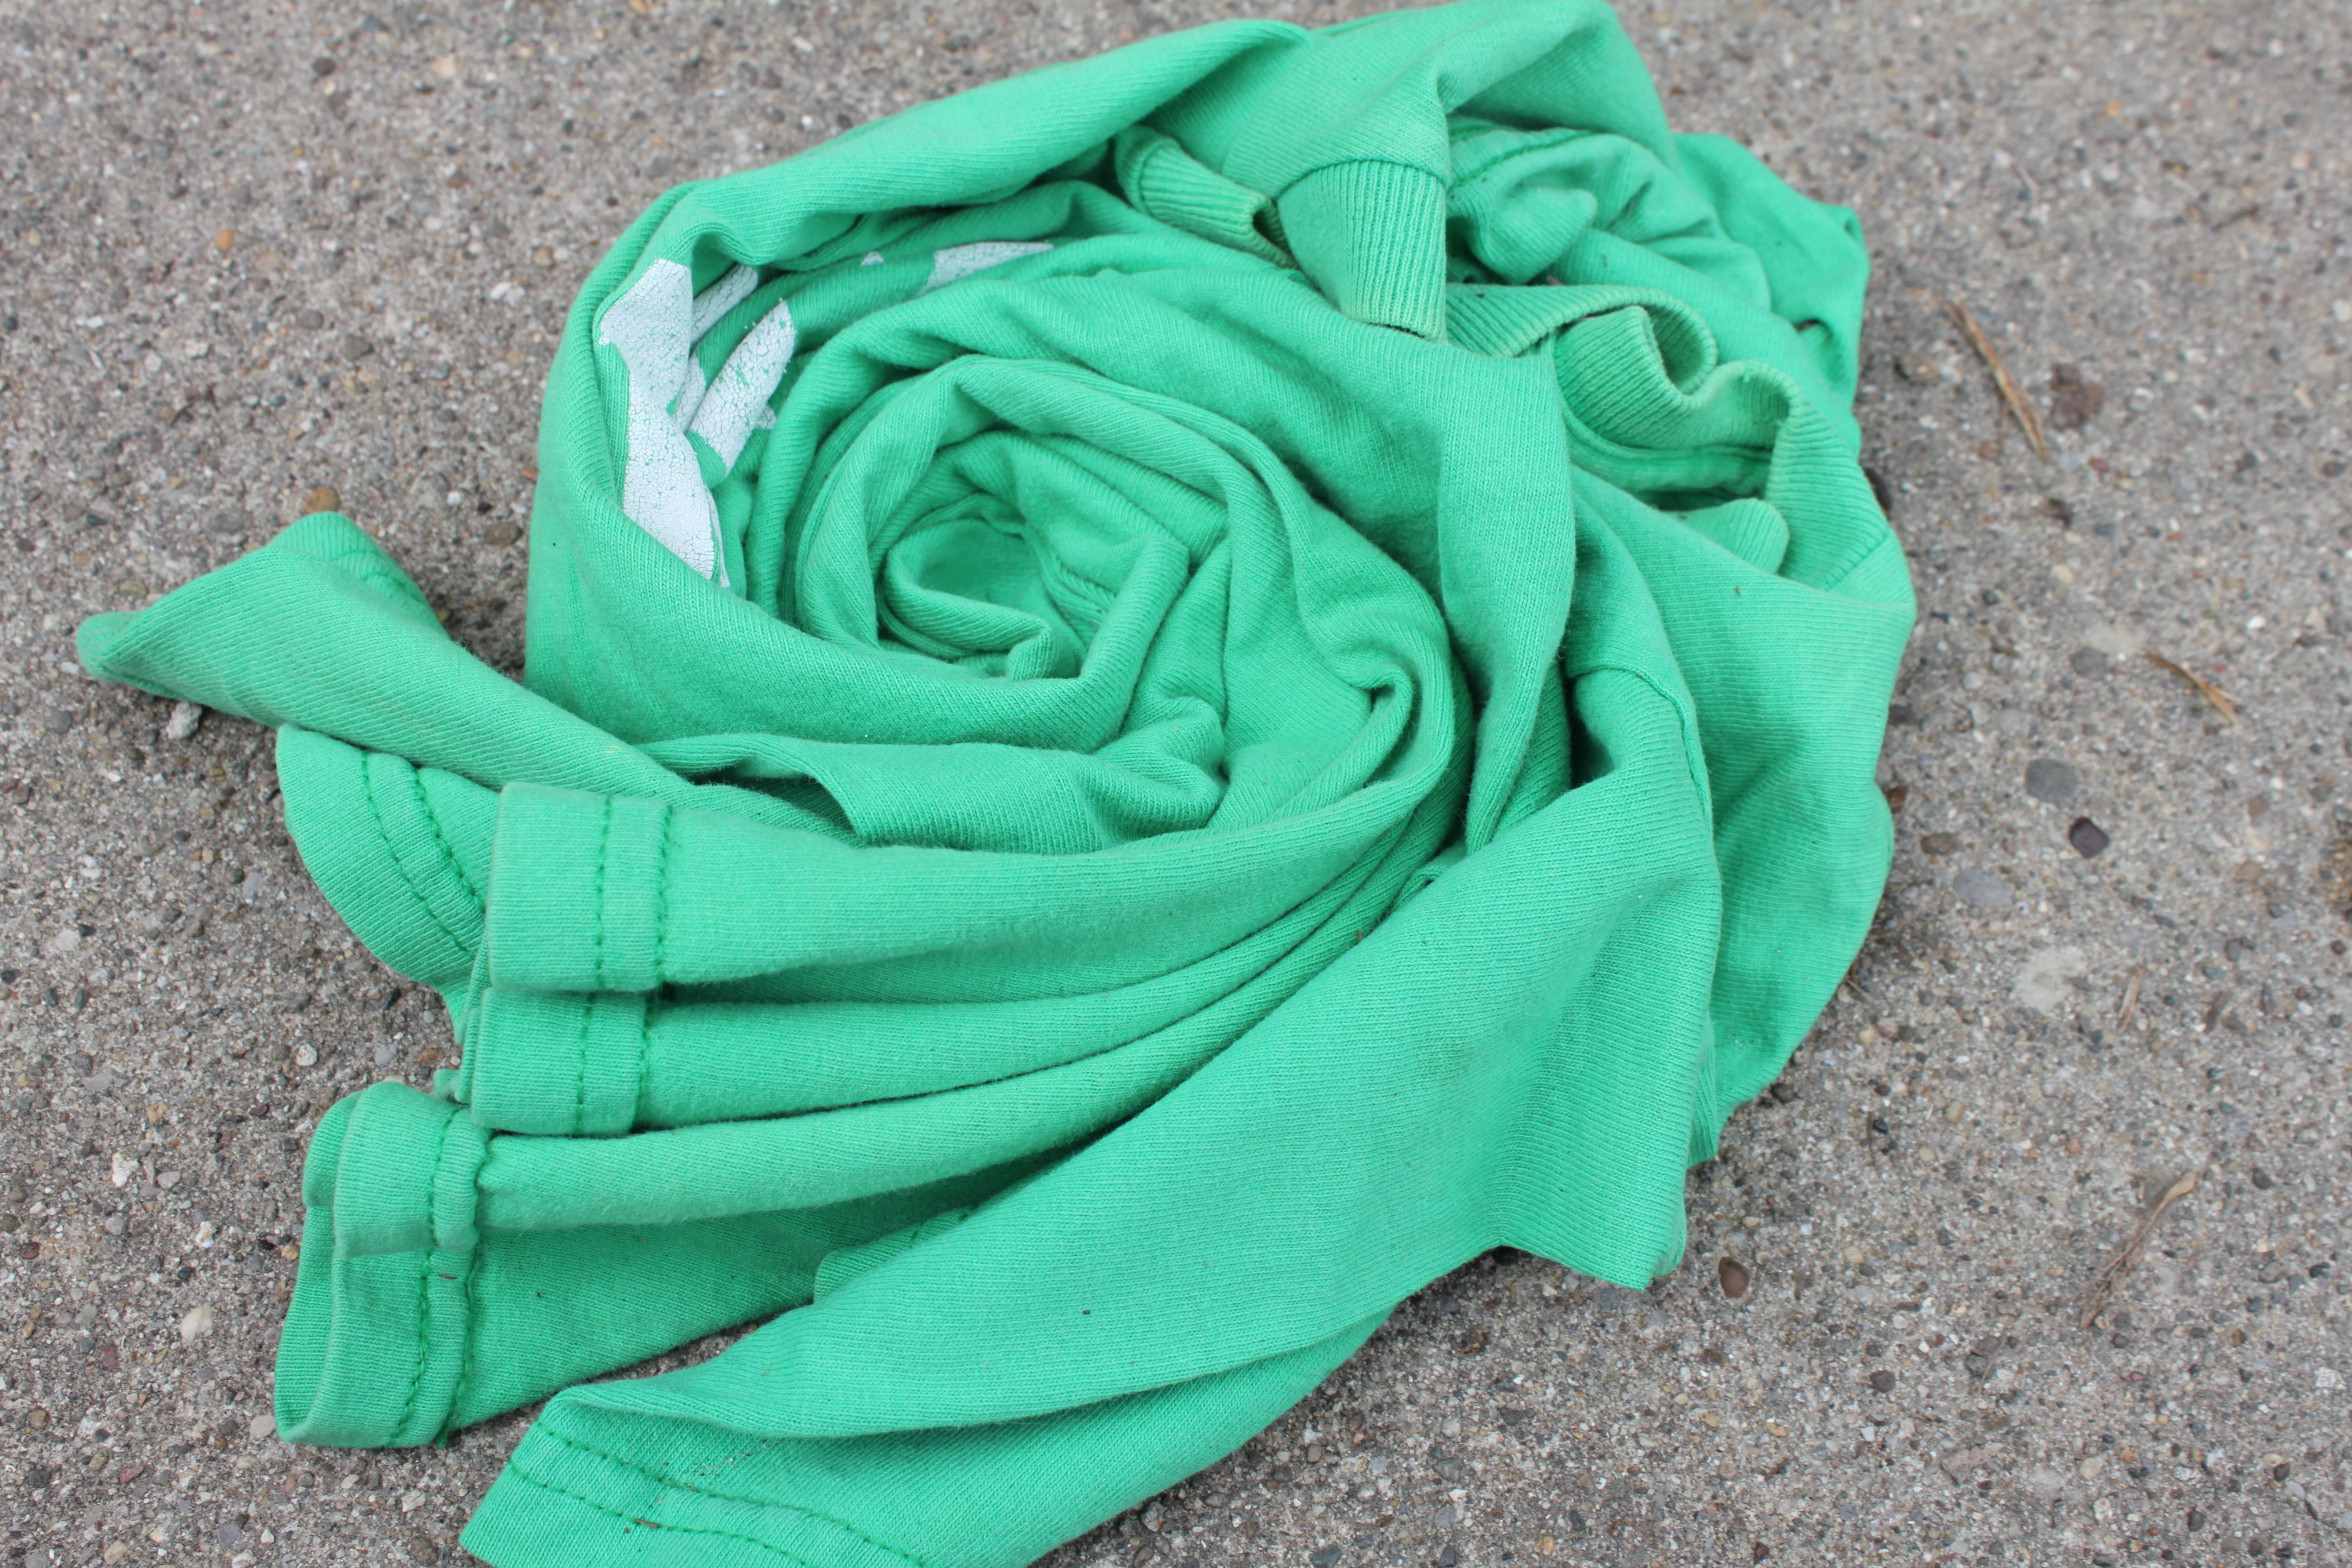
- Once you have it spun completely around, grab your hair ties and place them all around like how you’d slice a pizza, if that makes sense?
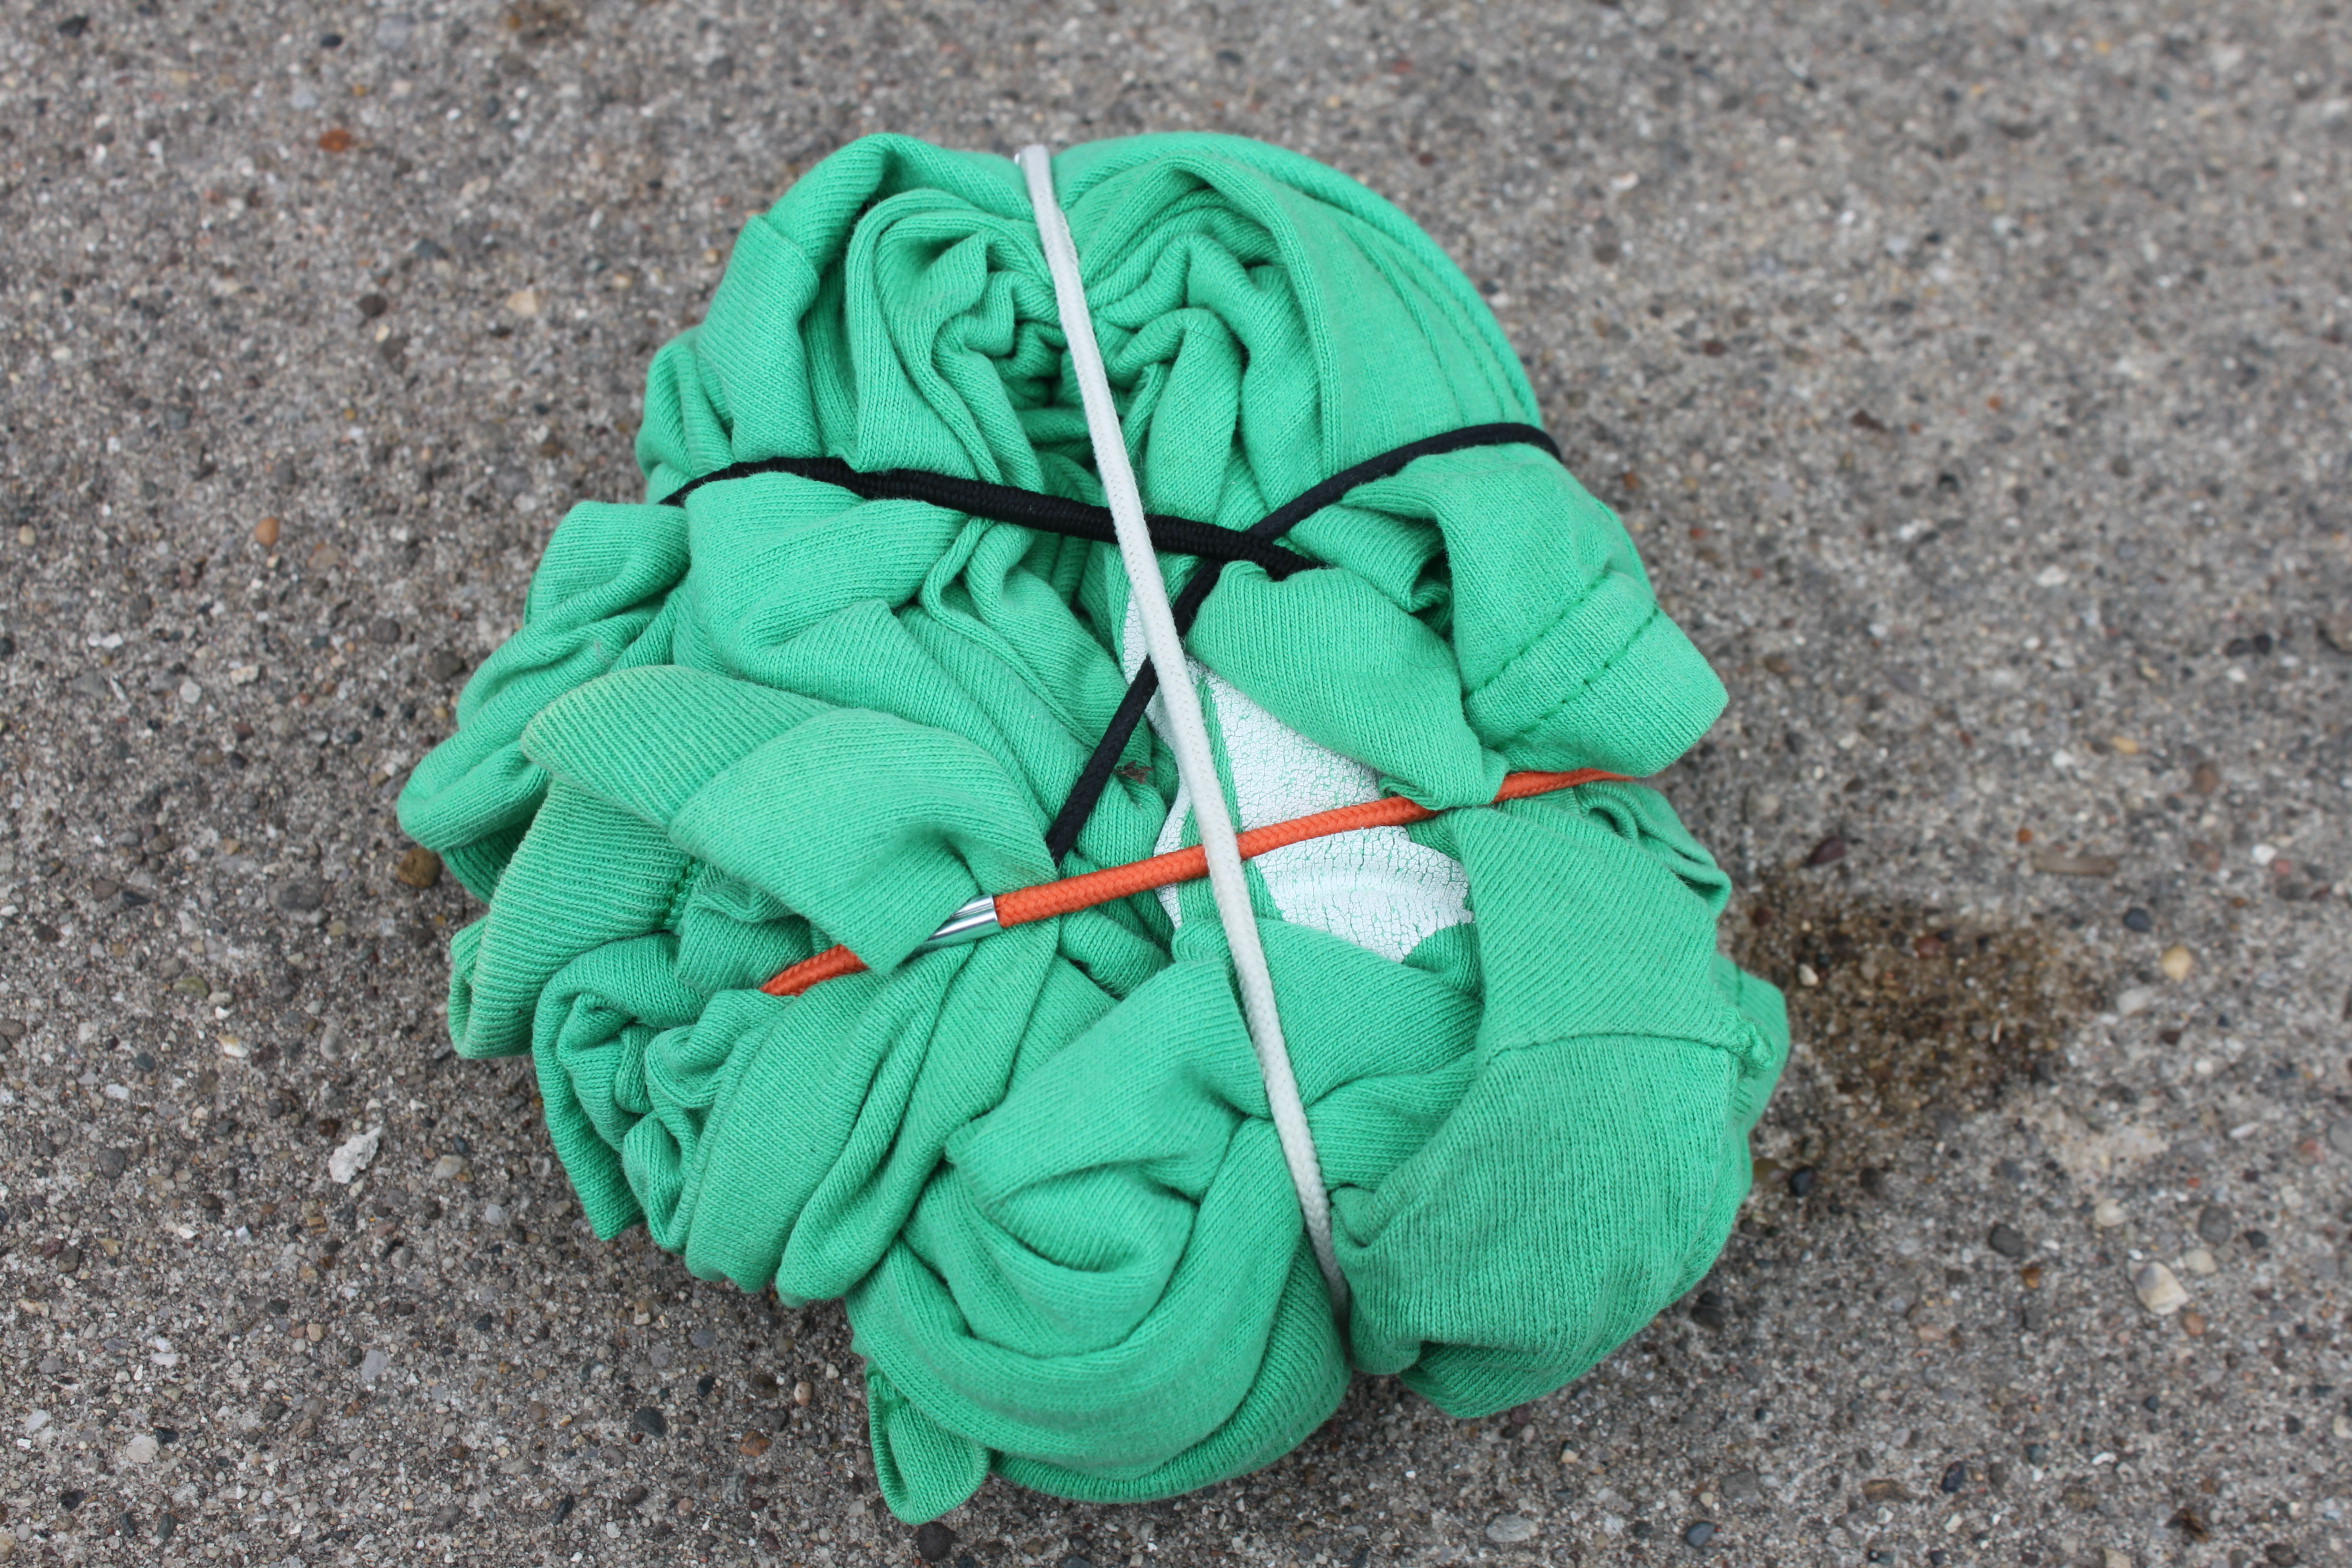
- Now grab your bottle of bleach/water and cover majority of both sides with the liquid.
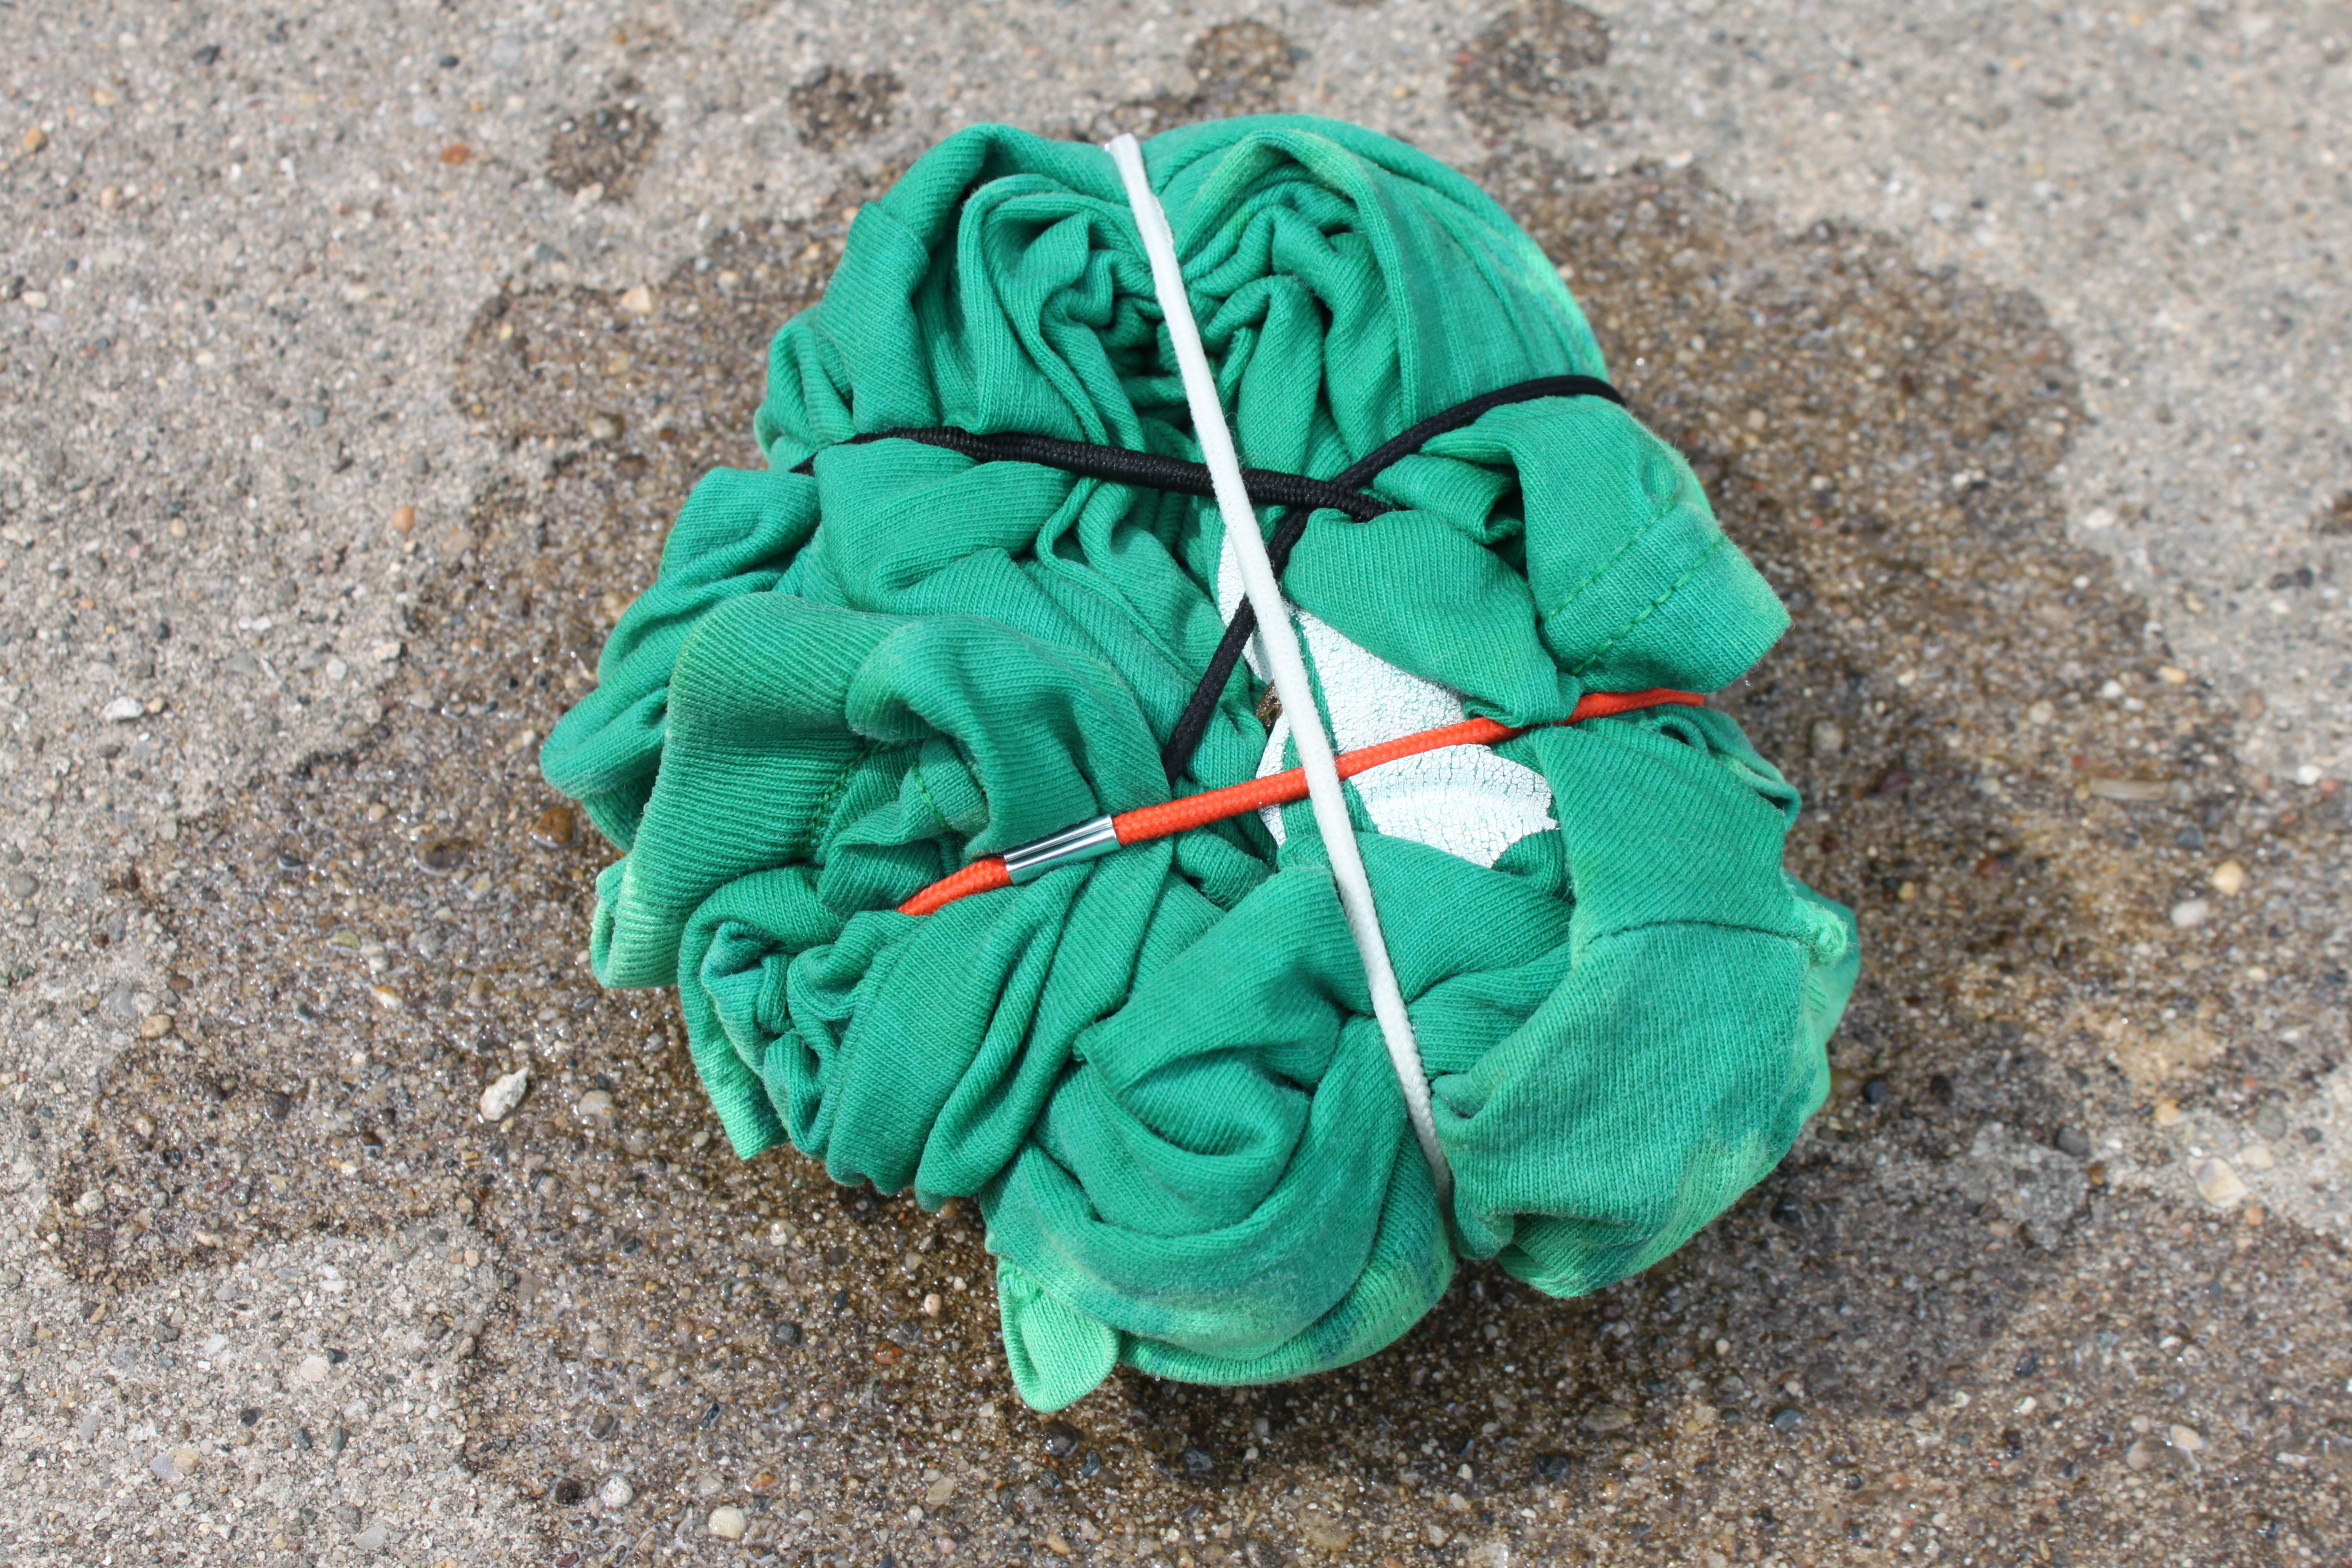
- Let sit for about 15 minutes, or until the bleach has reached your desired color.
Style Two;
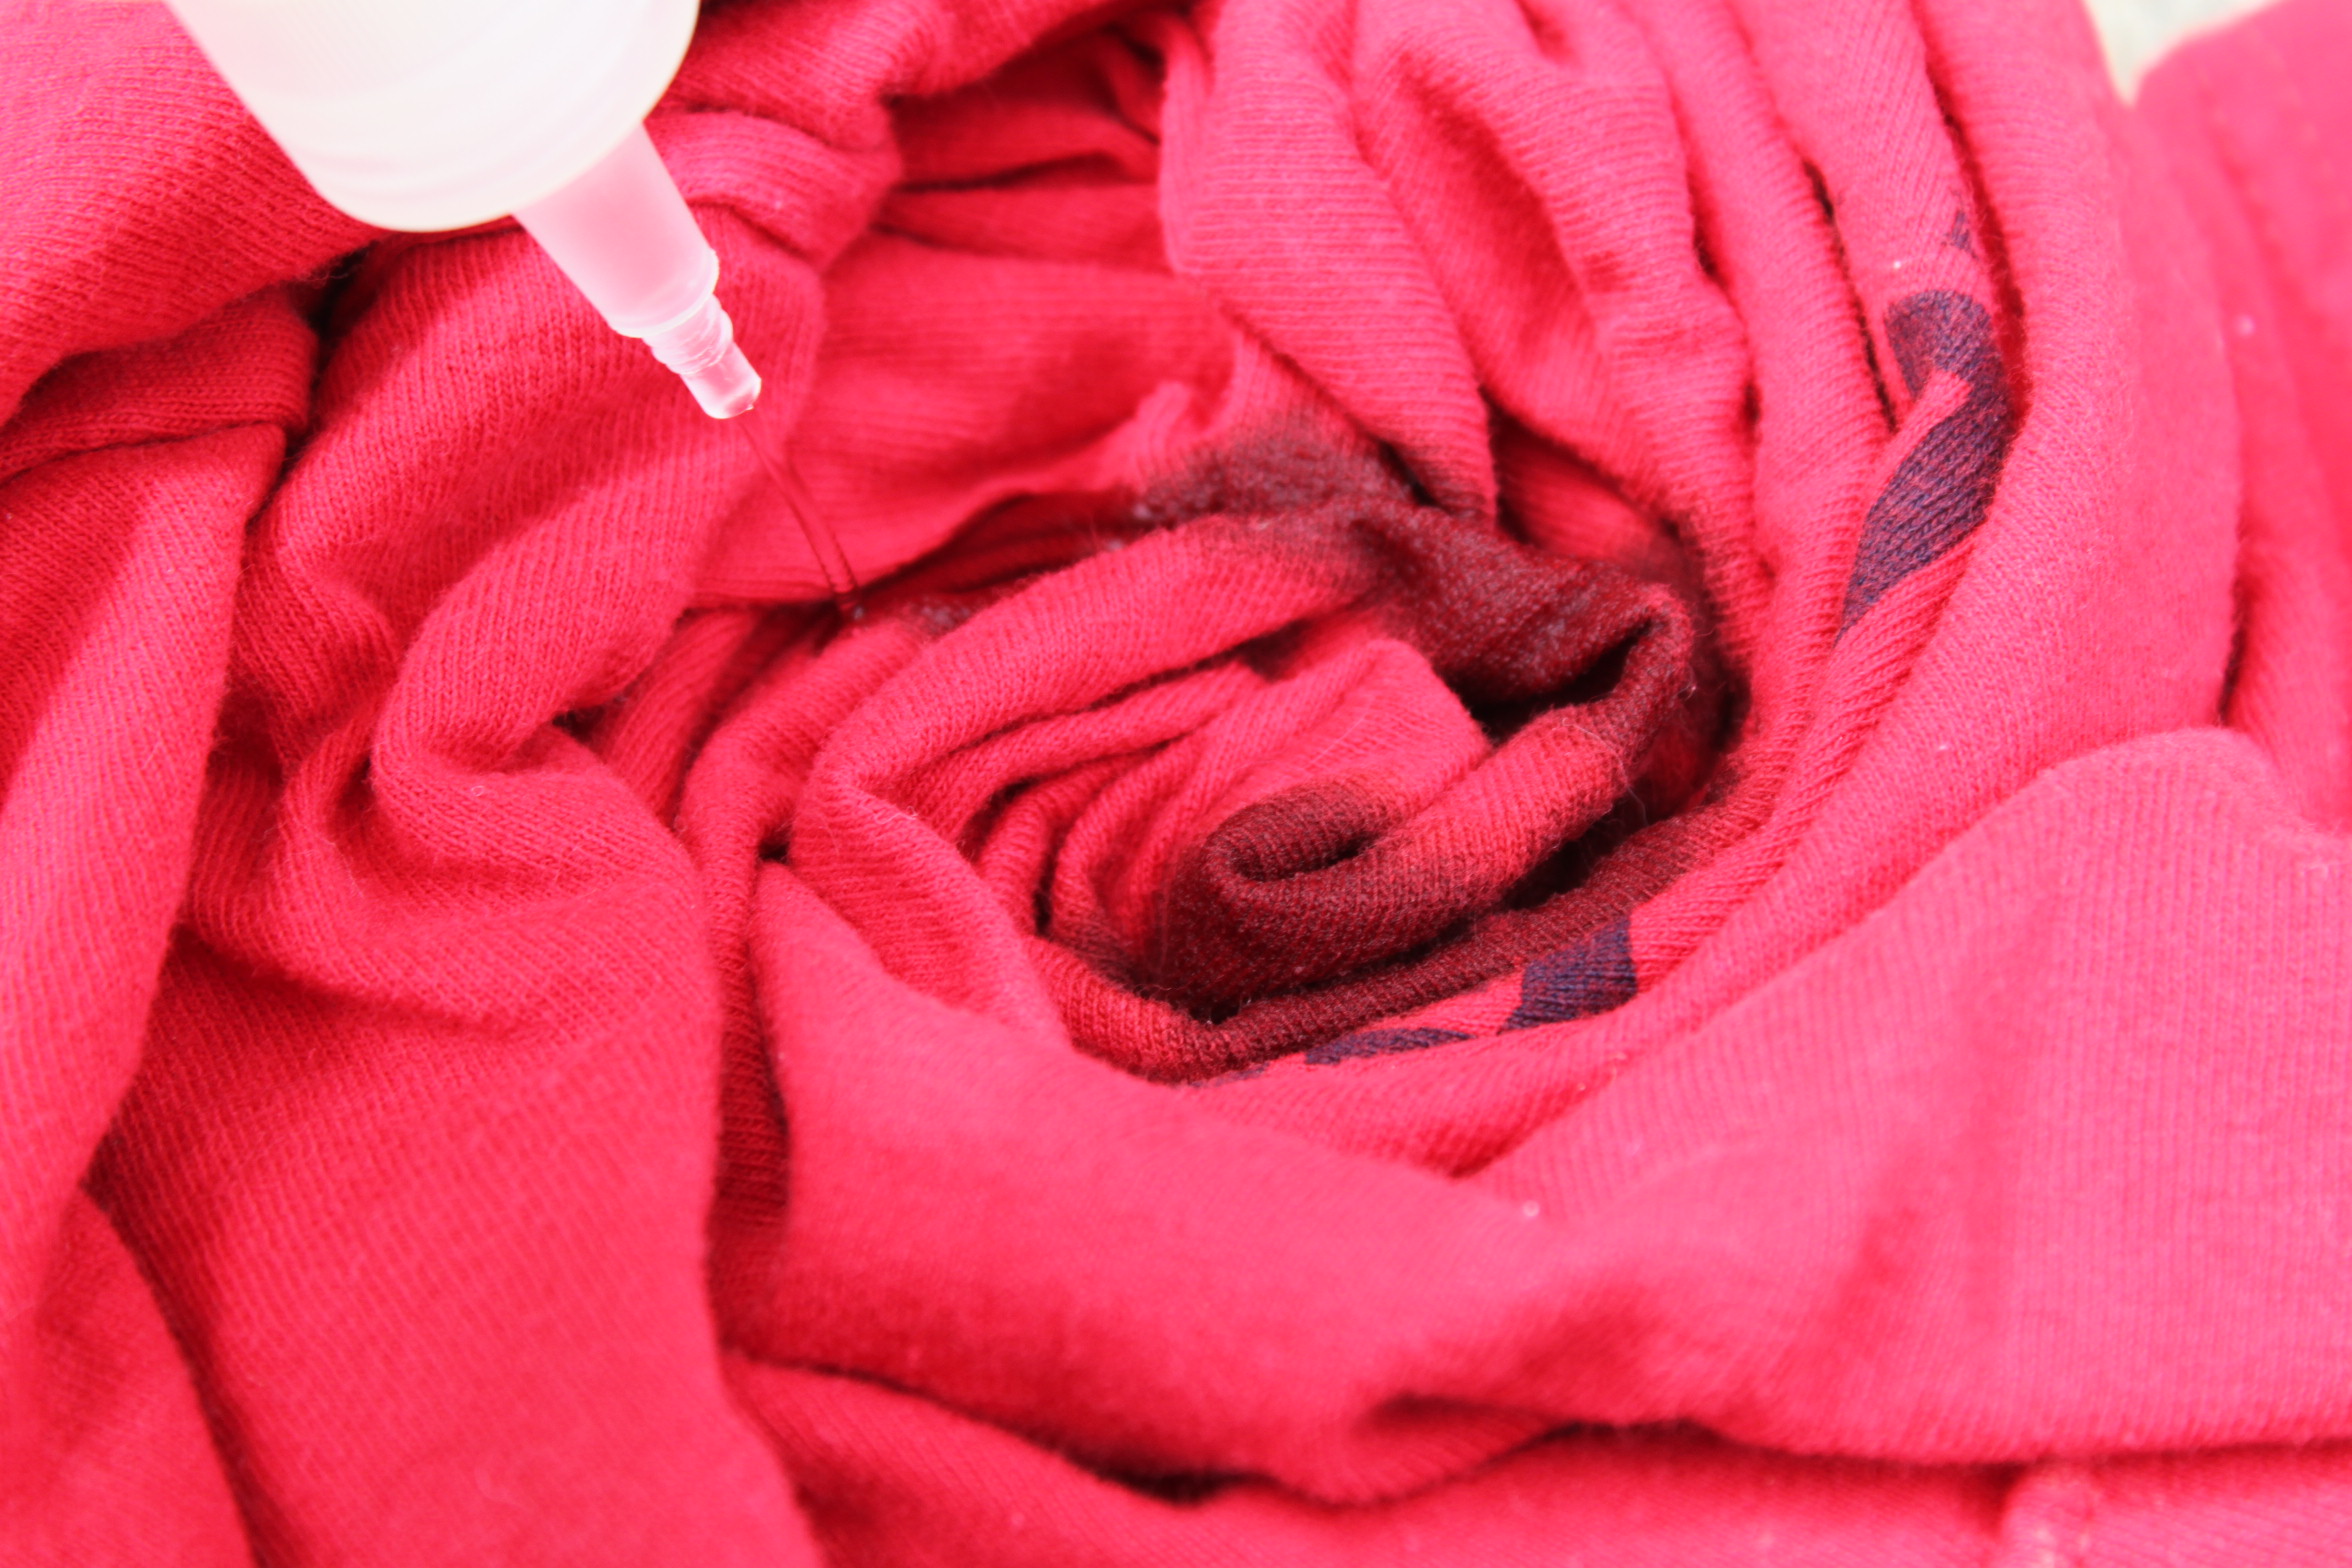
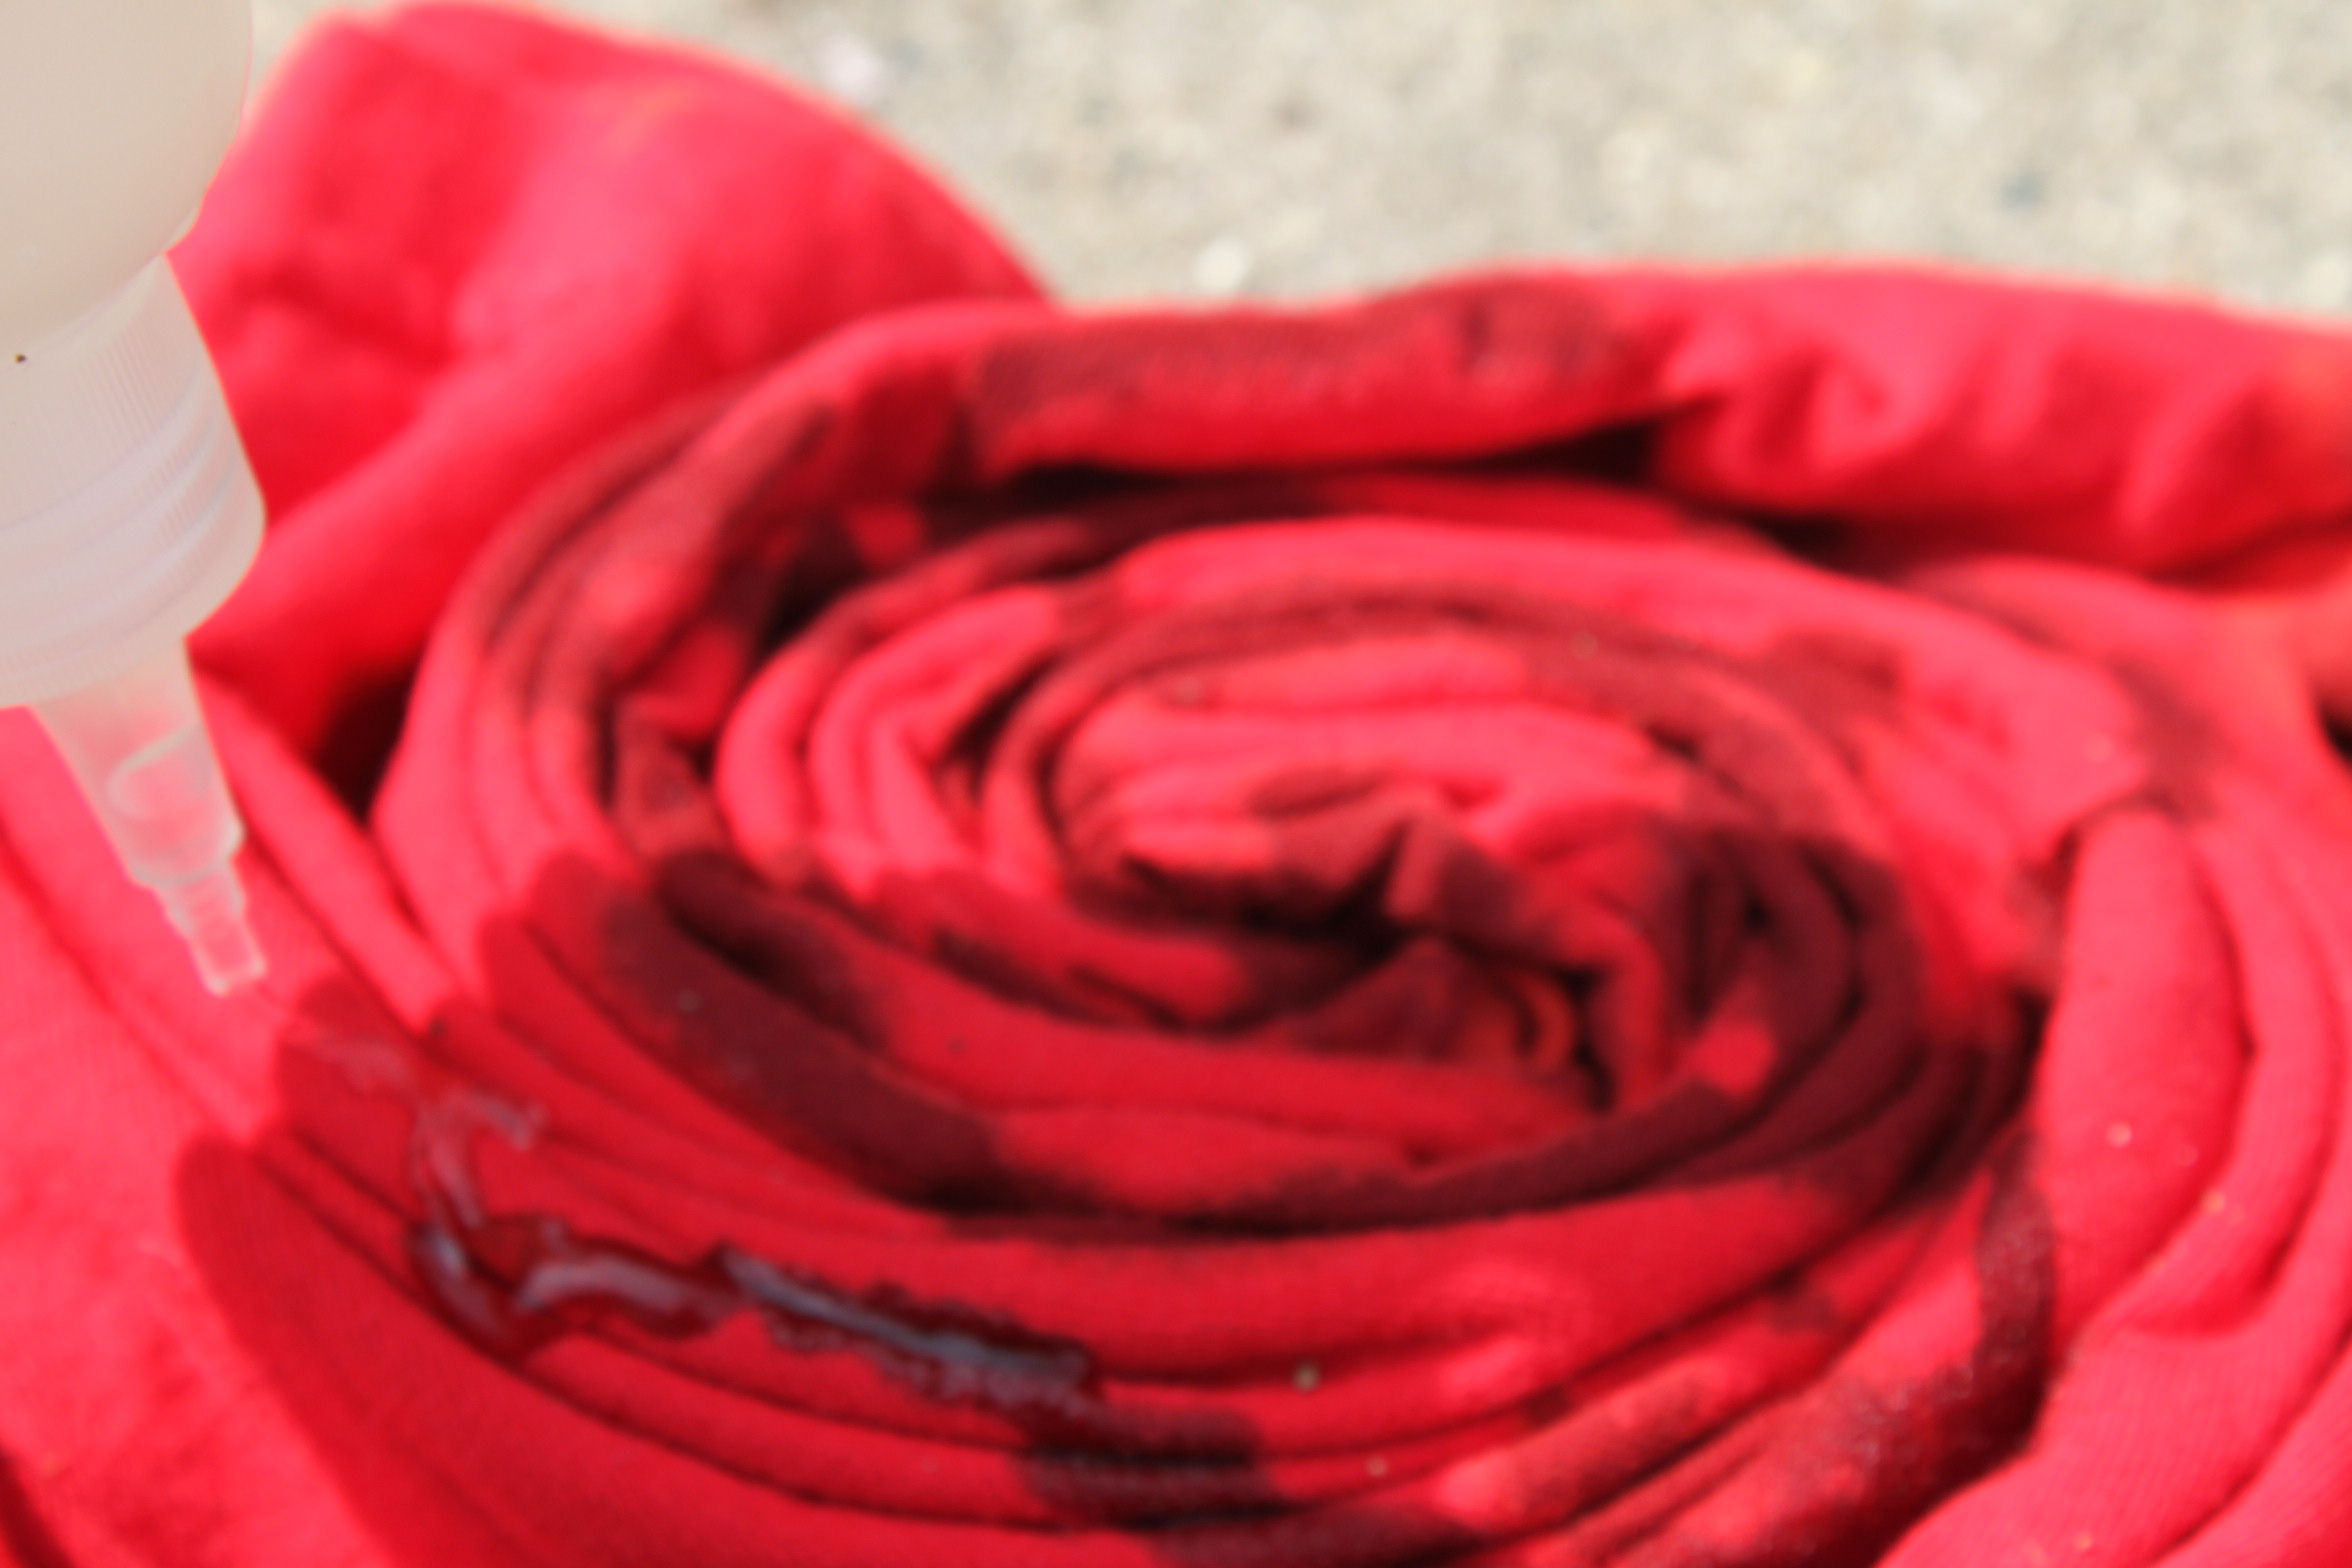
- Grab your shirt and begin spinning counter-clockwise like in Style One.


- Now, we are not going to use hair ties for this one. So, the next step is to grab the bottle of bleach/water and put some liquid in the middle of the spiral and follow some of the lines until you get to the outside of the shirt.

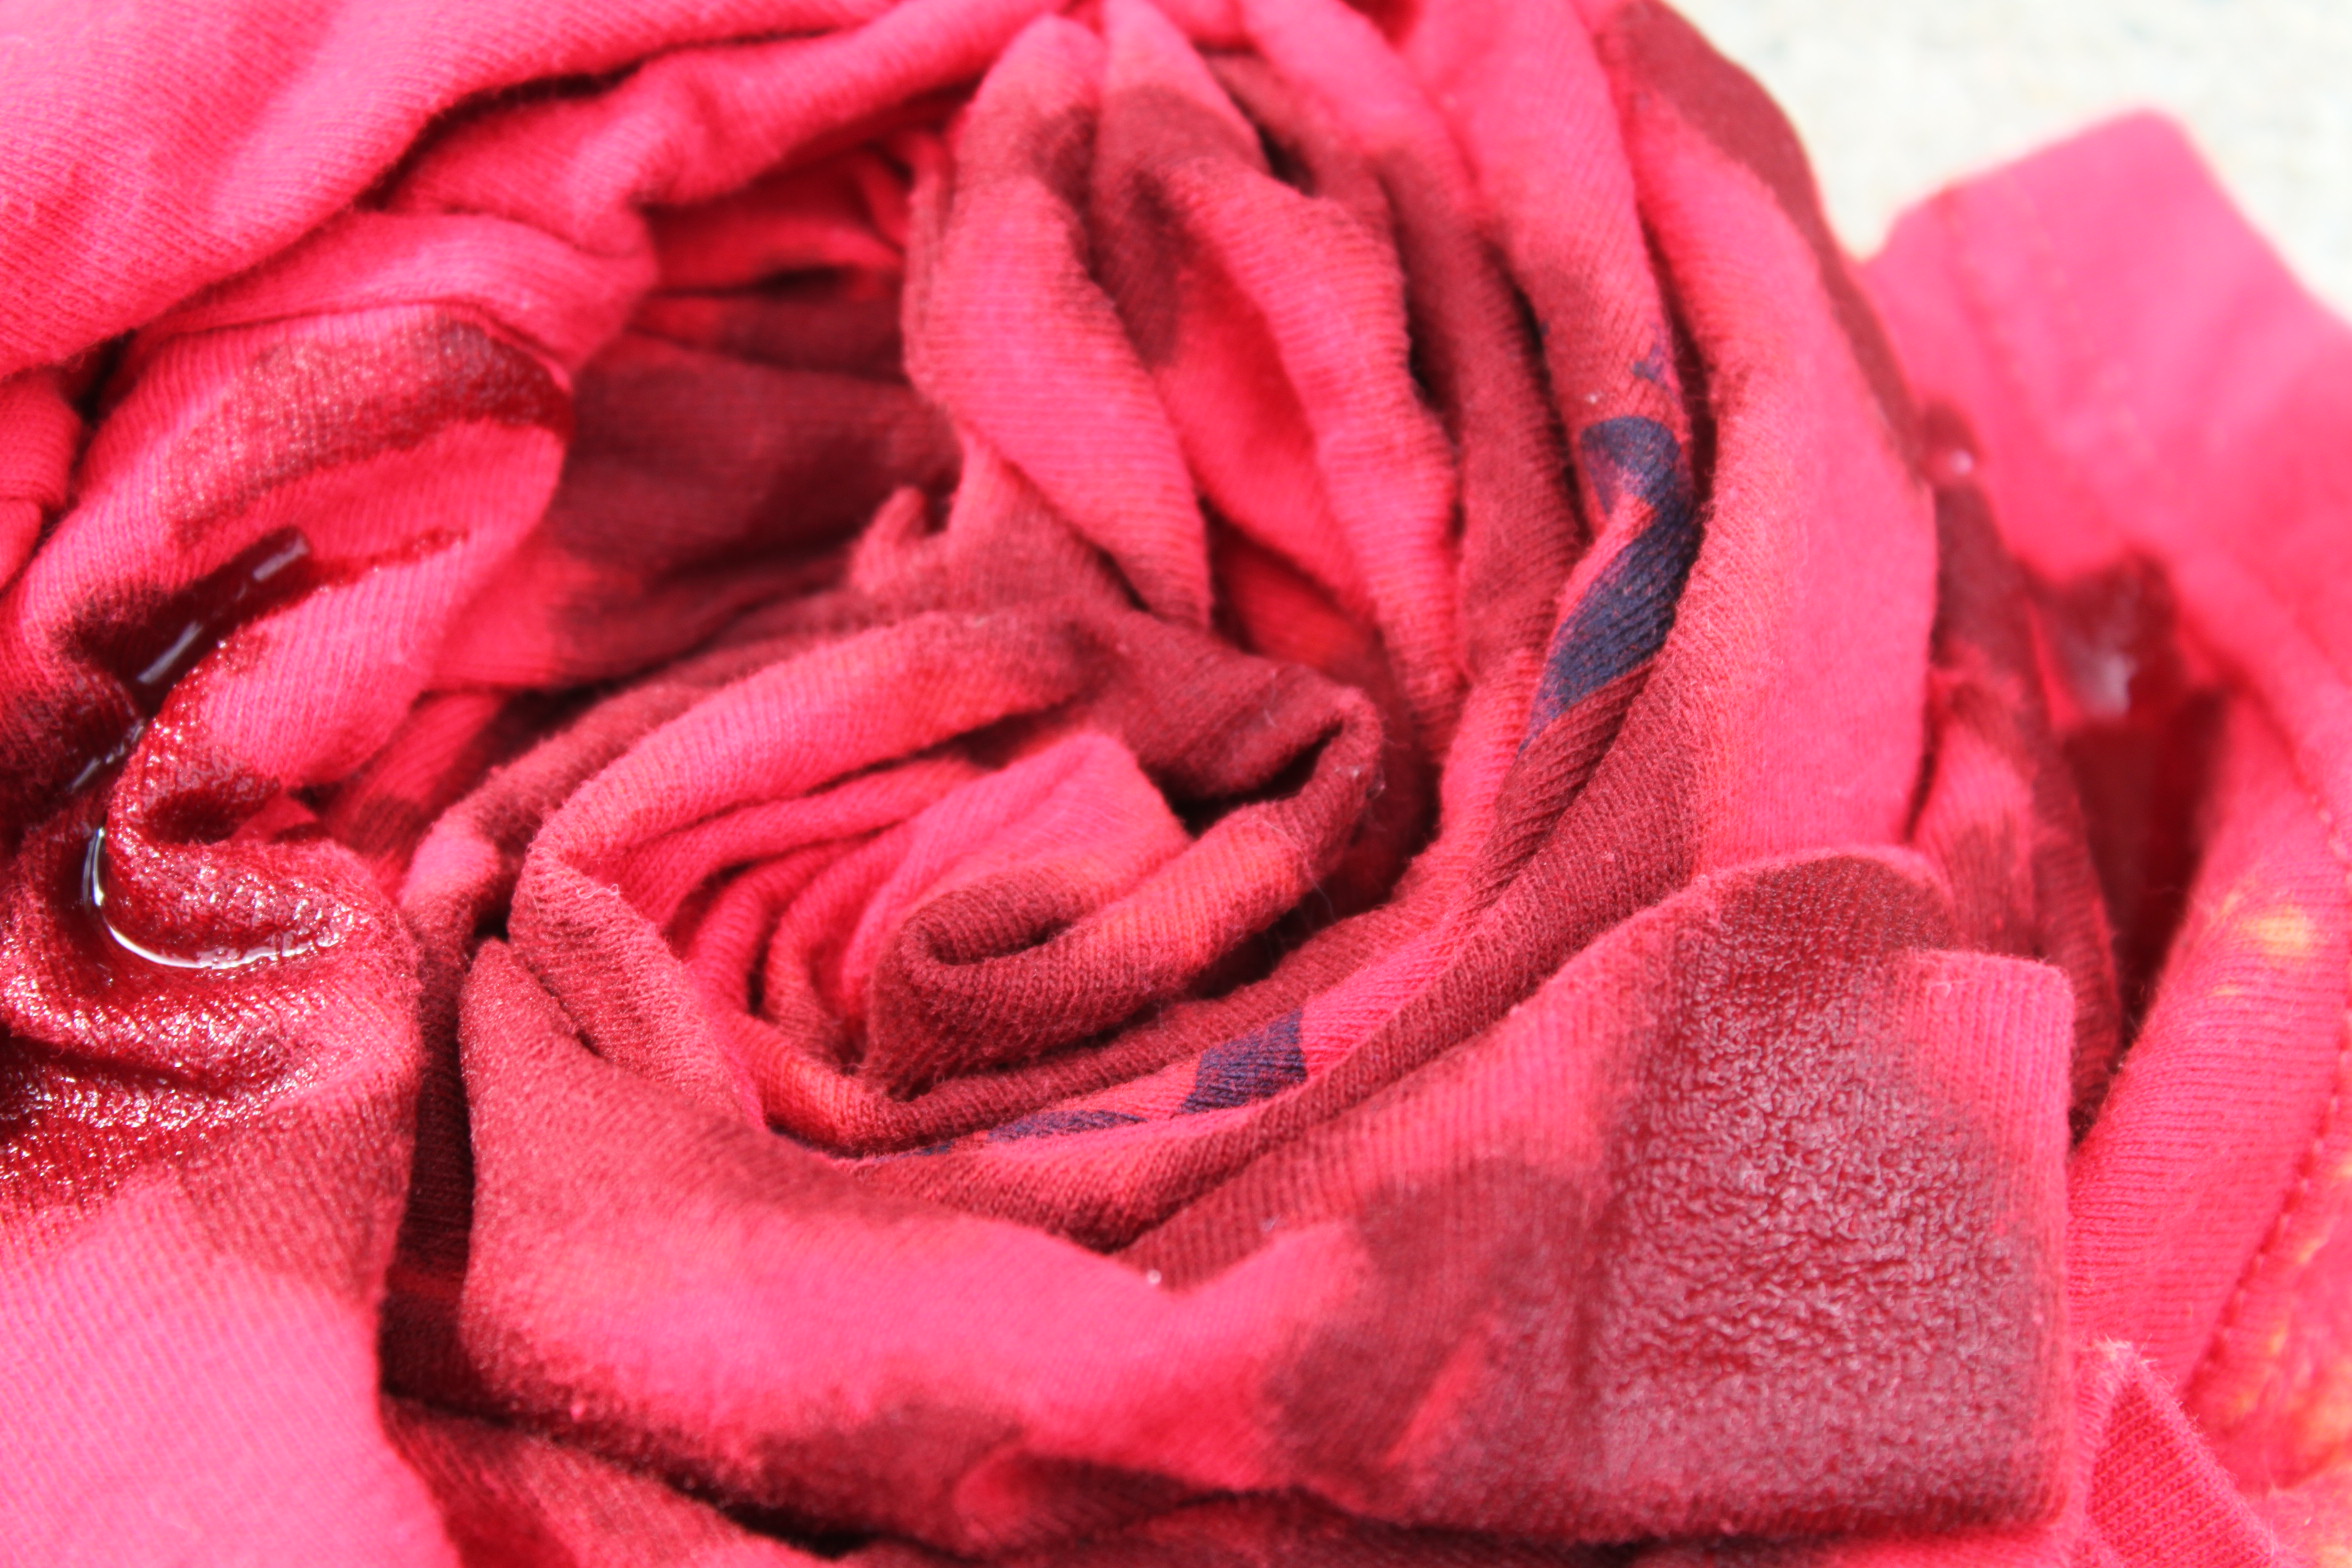
- Flip over this shirt carefully, keeping it spun. Repeat spiral with liquid on the new side. (This side will be easier to see the spirals.)

- Let sit for 15 minutes or until bleached to the color you desire.
Style Three;
- Grab your shirt and lay it out flat.

- Take your bottle of bleach/water and begin making whatever designs you like. (For a more precise design such as words. Use a Bleach Pen
!)
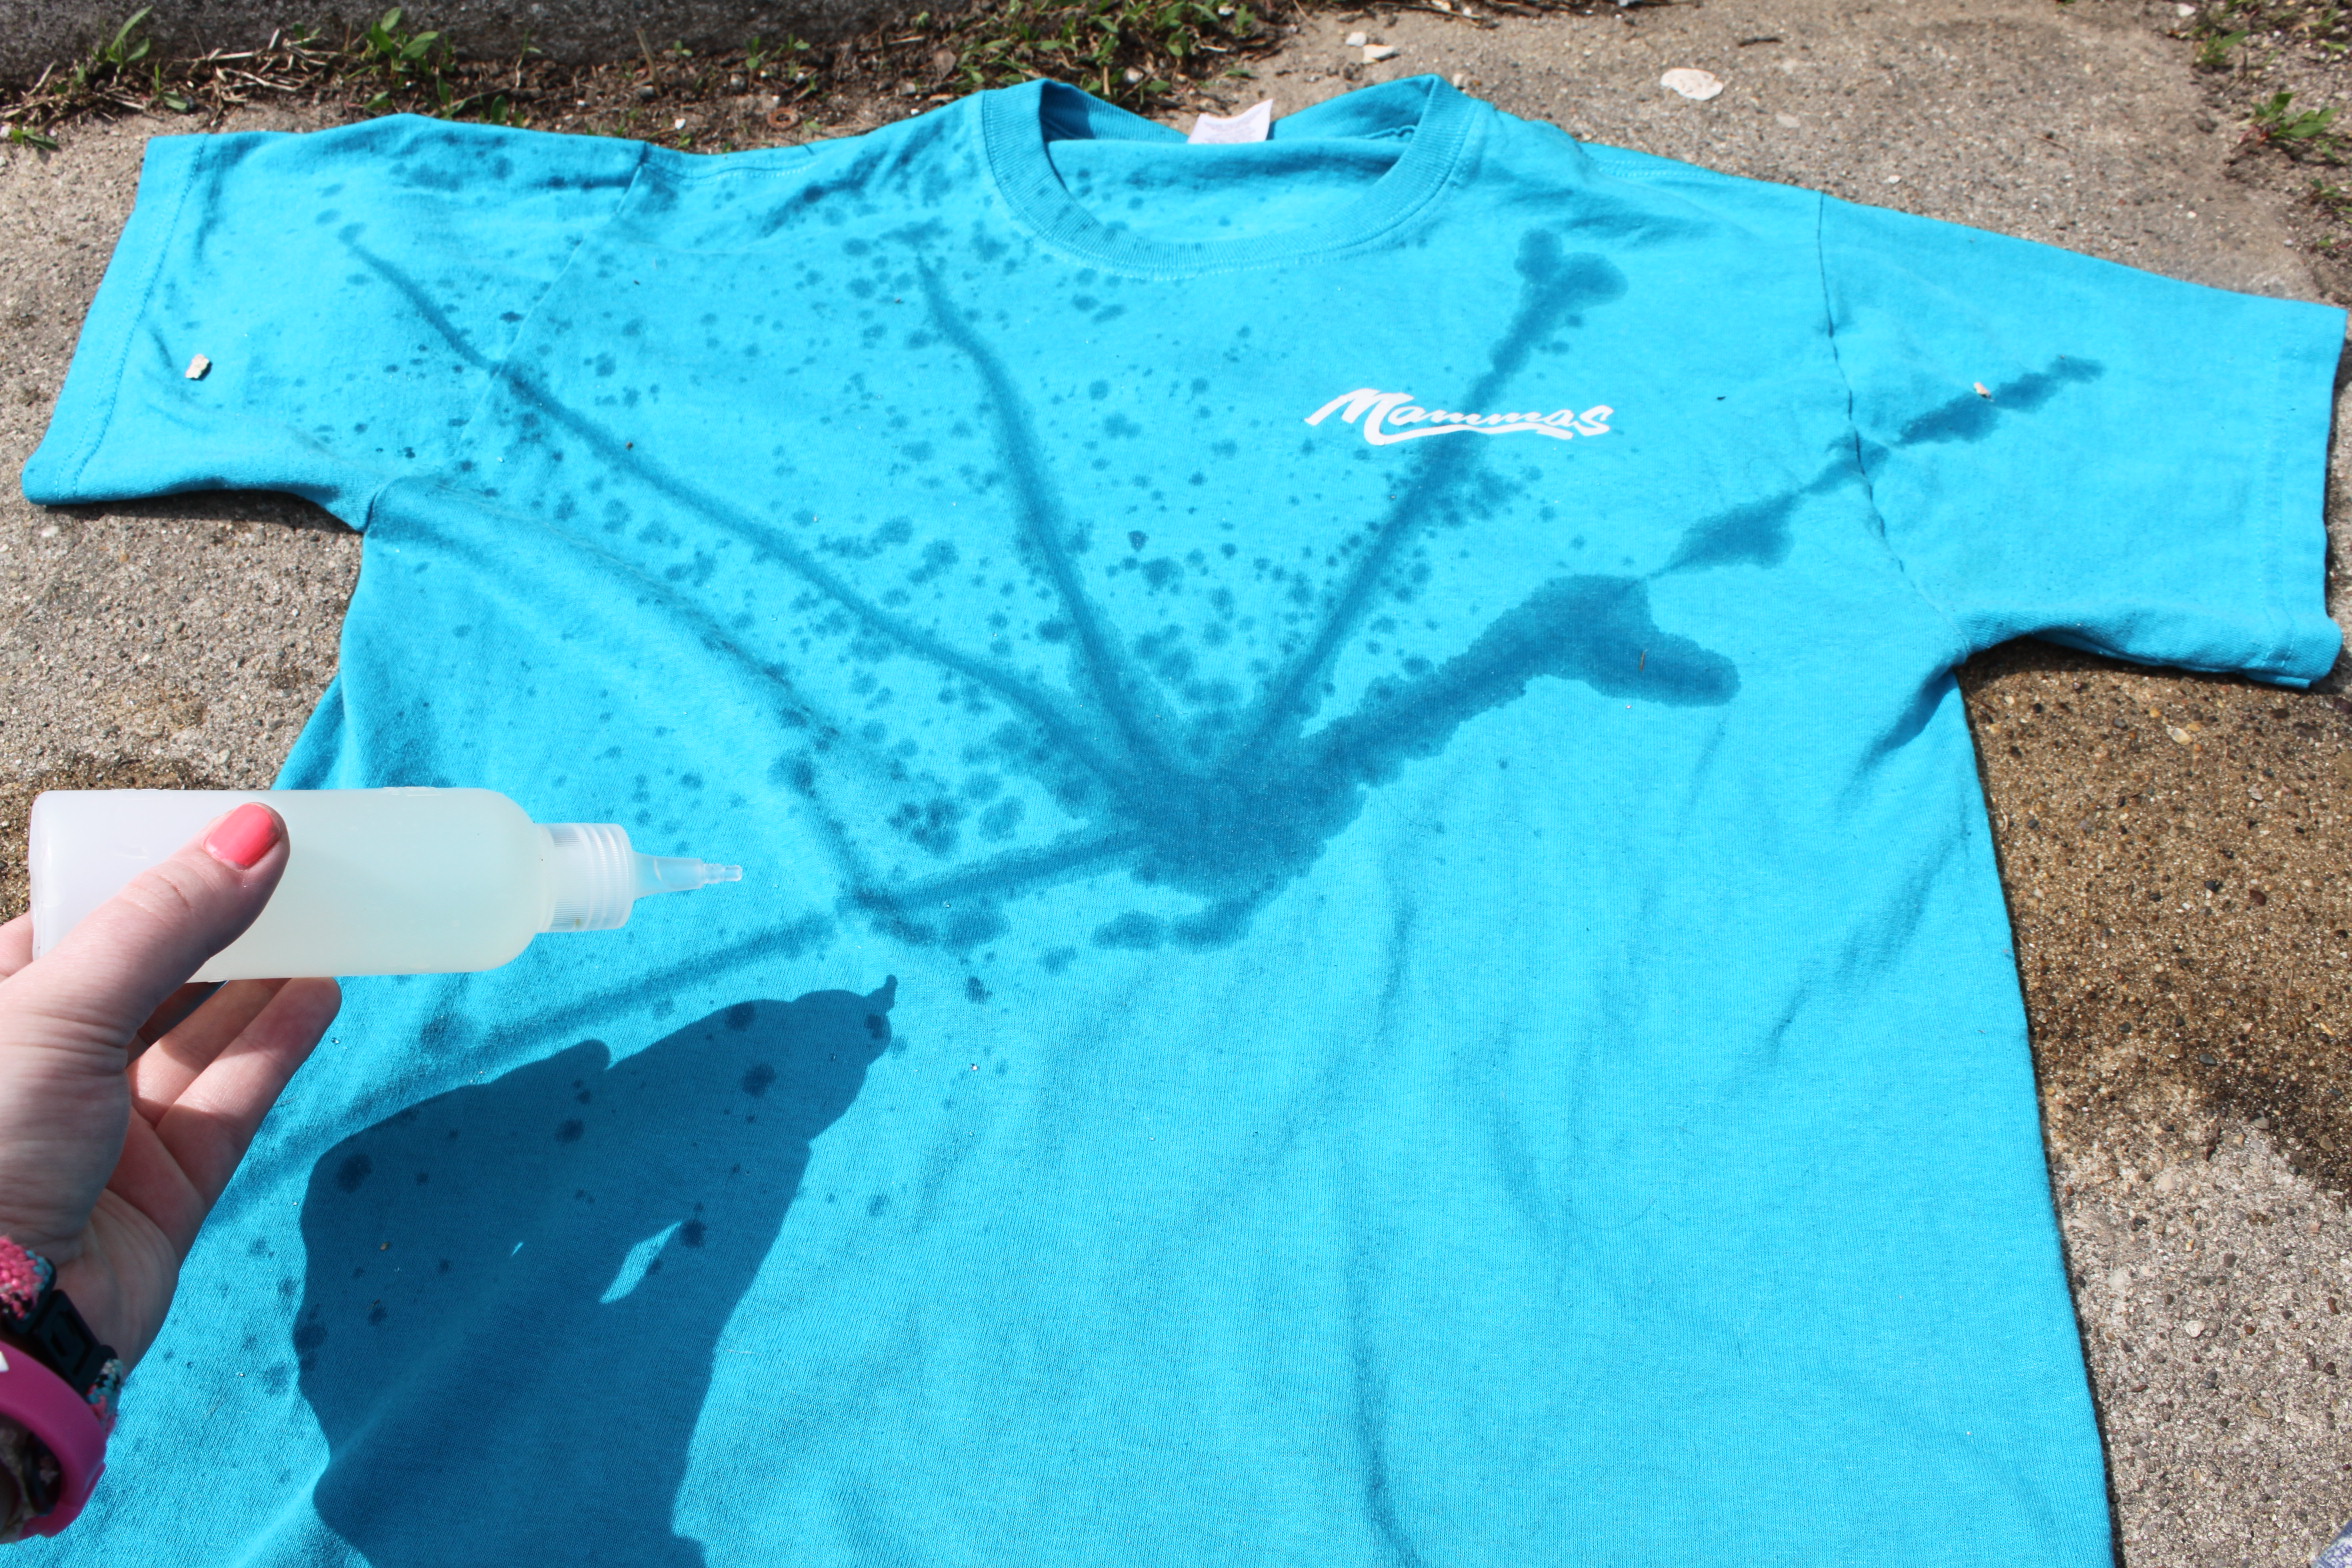

- Flip over and repeat.

- Let sit for 15 minutes or until bleach parts turn desired color.
Last step: Grab your shirts, wash them, dry them.
(I like to hand wash them to make sure the bleach doesn’t ruin other clothes.)
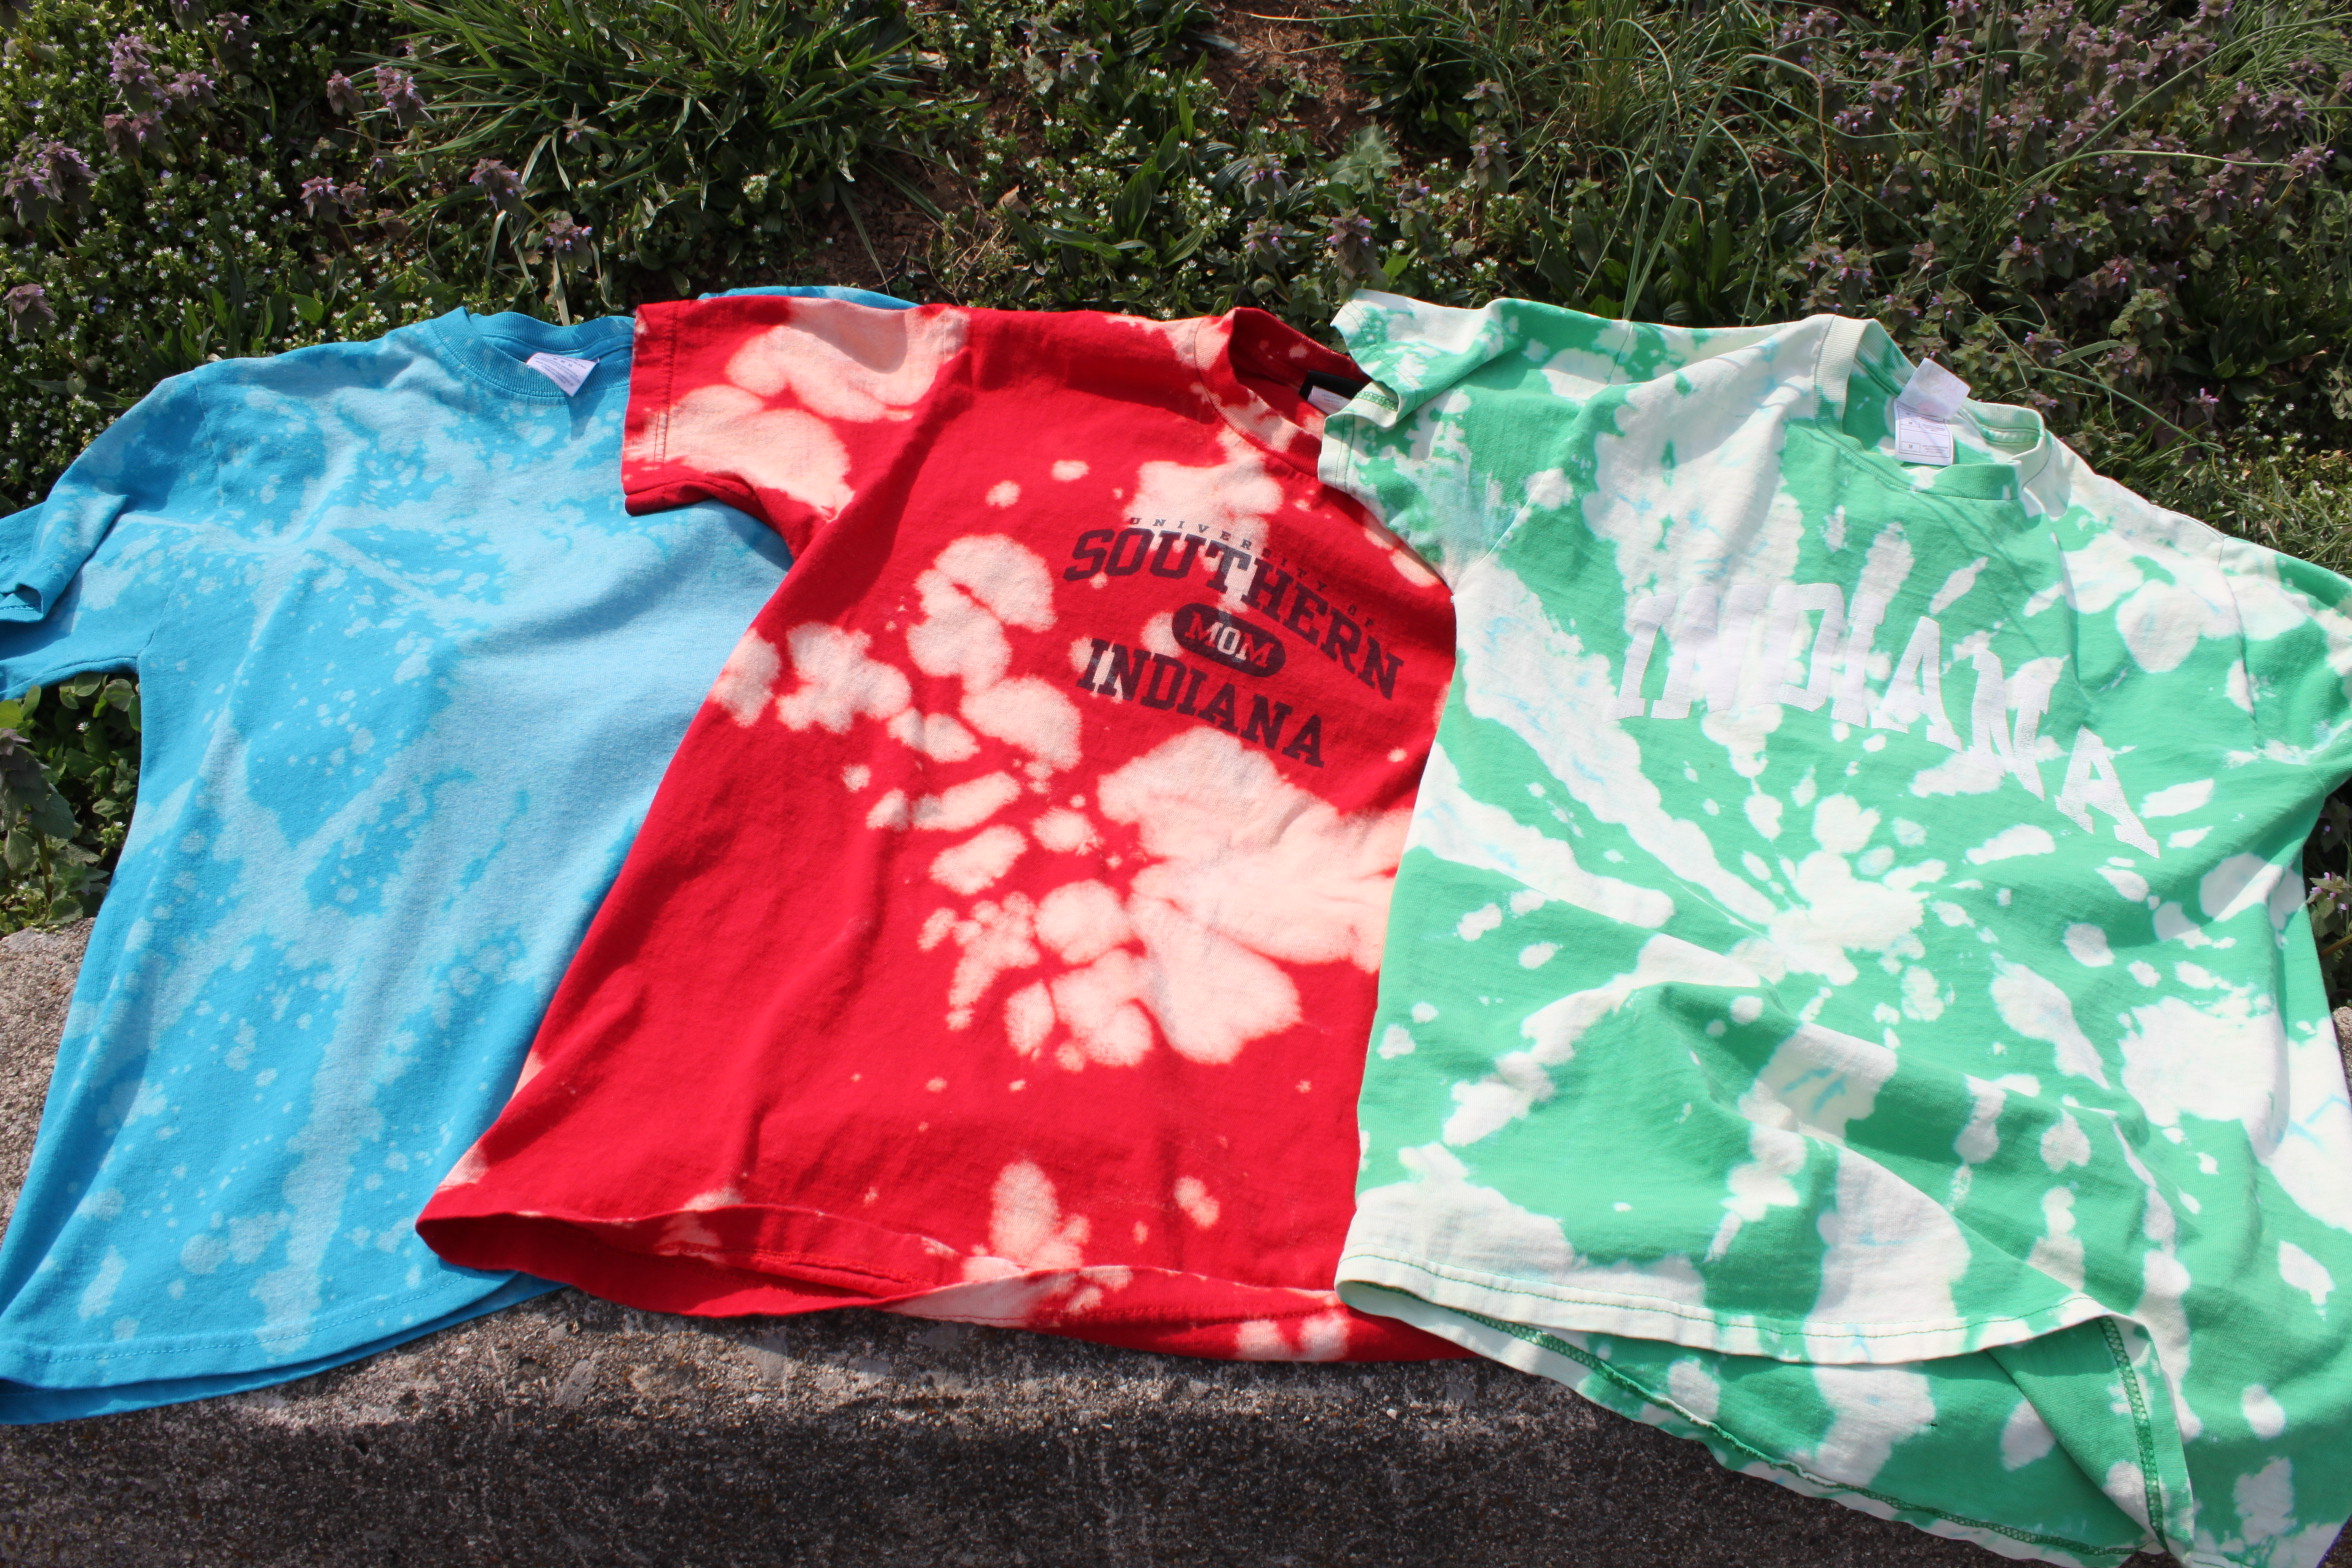
LET’S SEE HOW THEY TURNED OUT!
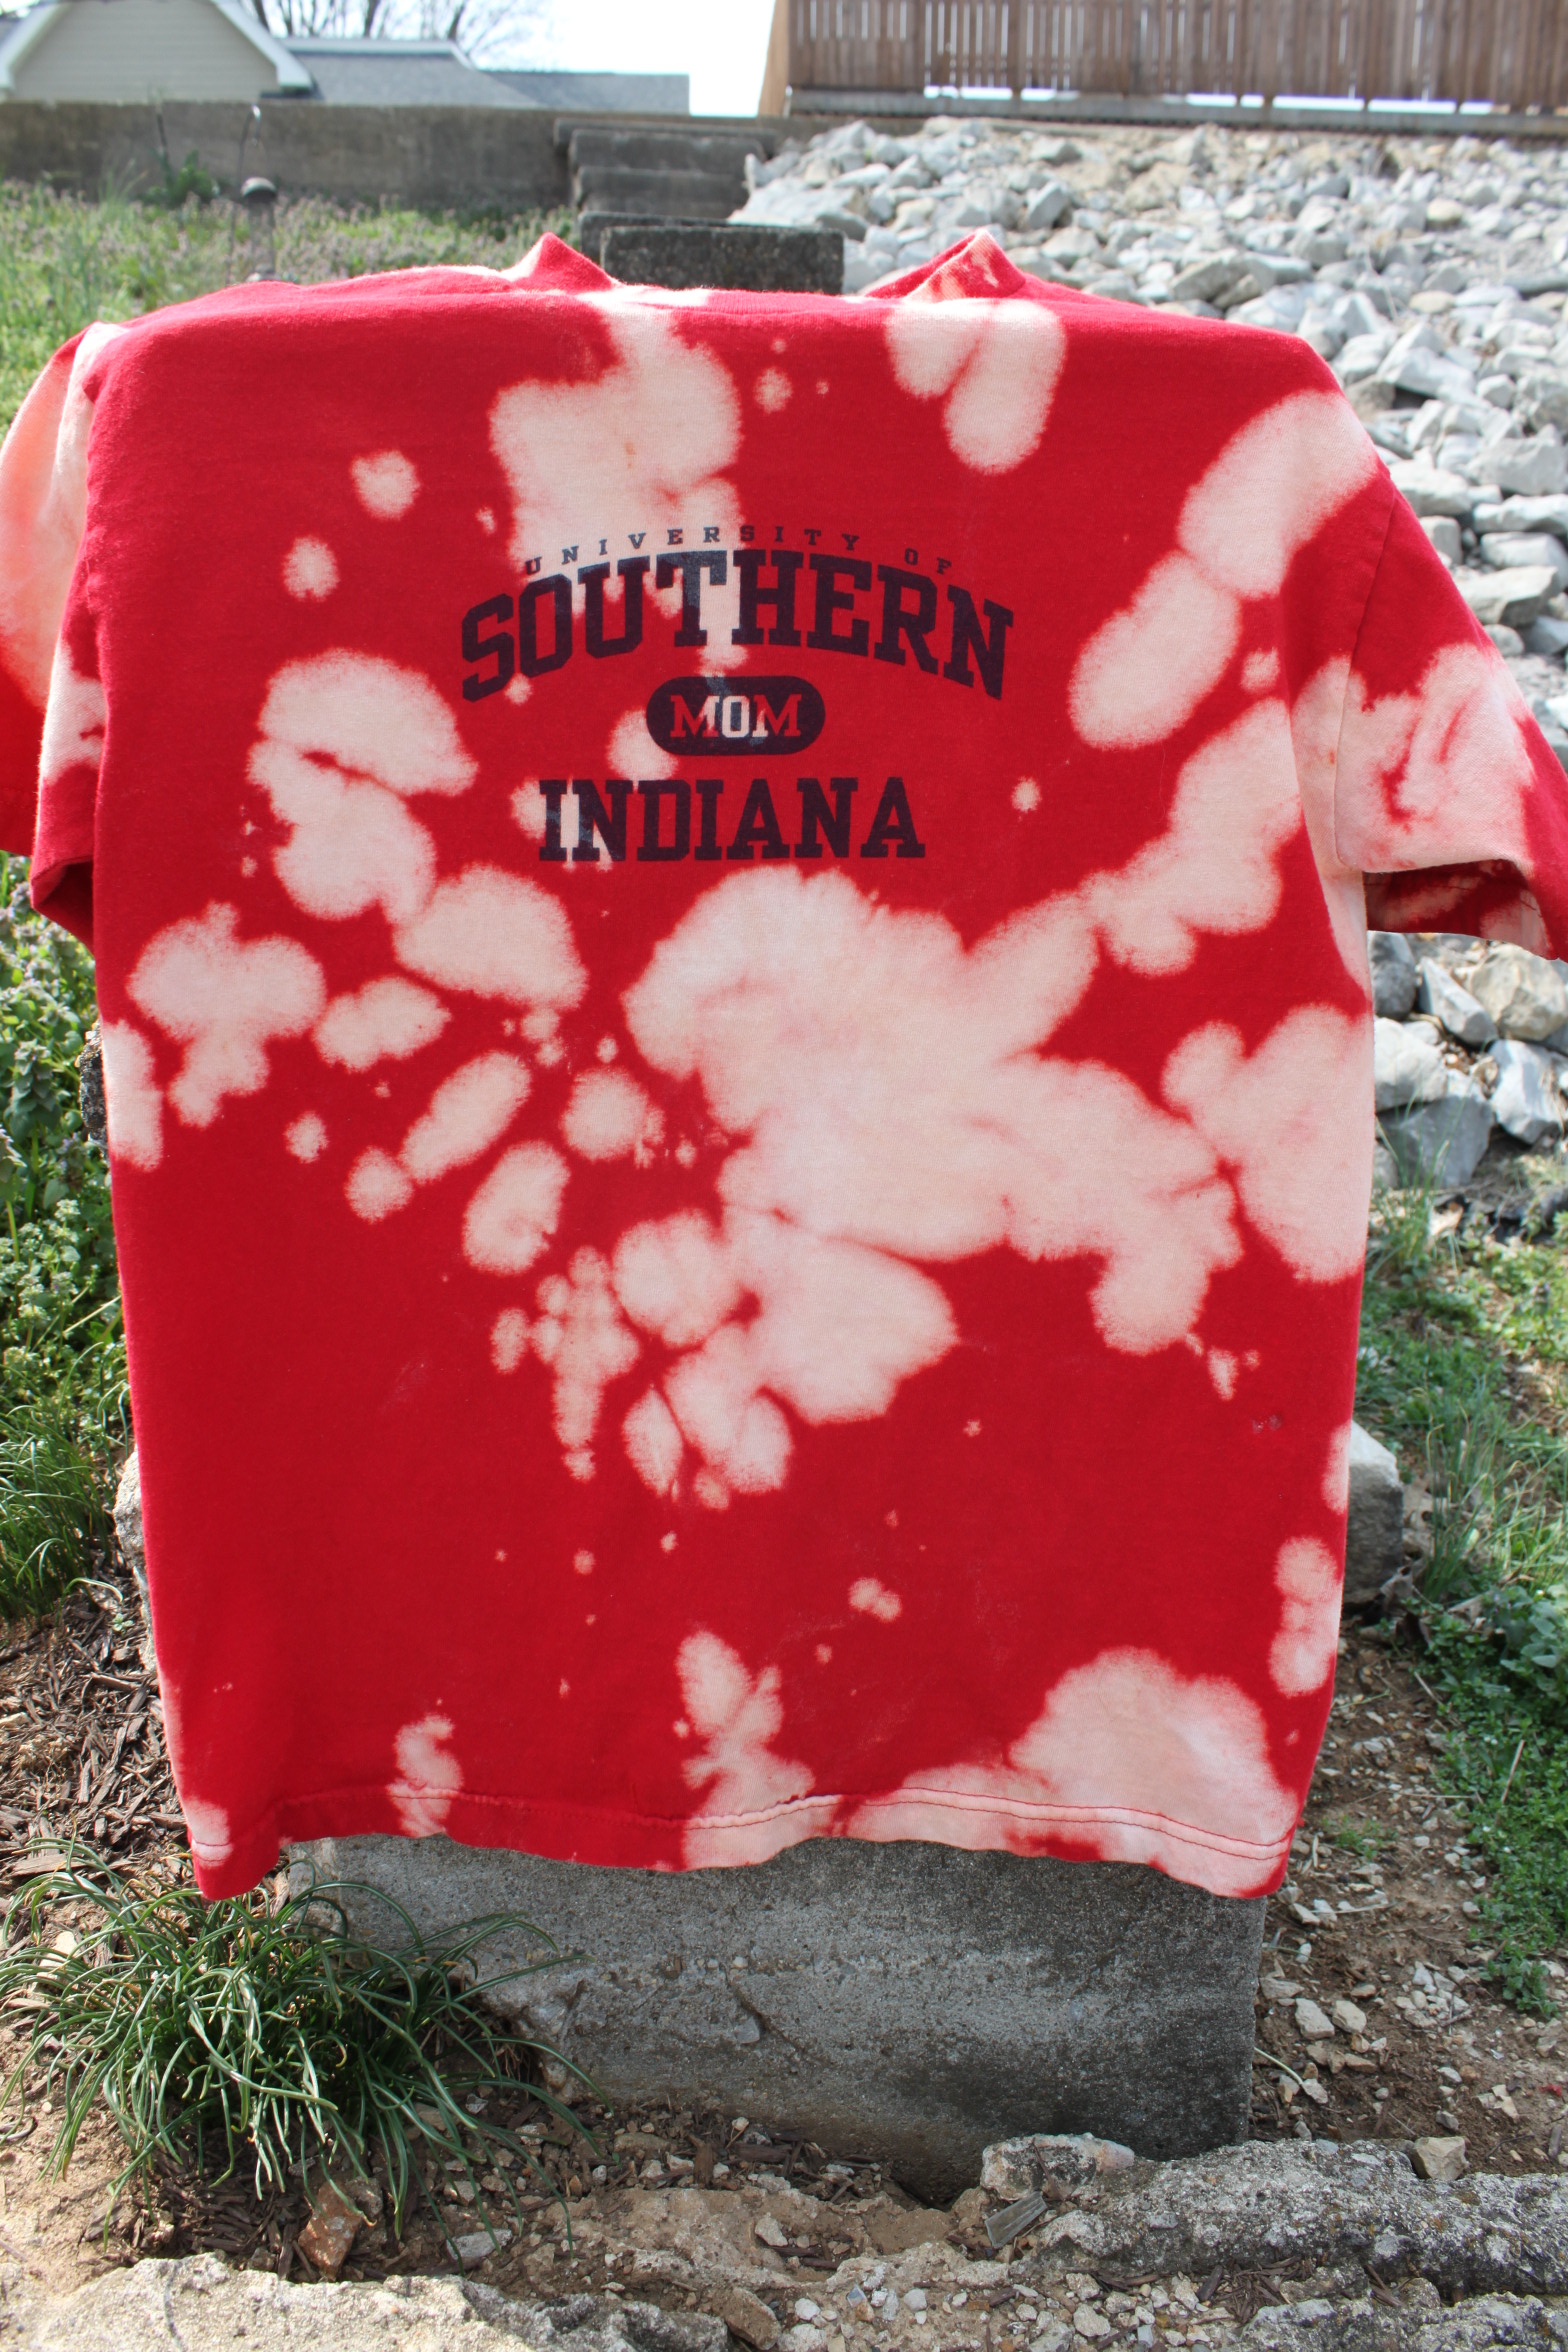
- Style One;
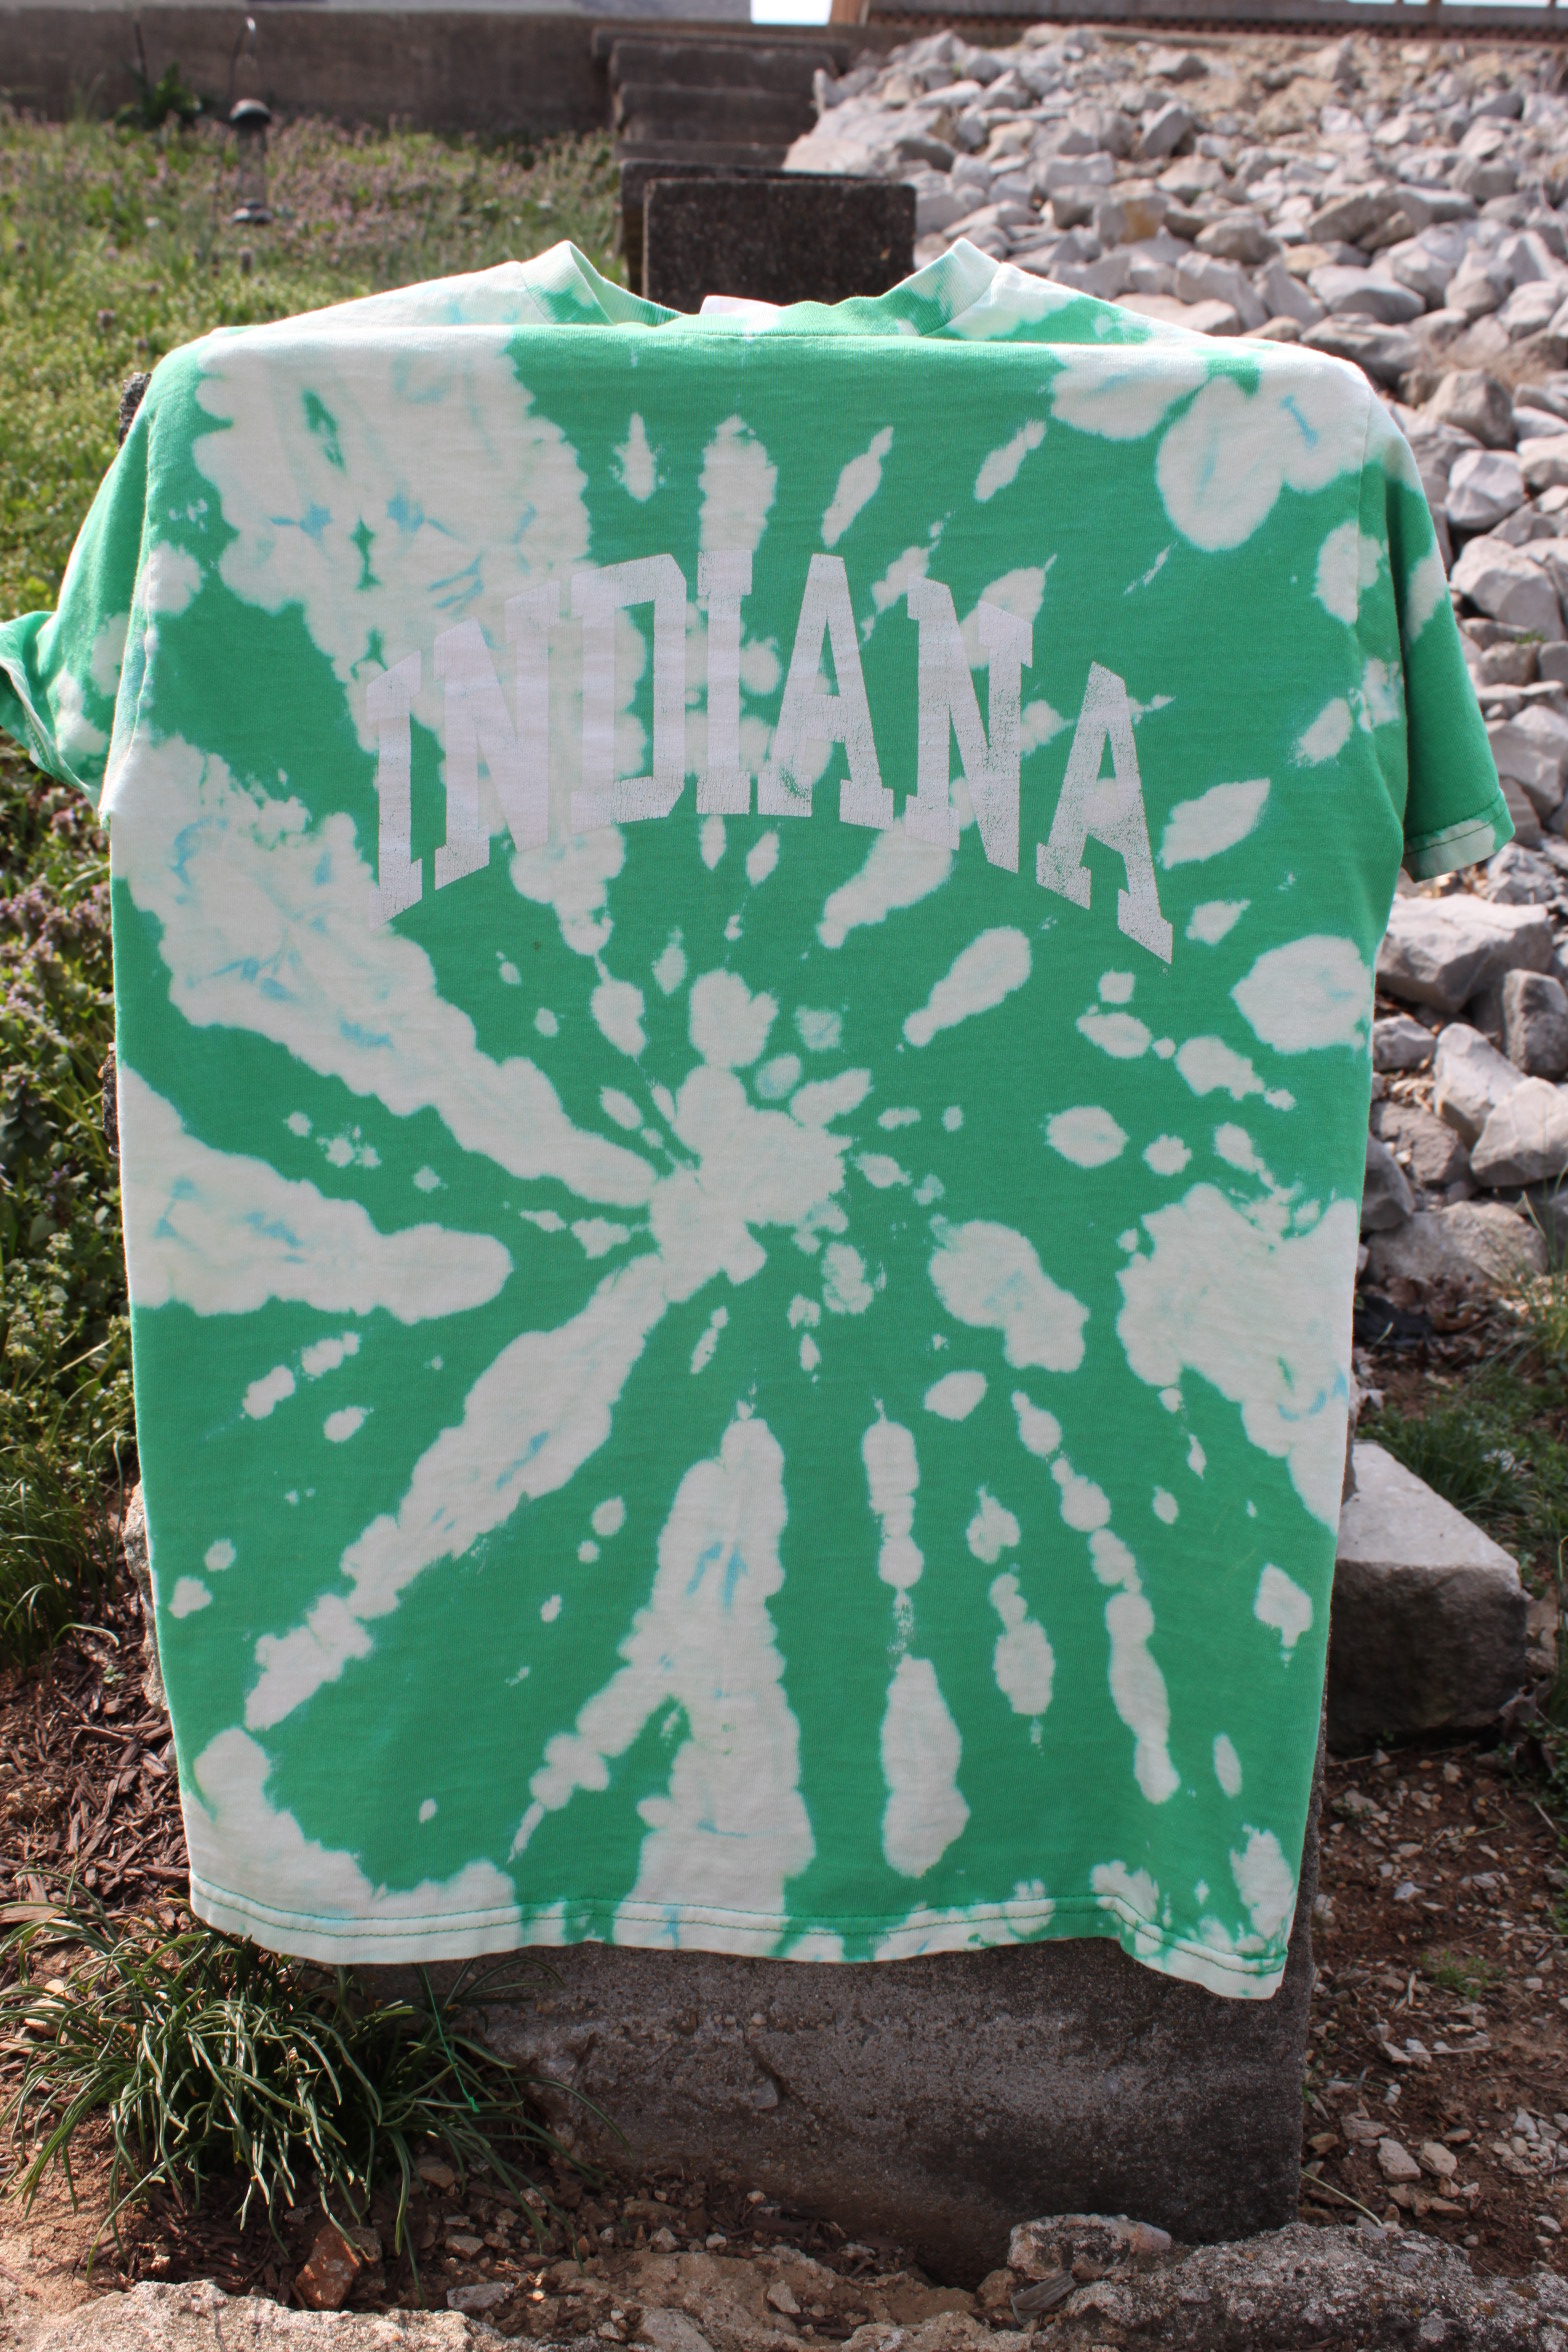
(Front)

(Back)
- Style Two;
(Front)
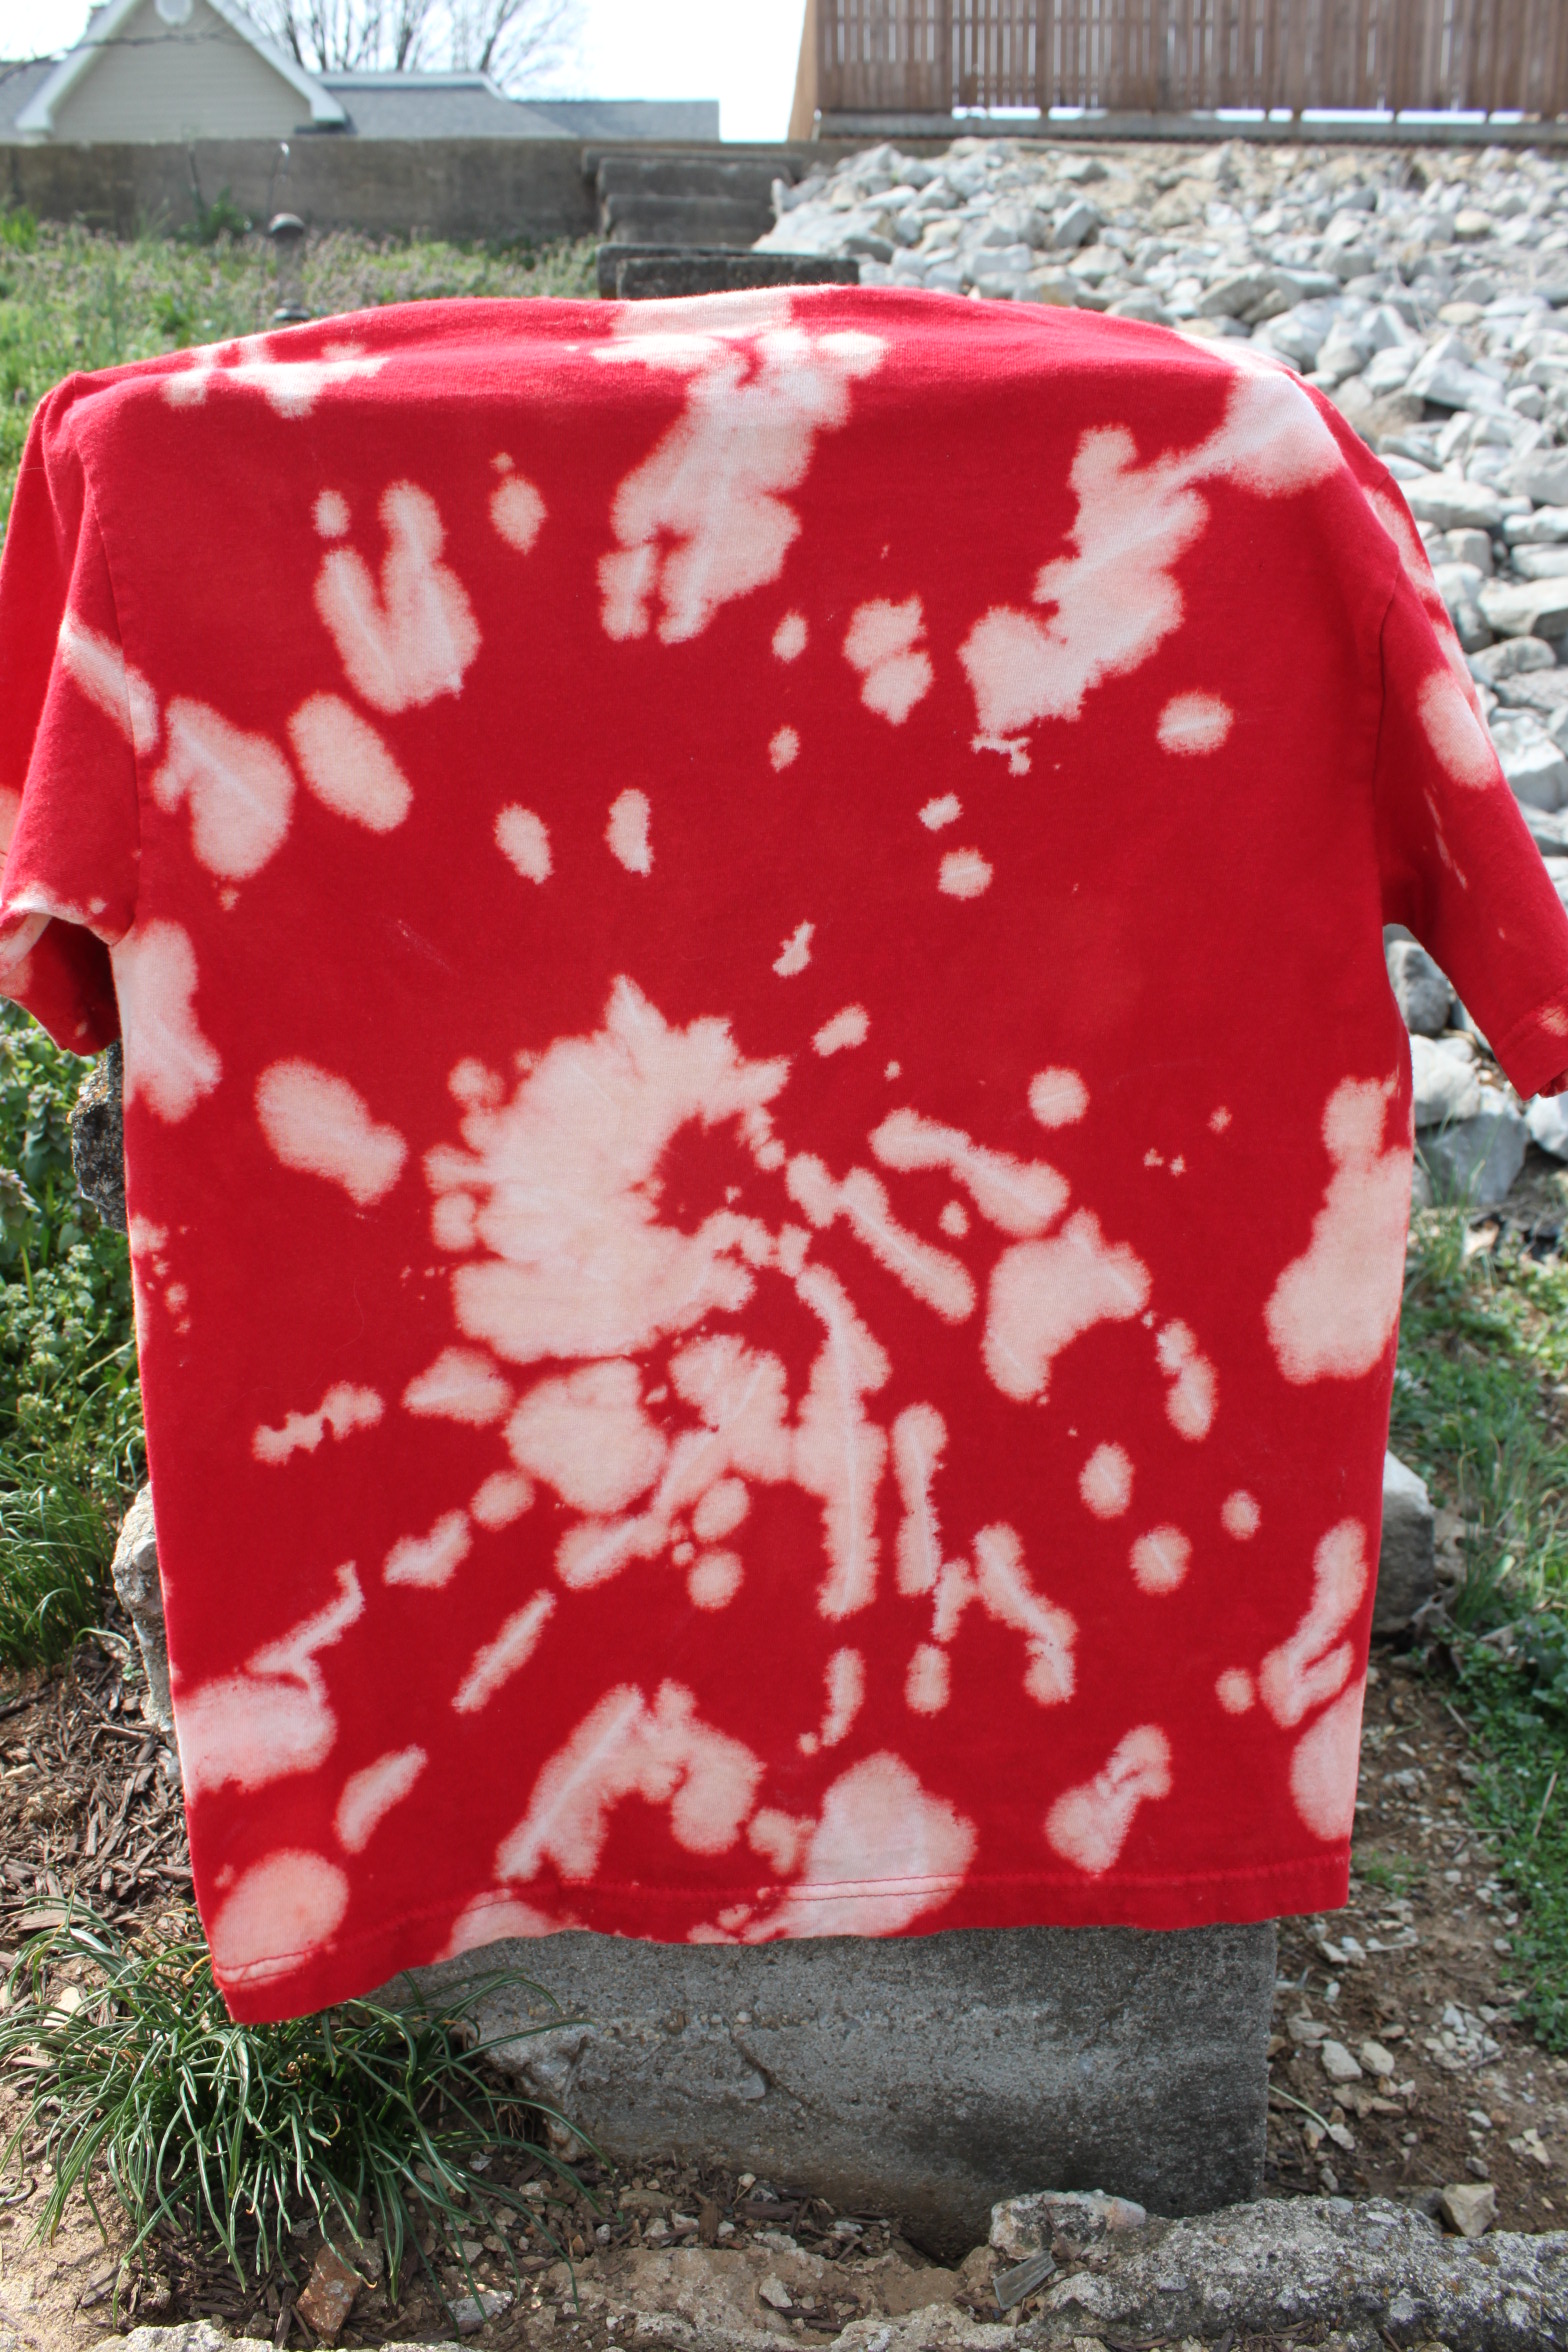
(Back)
- Style Three;

(Front)

(Back)
Have fun!
Don’t forget to post pictures of your bleach tie dye shirts below!