Rid Your Pet’s Fleas With Household Items!

It’s that time of year and as much as I hoped it wouldn’t happen, it did– my dogs got fleas. They are indoor dogs, however they go outside to use the bathroom. It was inevitable. Sure, I could use those harsh chemicals to try and treat my dogs, which don’t always work, but I wanted to find a cheaper, better alternative.

After doing a lot of research online, I came across a couple ideas. These ideas included things you probably already have lying around your house. And guess what….

IT WORKS!

fresh-as-a-lemon

Photo credit: Bill Selak / Foter.com / CC BY-ND
  • Bathe your animals in DISH SOAP. Yep, you heard right. Dish soap kills the fleas on contact! 

magazine and dog bath 014

magazine and dog bath 020

magazine and dog bath 021

magazine and dog bath 023

Haha, ok so not all my animals enjoyed the bath. But, boy aren’t they happy they had one!

NO MORE FLEAS.

You heard me– we checked and didn’t see ONE flea!

.

However, we did find this nasty creature that must’ve jumped off just in time to die.

Poor thing.

magazine and dog bath 016

(I changed the contrast and brightness so you could see the nasty flea better.)

  • After you bathe your pets, grab an empty spray bottle (a clean one) and mix 1/2 part Apple Cider Vinegar and 1/2 part warm water.


Once your pets dry, take them outside and spray some of this mixture onto them (avoid their face). It’s supposed to prevent fleas for up to a WEEK.

Definitely worth trying out! The smell may not be pleasant, but can’t be any worse then those nasty bugs, right!?

.

Do you have any home remedies for fleas? If so leave it below! I’d love to hear more ideas!

Week Three: Removing Duplicates

For last week’s challenge, I decided to gather everything I was wanting to sell and put it on our local “Yardsale” page through Facebook. I sold tons of items I’ve been keeping around for my next big yardsale! If you don’t have one of these in your area, make one! Log onto Facebook and create a group. Name it whatever you want. In my town it’s called, “-MY TOWN NAME- Online Yardsales.” A lot of people in the community (over 5,000 members) takes a picture of their item for sale and posts it on this group’s page. When someone is interested, they comment on the picture and the two of you can decide a time and place to meet for the transfer. It’s much easier than Craigslist, in my opinion, because Craigslist can be… let’s face it, kind of scary.

Gone from my life :  13 Items.

Capture

This week may be difficult if you don’t have much time, but try your hardest to do as much of this as you can.

Challenge: 

This week’s challenge is REMOVING DUPLICATES. Sounds easy, right? Well it is. Go through your house and do just that…. remove duplicates. Say you have two pairs of earrings that look exactly alike. Two pairs of diamond studs, well… keep one and sell the other. You can go through you whole house doing this. Keep one and sell, donate, or toss the duplicate.

A few (small) examples:

duplicates 003

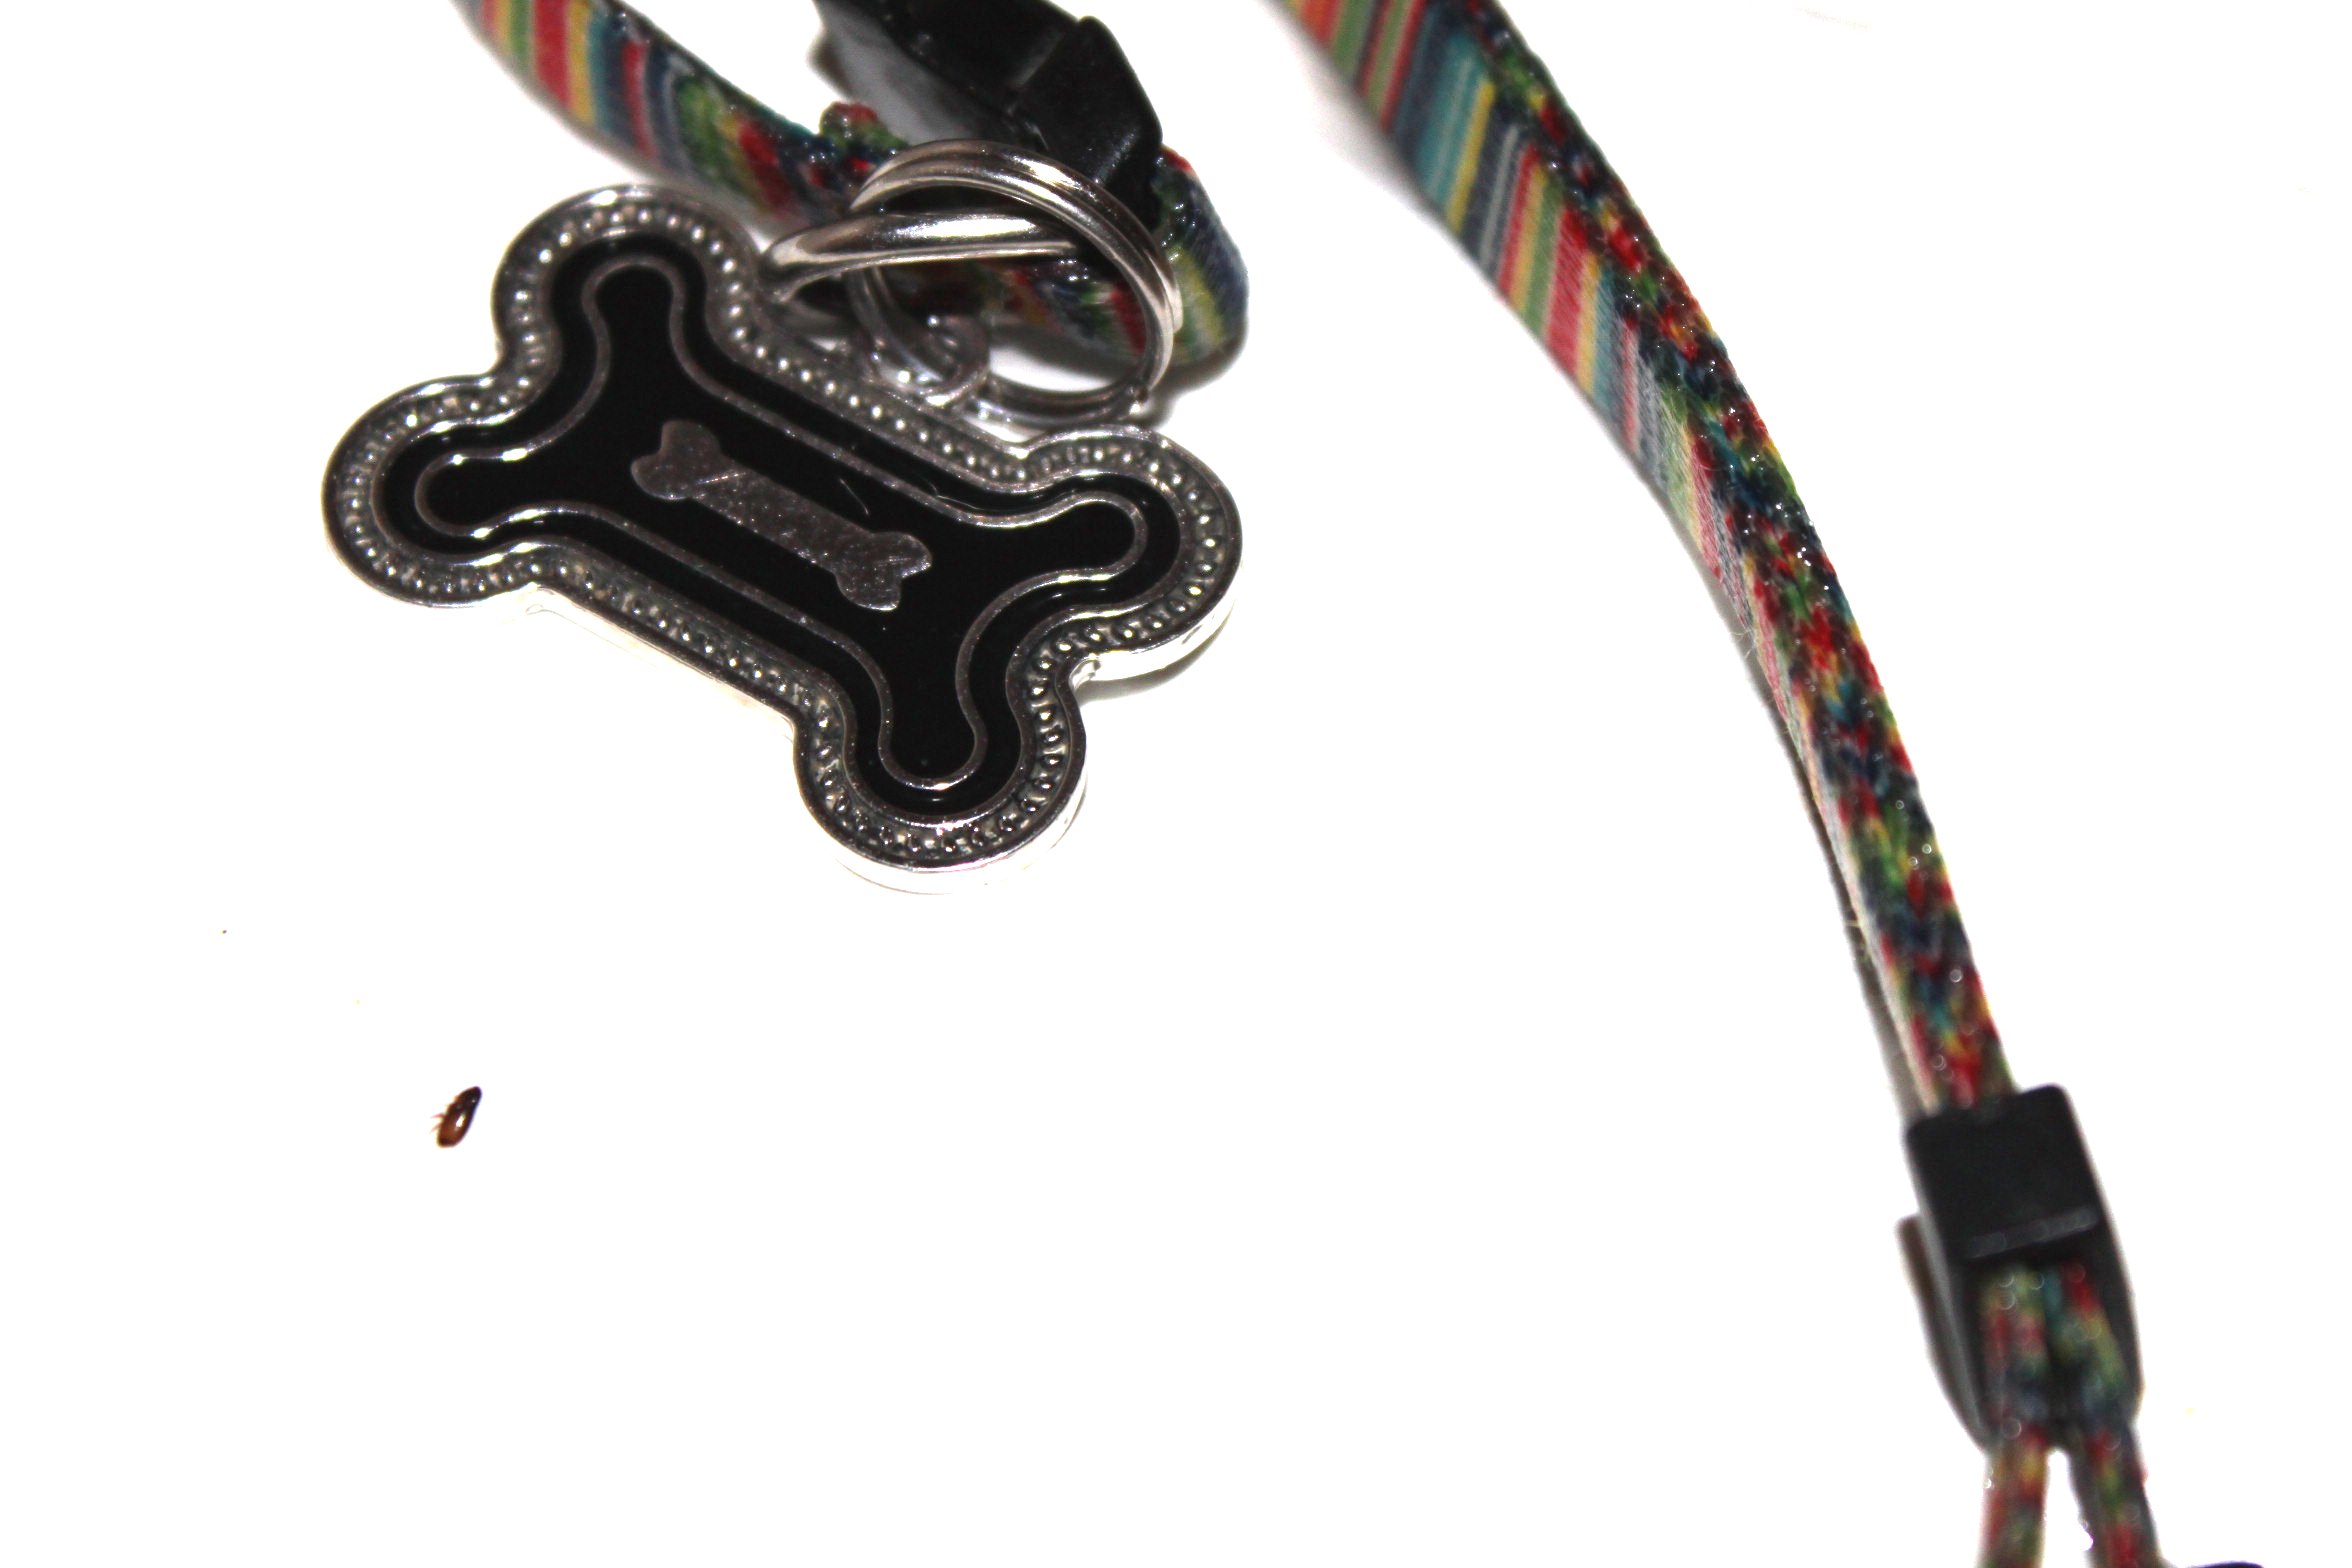
I came across a few duplicates of small items. Items that cost less than 5 dollars.

If you have duplicates of cheap items, why not donate the duplicate? It’s just taking up space… and if one day you break or lose the other, go buy another!

Don’t leave things lying around for “just in case” ESPECIALLY if they cost less than 5 dollars.

duplicates 004

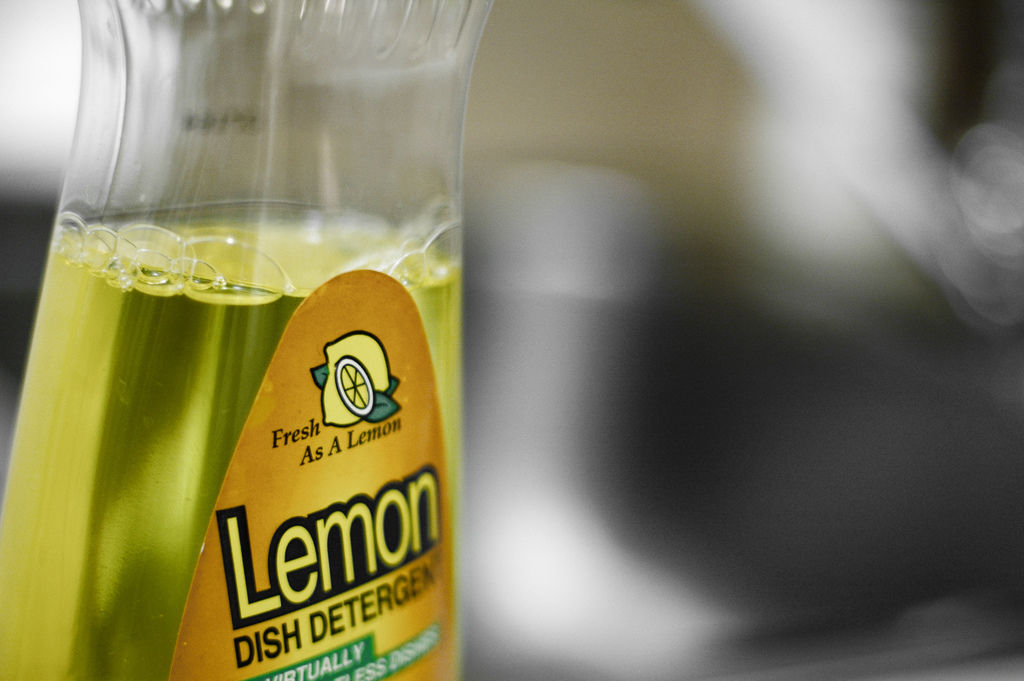
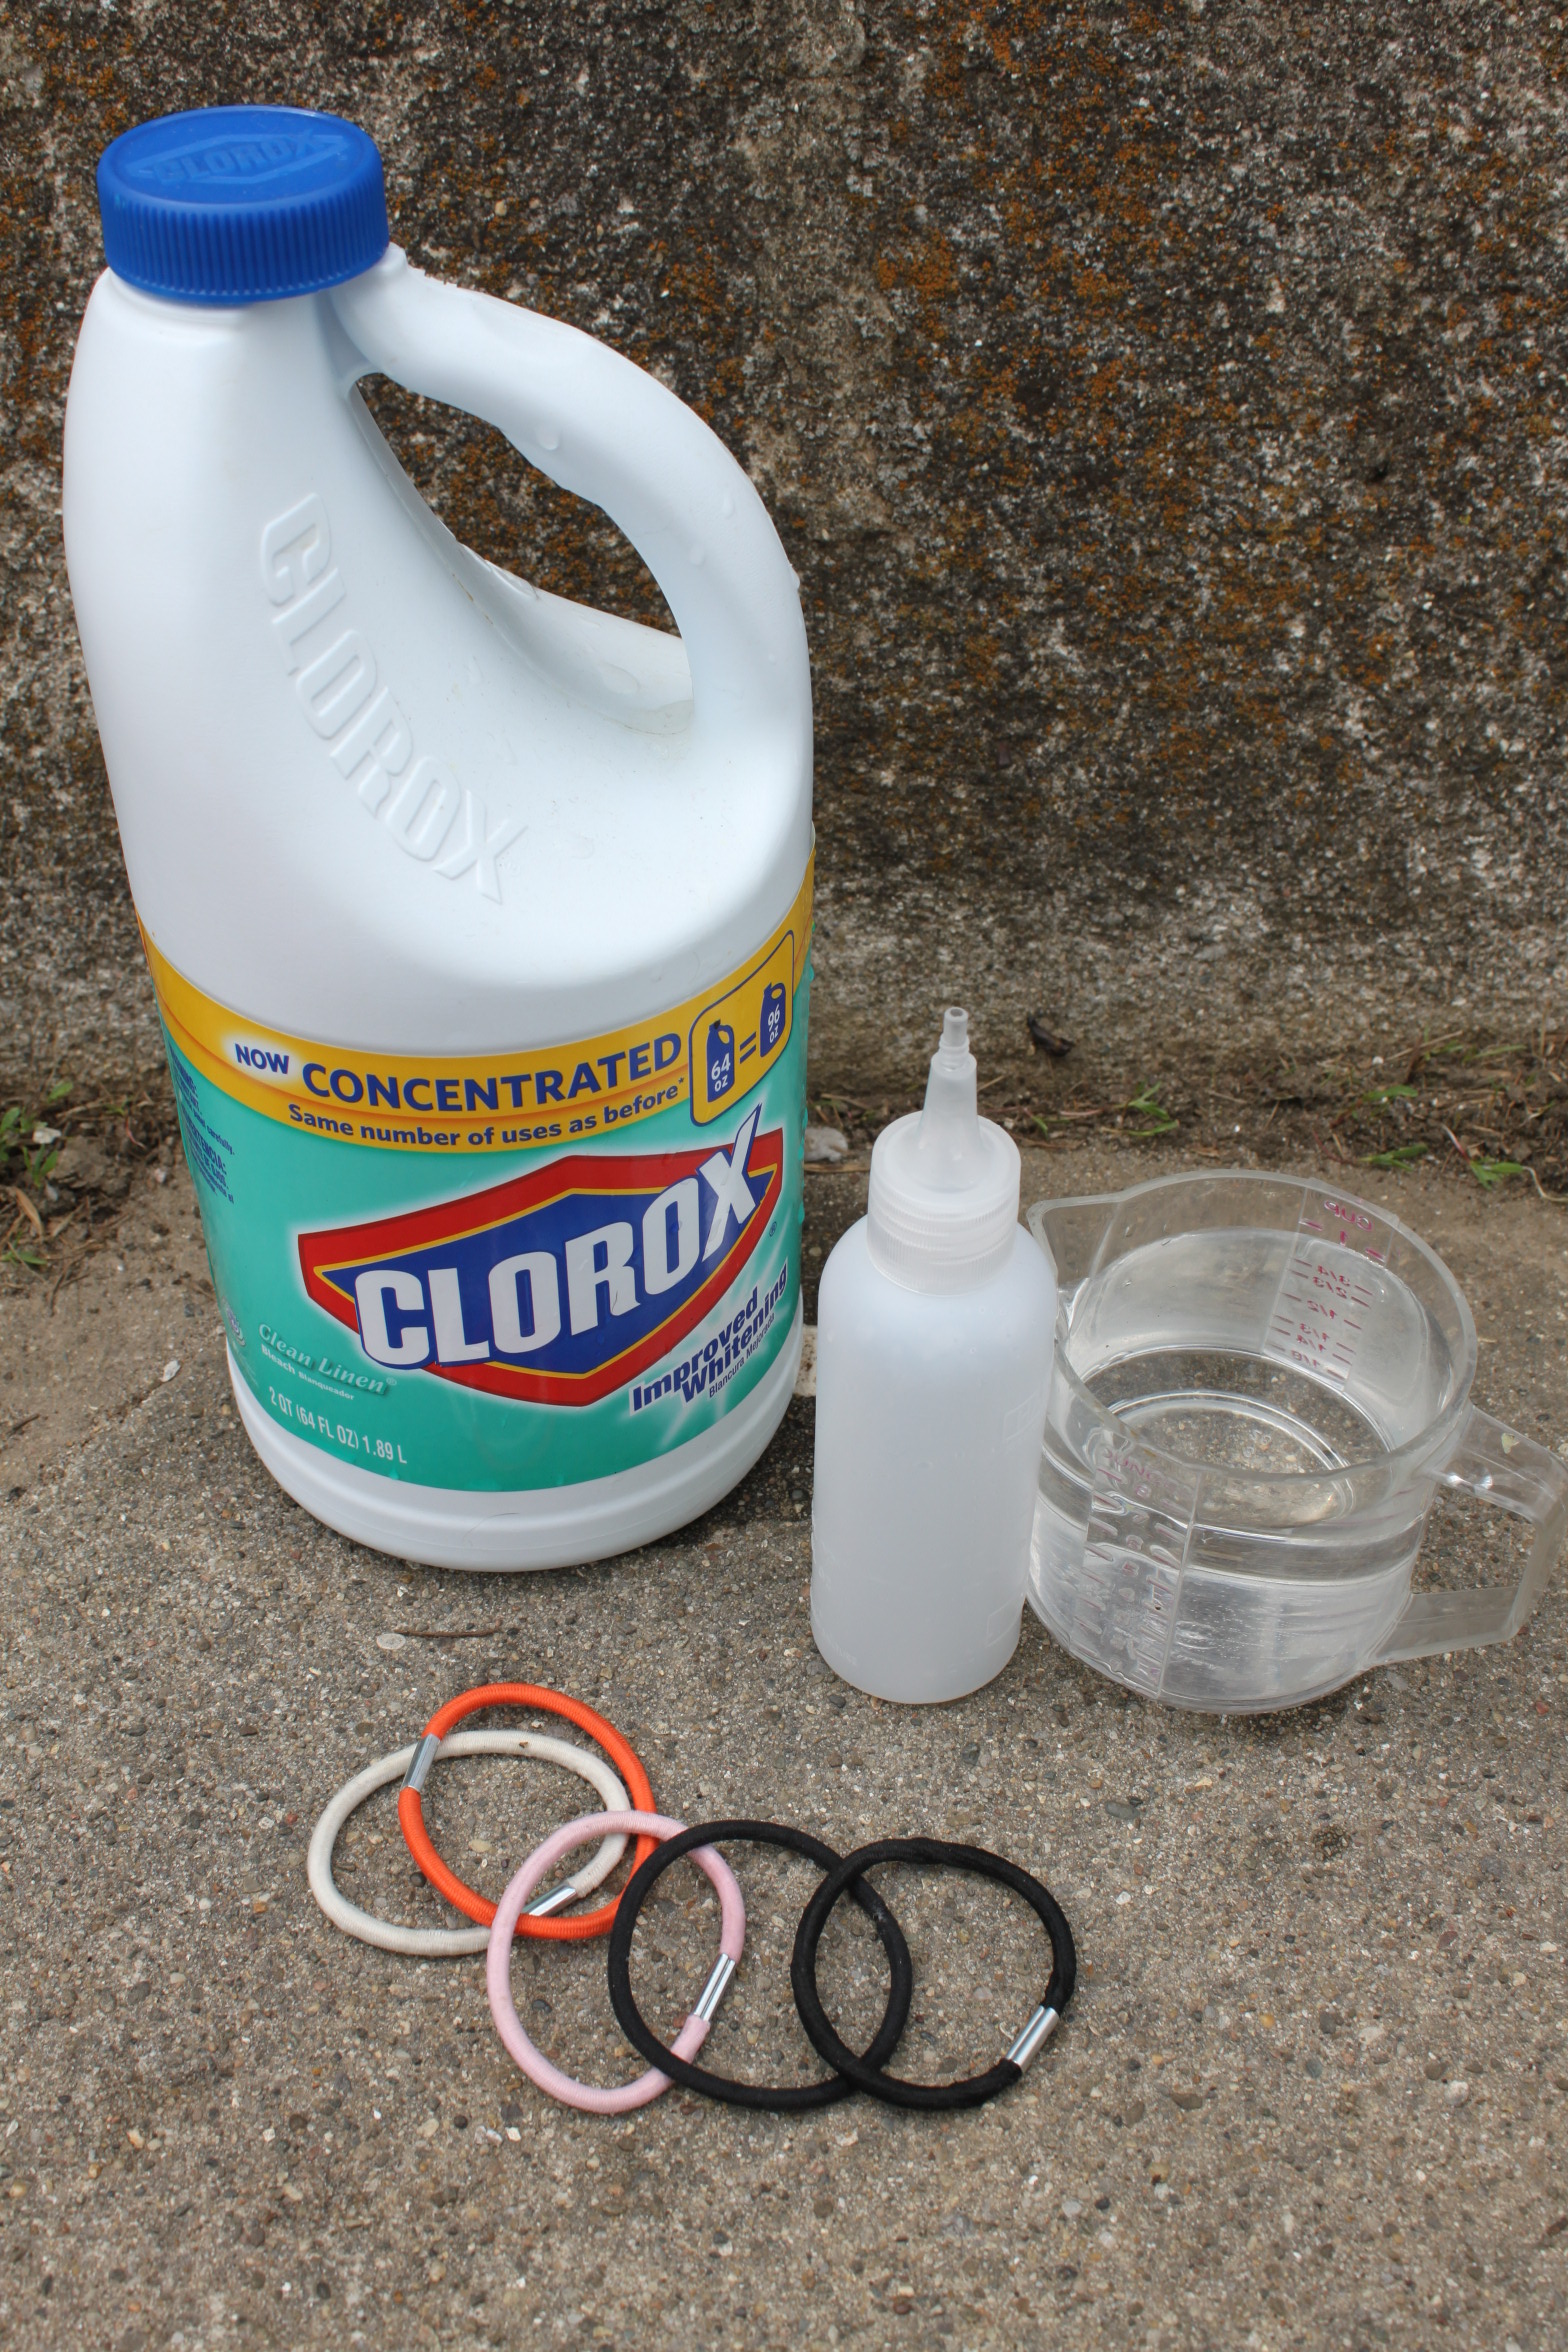
Another example: duplicates of the same product.

It’s taking up space. Things like this I understand that you may need more eventually so keep it!

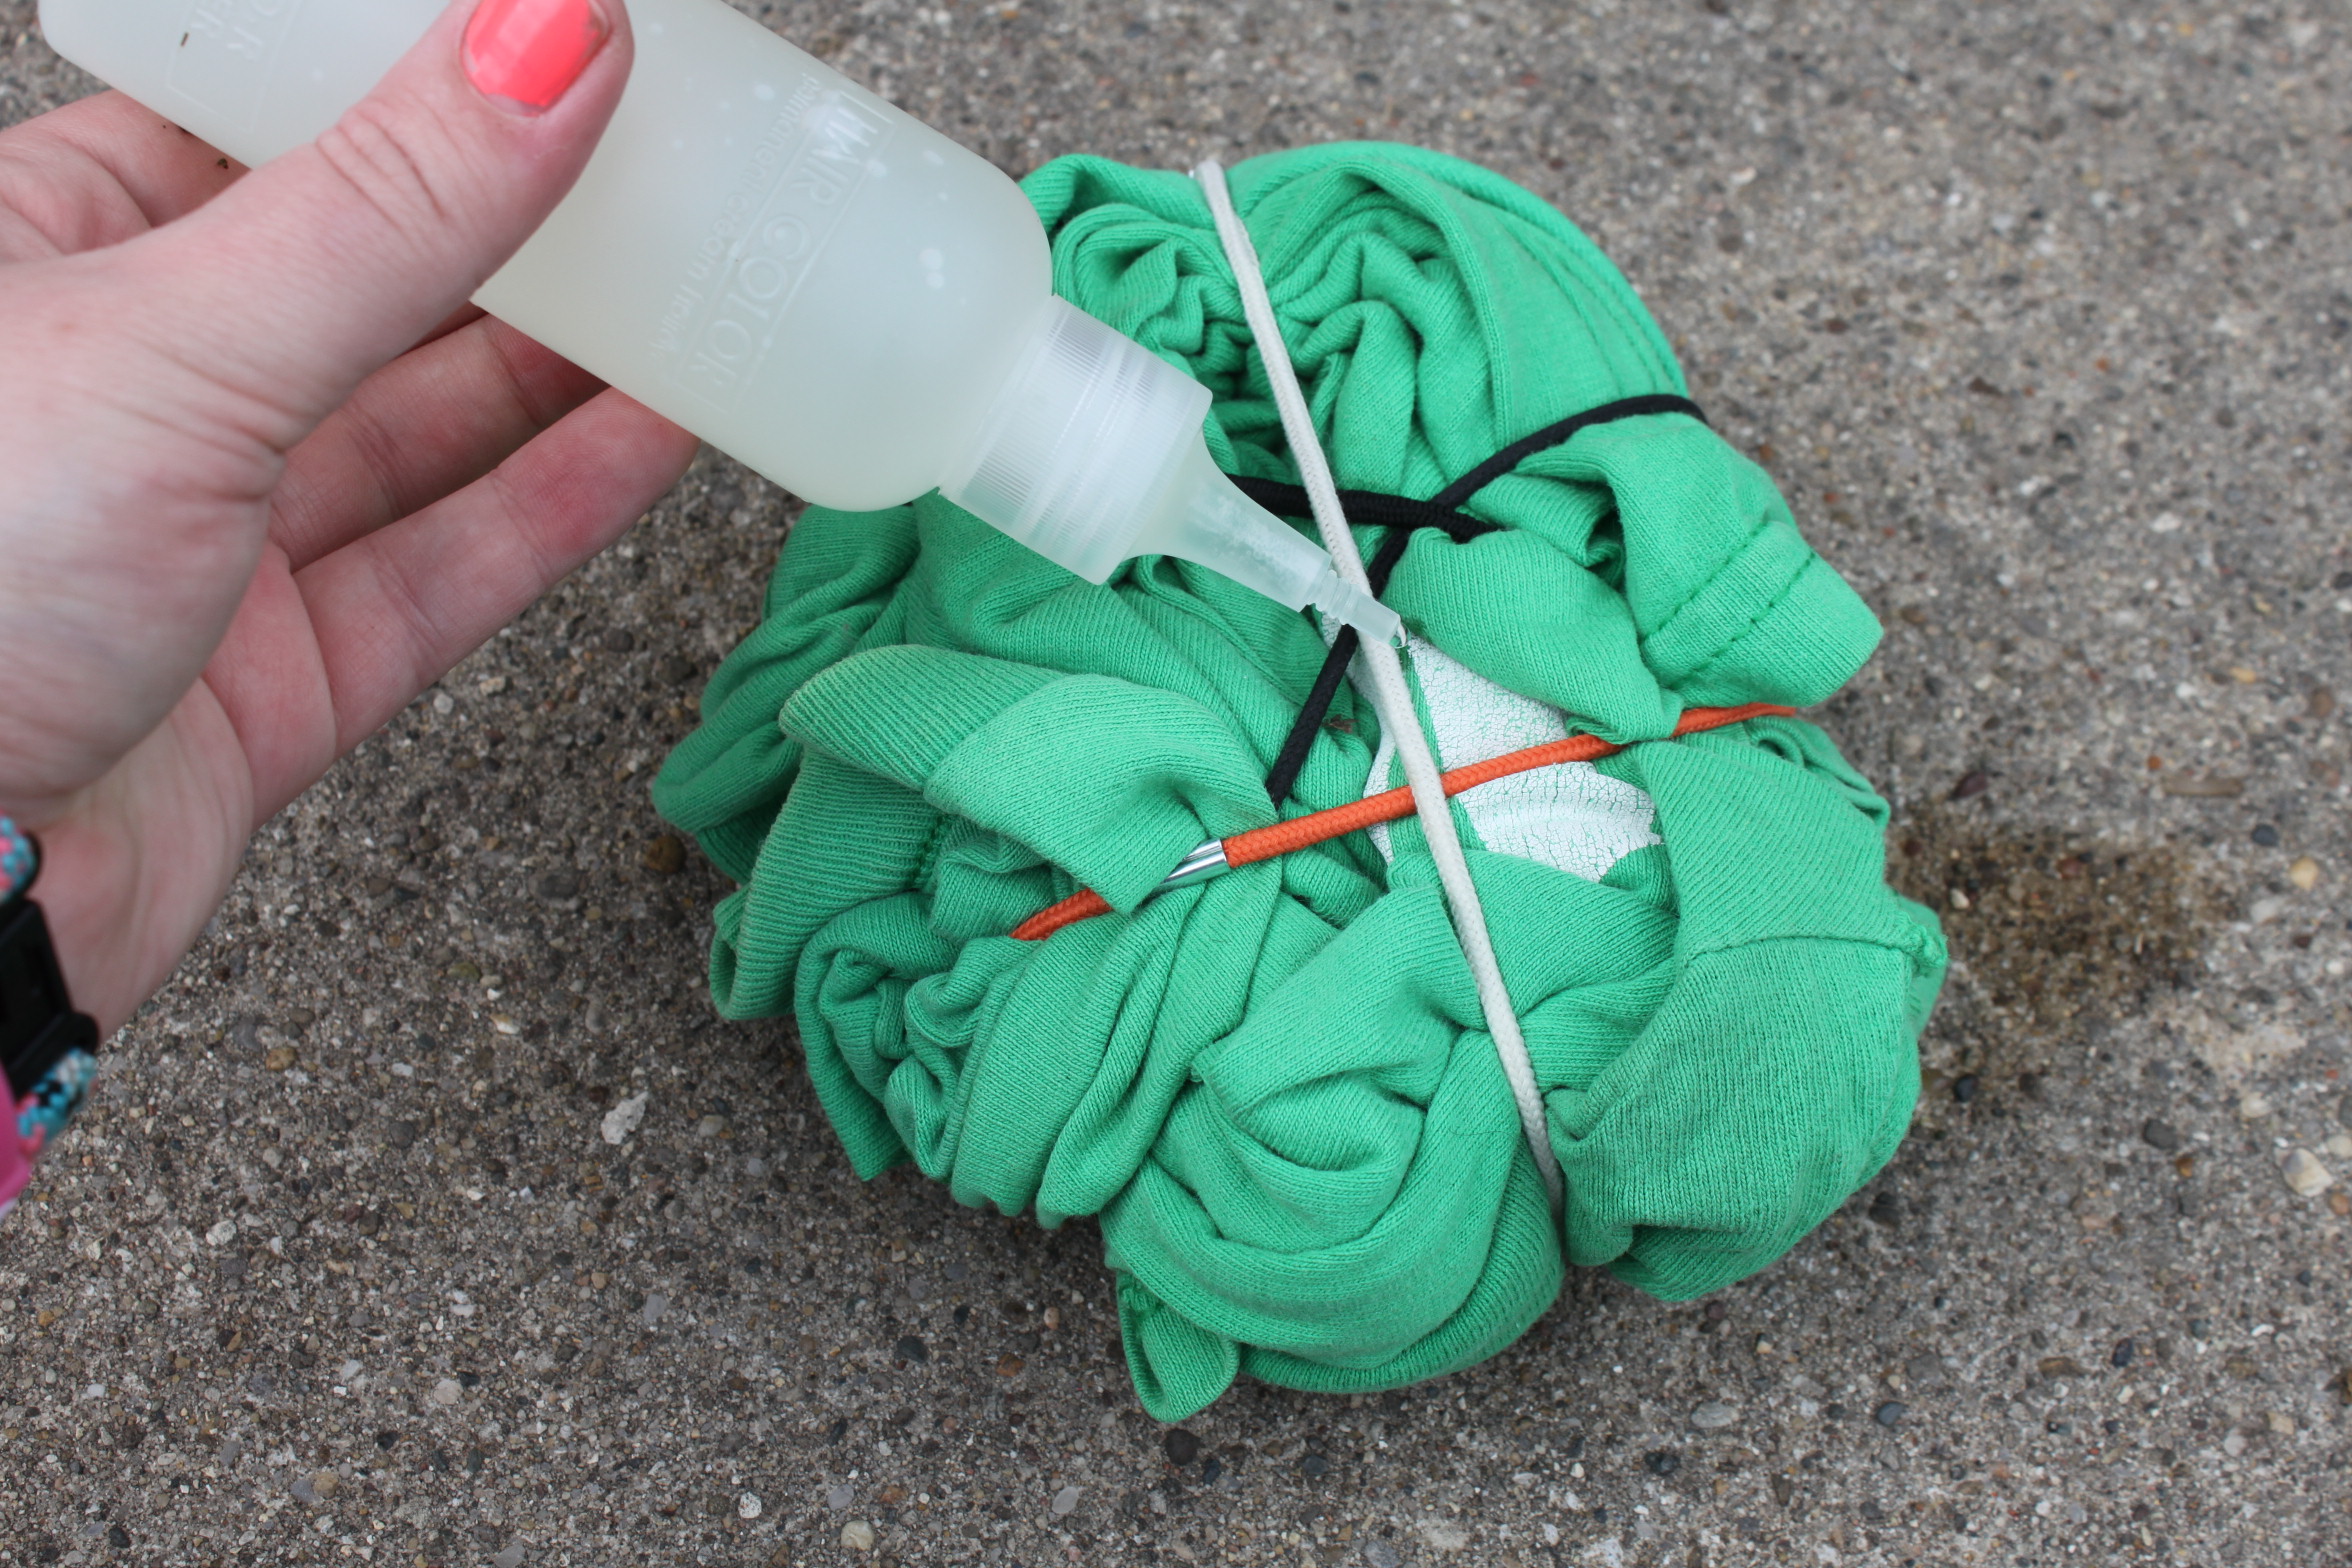
However, to save room once a bottle is almost gone– pour the rest of the liquid into the other container.

This works with items that are the same exact things. Also works well with kitchen items such as ketchup, mustard, etc.

duplicates 006

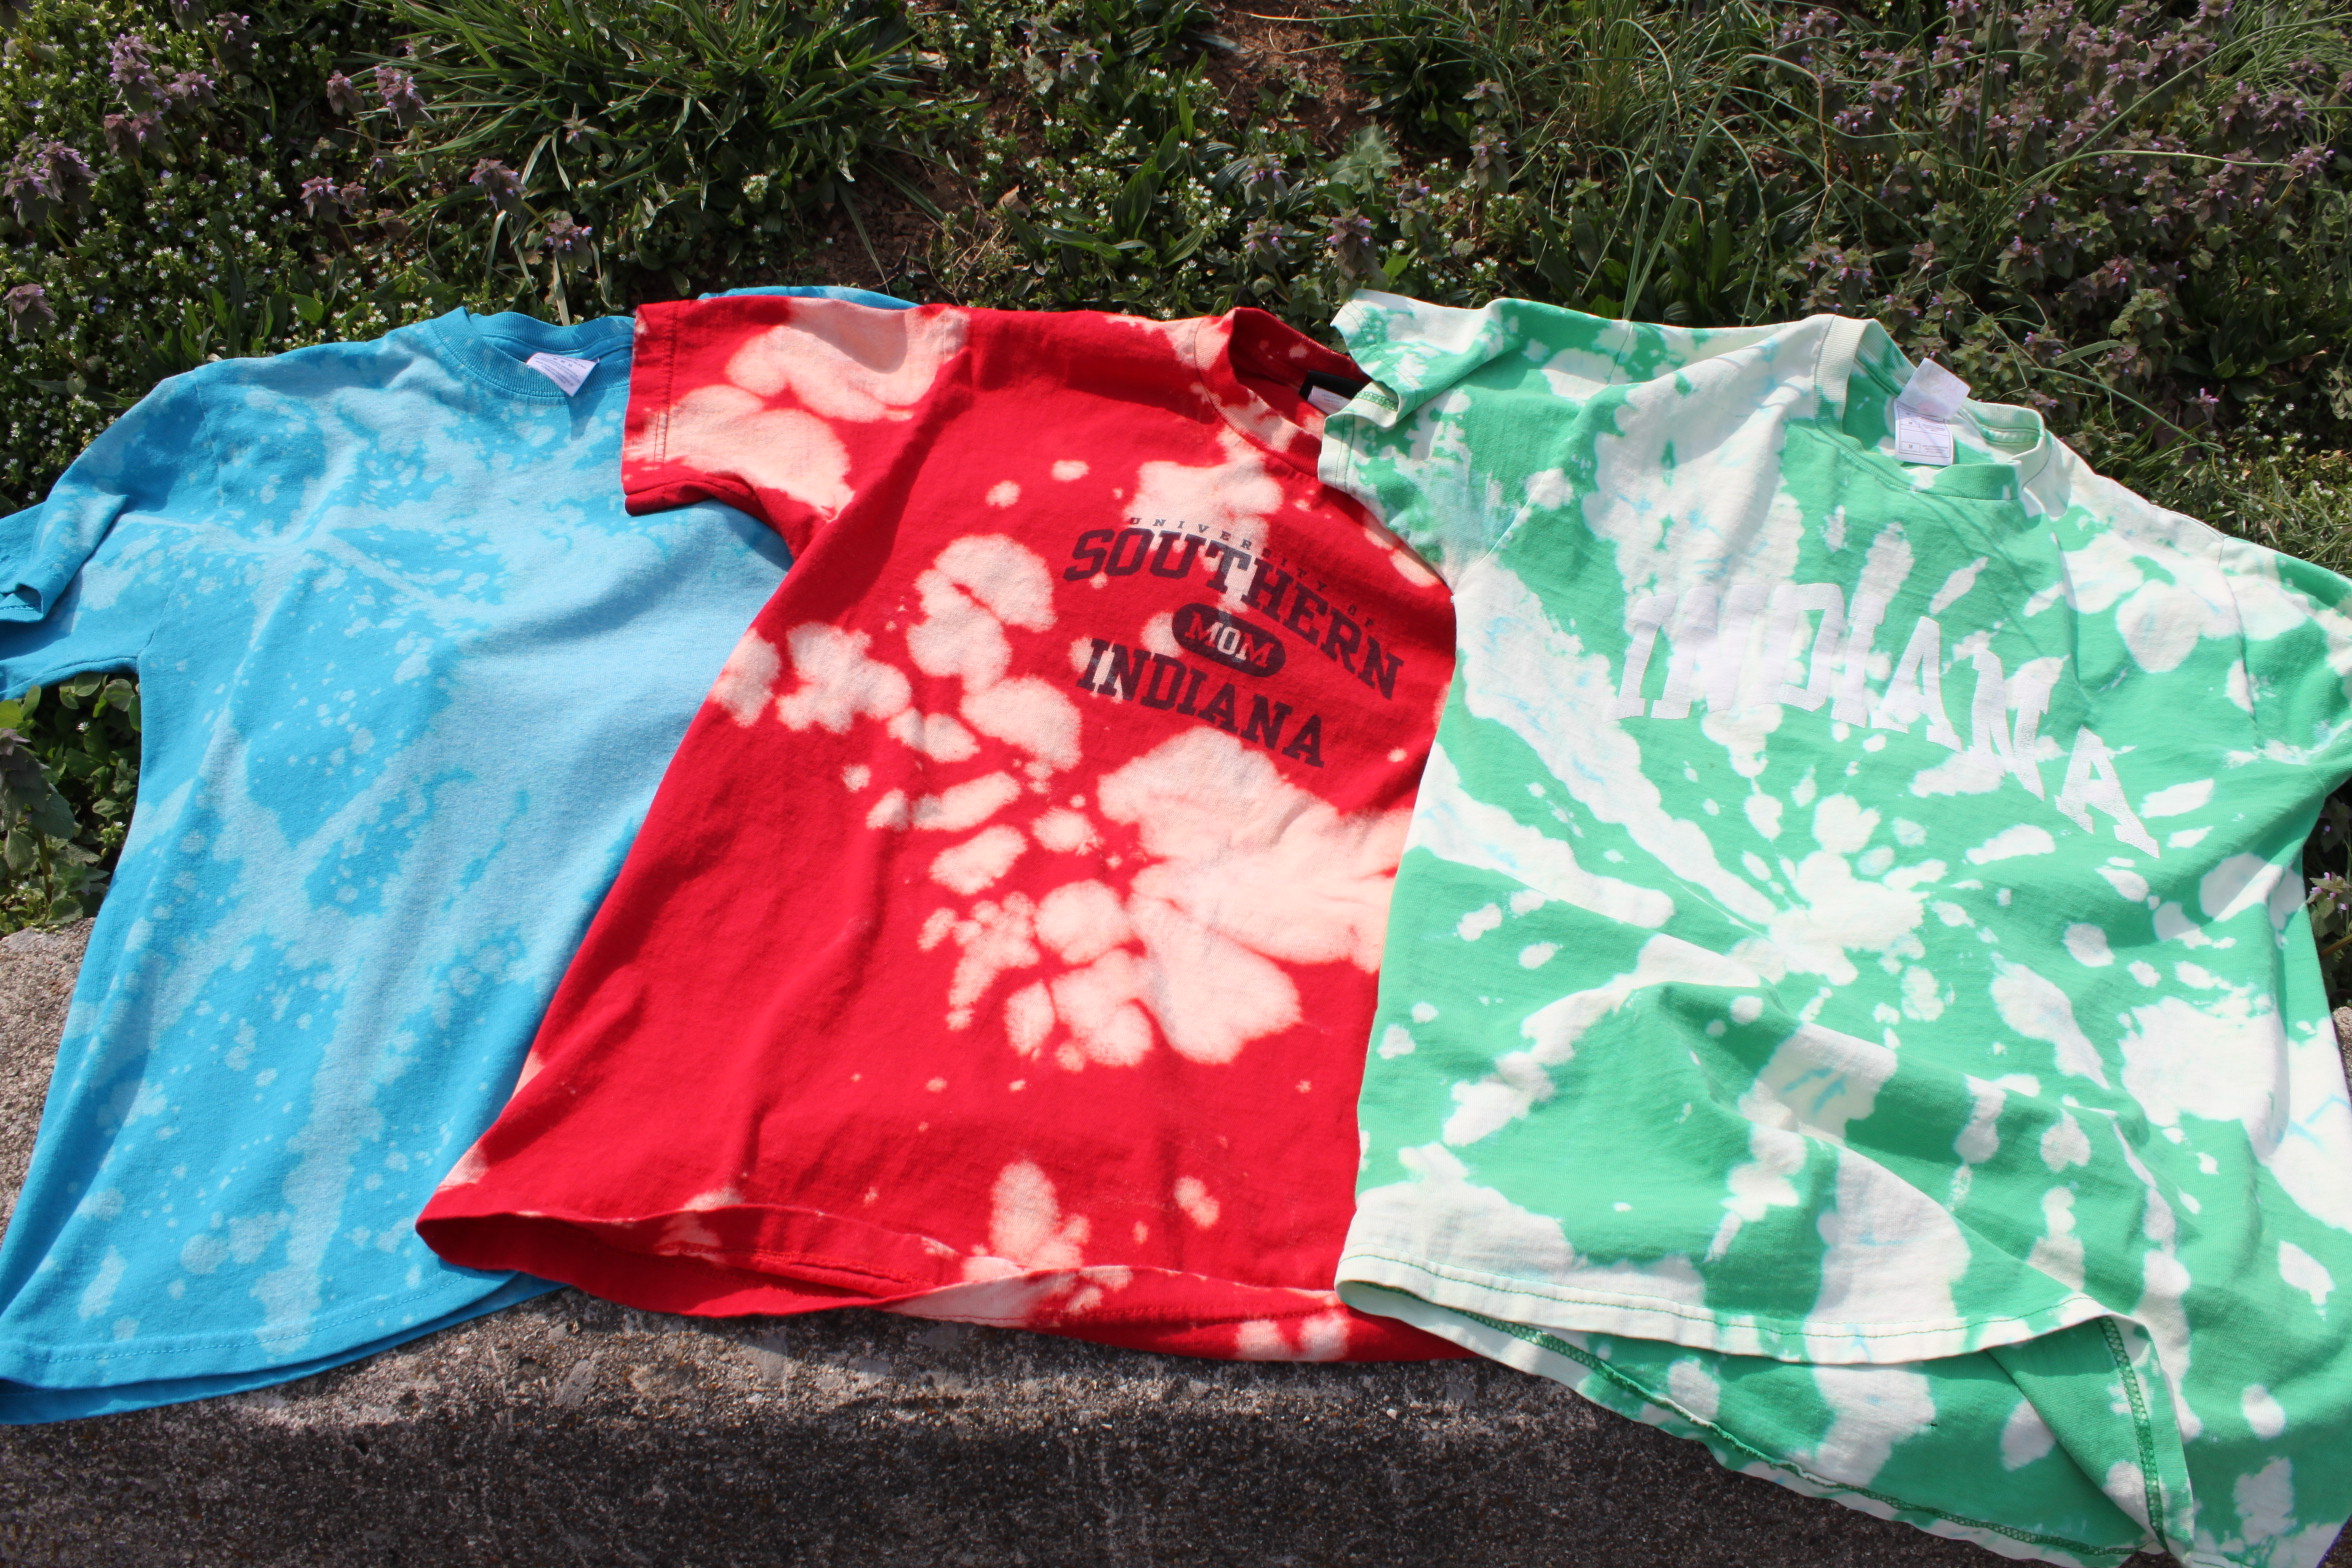
I love fingernail polish. Always have. But sometimes when I’m in a store and see a color that I just can’t live without, I end up buying it just to realize I have a bottle at home that is almost the SAME exact color.

Of course, I keep both because well.. I paid for it.

But now I’m trying to cut back on clutter.

Donate one of the fingernail polishes. People love finding a cheap bottle at thrift stores!

2

JUST KIDDING. 🙂

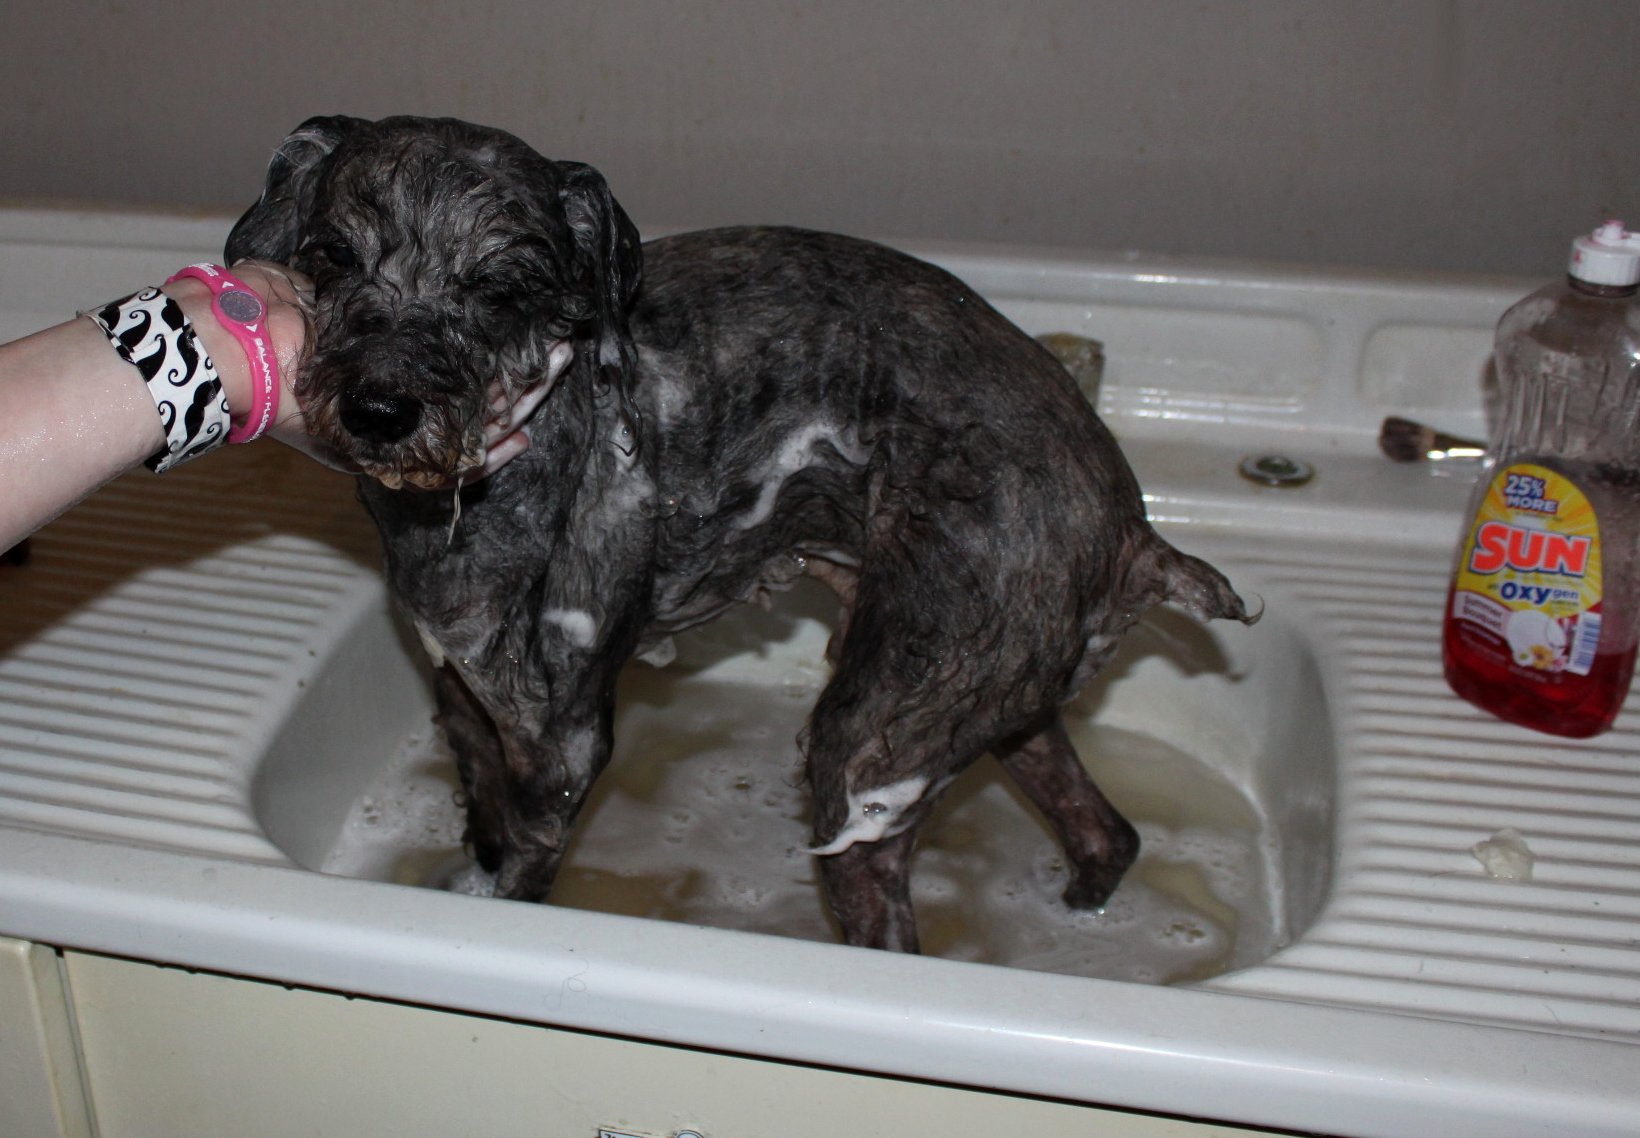
Do NOT get rid of duplicate animals!  ❤

.

Another idea for ridding yourself of duplicates is to have a Swap Party.

Bring all of your duplicates that you’re willing to part with (everyone at the party will do this) then trade your items based on pricing.

You’ll get rid of your duplicates, and possibly come home with something you need.

However, if you’re trying to rid yourself of clutter (like me) then donating or selling is your best bet.

HAPPY MINIMALIST MONDAY!

Make Single-Use Ointment Packs!

These DIY single-use packets are great for camping or keeping in backpacks and/or purses!

Keep in mind, you don’t have to use this just for ointment. You can use this same process for toothpaste (see how to make your own natural toothpaste by clicking the link), Vaseline, lip gloss, etc.

  • What You’ll Need; 

1timeointment 001

scissors, pliers, ointment (or your preference), clean straw, lighter

  • STEP ONE;

1timeointment 003

Squeeze ointment into straw (only enough for a single-time use).

(Ignore my scratched up craft/coffee table! )

  • STEP TWO; 

1timeointment 006

Take your pliers and squeeze the end of straw shut.

(Some of the ointment may squeeze out while doing this– just wipe away with paper towel.)

  • STEP THREE;

1timeointment 007

Use your lighter to burn the tip. Keep burning until you think it has melted closed. Squeeze the part you just melted to give it an extra seal.

  • STEP FOUR;

1timeointment 008

Cut the straw– leaving a little extra room to seal it.

  • STEP FIVE;

1timeointment 010

Take your pliers and repeat on this end.

That’s it. Easy, right?

One normal length straw makes about 4-5 individual packets for single-time use. 

1timeointment 017

I tossed these bad boys in my purse, along with a few band-aids, and now I’ll always be prepared.

.

If you’re interested in where to find the floral pliers. Check them out here–  Floral Tool Kit or click the picture below.


Home Remedies for Allergies

As we all know, Spring brings out some of the worst allergy symptoms. Instead of running to your local store, try some of these home remedies. CHEAP AND EFFECTIVE!

cold-4_l

Photo credit: foshydog / Foter.com / CC BY-NC-ND

For Puffy Eyes;

  • Peel thin potato slices and sit them on your eyes  for 10-15 minutes.
  • Refrigerate your used tea bags. When your eyes get puffy, take them from the fridge and lay them on your eyes for 10-15 minutes.
  • If you’re out and don’t have anything to help cure your puffy eyes, rinse your face with cold water.
  • Getting enough sleep will help prevent your puffy eyes. Try to get at least 8 hours of sleep a night.
  • Sleep with your head elevated.
  • Reducing your salt intake will help prevent puffy eyes.
  • Eating more bananas and raisins will help prevent puffy eyes. They alleviate fluid retention.
  • By consuming cabbage and cranberry juice, your body will “evacuate” excess fluids.
  • Keep a couple spoons in your fridge at all times. When your eyes get puffy, grab the spoons, lay down, and place curve side down onto your eyes.
  • Peel thin cucumber slices and sit them on your eyes for 10-15 minutes.
  • Drink a lot of water throughout the day.
  • Mix 1/2 teaspoon of salt with warm water. Dab cotton ball into the mixture and dab onto eyes for 10-15 minutes.

For Hives;

  • Apply ice to your hives. This will cause them to shrink and reduce the itching.
  • Avoid heat.
  • Take an Oatmeal Bath.
  • Dab Pepto Bismol onto your hives.
  • Put a few drops of water into a small dish of baking soda. Mix until it becomes paste-like. Apply to hives. This will help relieve the irritation and itch.
  • Put 1 teaspoon of (any kind) vinegar in 1 tablespoon of warm water. Apply onto hives. This will help relieve the itch.
  • Mix 1/4 cup brown sugar and 1 tablespoon fresh ginger in 3/4 cup vinegar. Bring these ingredients to a boil and use this mixture (after cooled) and apply several times a day onto hives.
  • Take fish oil capsules (1,000 milligrams) 3 times daily.

For Nasal Congestion;

  • Pour a little bit of Sesame Oil into your palm and add some black pepper. Mix it with your fingertip and dab right under your nostrils. This will help clear your sinuses. 
  • Take a hot shower.
  • Take 1 teaspoon of salt and mix into 2 cups of warm water. Pour solution into your nostril by leaning your head back. Repeat in other nostril. (Or use a Neti Pot)
  • Get washcloth wet with hot/warm water. Place over face and let it sit for 10-15 minutes.
  • Eat a lot of spicy foods.
  • Eat a few pieces of raw onions.
  • Take a slice of raw onion and place under nose and take a few deep breath in through your nose.
  • Boil some water and place in a bowl. Add a few drops of peppermint oil and allow face to come close and inhale the steam from the bowl.
  • Drink hot tomato juice 2-3 times a day. (Make at home by boiling 1 can of tomato juice, 1 tablespoon of chopped garlic, 1/2 tablespoon of hot sauce, 1 tablespoon of lemon juice, a pinch of celery salt.)
  • Drink warm Mint Herbal Tea.
  • Take a few drops of Eucalyptus Oil and place into cloth. Inhale the perfume regularly.

*THIS ARTICLE IS NOT INTENDED AS MEDICAL ADVICE. IF YOU HAVE ANY QUESTIONS; CALL YOUR PHYSICIAN.

Do you have any home remedies for allergies?

If so, leave them in the comments below!

Update: Currently you can win a FREE Neti Pot by liking them on Facebook HERE and taking a short quiz over the information. You’ll get a confirmation email and your FREE Neti Pot will be delivered within 30 days!

Egg Shells Are Great For Gardens!

5 Ways to Use Eggshells in Your Garden


224900463_37629aca33

Photo credit: Darny / Foter.com / CC BY-NC-ND


  1. You can add crushed eggshells to planting holes. (Especially good for tomatoes, peppers and eggplant because they are susceptible to blossom-end rot because of calcium deficiency. Although at times, blossom-end rot is do to improper watering, putting egg shells in your garden will give them the calcium they need and nourish your soil and plants.
  2. Wash out your eggshells, then use them as seed starters. After breaking your eggs and cleaning it out, place back into egg carton and fill with soil and plant your seed. When they begin to grow, just put the whole starter in the soil– eggshell and all.
  3. Crushed eggshells are known to deter slugs, snails, and cutworms. Because of these pest’s soft undersides, the sharp eggshells will deter them from bothering your plants.
  4. Add your eggshells to your compost. This will add calcium to your compost and will be great for your garden!
  5. If you have bird feeders in your garden, put some crushed eggshells close to the feeder. Female birds, especially those about to lay eggs or have just laid eggs, require extra calcium. They will love you for it!


Added bonus–

If you boil eggs, use the water you boiled them in to water your garden. The water becomes enriched with calcium! Why waste the water when your garden would love it!?


Tie Dye With Bleach!

I have been wanting to try tie dying with bleach for a while now. The weather was absolutely beautiful today so I figured I’d do it today!  After watching some YouTube tutorials and reading online, I realized how easy it was. There is no “wrong” way to tie dye a shirt. It all depends on your preference. I tried three different ways with a few old shirts of mine.

bleach tie dye 037

What You’ll Need: 

bleach tie dye 001

Bleach. Hair ties (or rubber bands). Water. An old bottle with a tip similar to photo. (I used old hair dye application bottle)

Gloves are optional, but highly recommended– bleach can damage your skin.

bleach tie dye 002

One or more old t-shirts.

  • Fill bottle with 80% bleach, 20% water and give it a little shake.

bleach tie dye 003

Style One;

(my favorite)

  • Grab your first shirt and begin twisting counter-clockwise from the center.

bleach tie dye 004

bleach tie dye 005

bleach tie dye 006

  • Once you have it spun completely around, grab your hair ties and place them all around like how you’d slice a pizza, if that makes sense? 

bleach tie dye 007

  • Now grab your bottle of bleach/water and cover majority of both sides with the liquid. 

bleach tie dye 008

bleach tie dye 009

  • Let sit for about 15 minutes, or until the bleach has reached your desired color. 

Style Two;

  • Grab your shirt and begin spinning counter-clockwise like in Style One. 

bleach tie dye 010

bleach tie dye 011

  • Now, we are not going to use hair ties for this one. So, the next step is to grab the bottle of bleach/water and put some liquid in the middle of the spiral and follow some of the lines until you get to the outside of the shirt.

bleach tie dye 012

bleach tie dye 013

bleach tie dye 014

  • Flip over this shirt carefully, keeping it spun. Repeat spiral with liquid on the new side. (This side will be easier to see the spirals.)

bleach tie dye 015

bleach tie dye 016

bleach tie dye 017

  • Let sit for 15 minutes or until bleached to the color you desire.

Style Three;

  • Grab your shirt and lay it out flat.

bleach tie dye 020

  • Take your bottle of bleach/water and begin making whatever designs you like. (For a more precise design such as words. Use a Bleach Pen!)

bleach tie dye 021

bleach tie dye 022

  • Flip over and repeat.

bleach tie dye 024

  • Let sit for 15 minutes or until bleach parts turn desired color.

Last step: Grab your shirts, wash them, dry them.

(I like to hand wash them to make sure the bleach doesn’t ruin other clothes.)

LET’S SEE HOW THEY TURNED OUT!

  • Style One;

bleach tie dye 029

(Front)

bleach tie dye 031

(Back)

  • Style Two;

bleach tie dye 032

(Front)

bleach tie dye 033

(Back)

  • Style Three;

bleach tie dye 034

(Front)

bleach tie dye 035

(Back)

Have fun!

Don’t forget to post pictures of your bleach tie dye shirts below!

Week Two: Time For Action!

Today is the day we take out that list we made last week and get to work!

hangers 003

First things first. We need to go through our list of projects we want to accomplish this year and star (or underline, highlight, circle) those that are MOST important.

This week’s CHALLENGE:

  • Accomplish ONE  (or more if you have the time) project you have written on your list!


  • Next thing I want you to do–Go to every clothing closet in your house and turn your hangers backwards. Weird, right? Well, each time you wear something, wash it,  and put it back into the closet, you’re going to hang the hanger the regular way. That way by the time the year is over with, you’ll be able to visibly see which clothes you have not worn in a year. You can sell, donate, or toss those items away at the end of the year! 

BEFORE:

hangers 001

AFTER:

hangers 002


And I know what you’re thinking…

“But… Shalin, what if there’s a fire?”  My answer is, “If there is a fire, grab something more important than clothes.”


So, that’s it for this week. Pretty easy but will make a world of difference at the end of the year!


Comment below and tell me what you’re tackling this week!

Before and After pictures are always great to see as well…


Homemade Face Mask

Last night, my boyfriend’s 12 year old daughter, Jaylen, and I decided we were going to make a tutorial video of the face mask we were making.

The video (our first tutorial video) was quite hilarious. We had so much fun and I decided to keep in a lot of the funny parts. Because, well… who wouldn’t want to watch a hilarious tutorial video!?

Both informative AND funny.

The mask is a homemade face mask using the following ingredients from your kitchen:

bananaface 003

(coconut oil, 1/2 cucumber, 1 egg, 1 ripe banana, and 2 lemon slices)

Here is the fun tutorial we made:

If you choose not to watch the video (which you should) then here is how to make the mask:

  • Take the ripe banana and peel and chop it up and put it in a food processor or blender.
  • Peel and chop the cucumber and add it to the food processor.
  • Mix these two ingredients until smooth.
  • Now, add crack the egg into the mixture, add a couple spoonfuls of coconut oil and squeeze in your two lemon slices.
  • Mix until smooth.
  • Put mixture onto face and allow it to sit for 20 minutes then rinse with warm water.

bananaface 046

(Jaylen and I waiting our 20 minutes so we could rinse.)

Hope you all have as much fun as we did making this face mask!

WEEK 1: Where do I start?

I’ve been wanting to simply my life for a while now. I want my house to be organized and I want to be happier. So, how can we do this? Well, I’ve created a 52 Week Challenge. We will work on at least one thing a week (I will post 1 blog per week on what I’m calling “Minimalist Mondays”) I am no professional and am creating this as I go but as I continue my research, I think we can make 2013 the year we get organized and learn to live a happier life. I know what you’re thinking… a WHOLE year!? The thing is, getting your life and things organized is an ongoing process. It won’t happen overnight and it’s not only “cleaning” it’s a lifestyle change.

Week One’s CHALLENGE

All you’re going to do this week is create as long of a list as you can of all the projects you want to accomplish this year. Some examples include: clean out the garage, have a yard sale,  make a blanket, organize your kid’s closets, start recycling, etc…  Keep a pad of paper beside you at all times this week so that any time a project pops up in your mind, you can write it down and add it to the official list later. Keep this list to things you need to clean, organize, do to help the planet, or do to rid yourself of “things” that’s right… all they are, are THINGS. If it doesn’t have a soul and you can’t take it with you when you die… it’s a thing. For the projects you plan to organize and clean out… I HIGHLY suggest taking a “before” and “after” picture.

So, get that camera out and get to snapping.

I will be doing this challenge along side you and every Monday when I post, we can have a discussion in the comments so we can help each other and find out what the other followers are up to!

writing-8

Photo credit: pedrosimoes7 / Foter.com / CC BY

Don’t think of this as a chore. This is supposed to be fun! A great way to organize and simply your life!

I created a template for you to use as your list if you need one:

CLICK HERE TO OPEN THE PDF FOR THE LIST TEMPLATE

Next Monday when we begin Week Two is when I’ll be posting my actions from the previous week. Hopefully, you’ll take some pictures and get involved in the comments, too!

Make A Simple 5-Minute Minimalist Bracelet

This weekend, I spent some much needed time with my family. My mother, sister, and I decided to make some bracelets. I took the time to take pictures of the process in case any of you wanted to make this easy bracelet!

This bracelet is simple and adorable.

What You’ll Need:

Bracelet

String (or hemp material) of your choice, two buttons with preferably FOUR holes (one button is optional for the hooking bracelet together), a pair of scissors.

Step One: Cut your string into TWO long strands and weave them through the holes of the button.

Bracelet

Step Two: Cut another piece of string (this is where you can add a new color into it. I, however, kept my hemp string for all three strands)

Bracelet

Step Three: Take your newly cut string and wrap it around your button tying a double knot (on top of the string woven through button).

Bracelet

Step Four: Put one strand of the new string on each side of the button (there will be three strings on both sides of button). Now begin to braid both sides down to the size you want.

(The button will be the center of your bracelet)

Bracelet

Step Five: Once the bracelet is at the length you desire, tie a knot at one end. (If you chose to not do the optional “clasp” button– tie a knot at both ends leaving enough excess string to tie and then tie onto wrist/ankle/neck–this is where you’d end.)

Bracelet

Step Six: Grab TWO of your three strands on one side and slide your optional “clasp” button through the two and slide it up to the knot.

Bracelet

Step Seven: Squeeze the free string through one of the “clasp” button’s holes.

Bracelet

Step Eight: Pull the free string  to straighten out, once through one hole. Now, tie a  knot again to secure the button in place.

Bracelet

Step Nine: Cut any excess string off of this end. Now onto the next end. Tie a double knot, then wrap string around pinkie to create a loop. Tie a knot once again around pinkie. Slide new loop off finger.

Bracelet

Step Ten: Cut off excess string after you have secured loop.

Bracelet

There you have it! A simple, minimalist bracelet you can make with friends and family in 10 easy steps. Only takes about 5 minutes!

Put those old buttons to good use! 

The finished bracelets:

Bracelet

Bracelet

(The one below is one that we added in a new color to)

bracelet

Very cute and easy-to-do.

If you have any questions or I left anything out, feel free to comment and I’ll get back with you.

Happy Braceleting!