Veggie Fajitas

Ingredients:
1 Orange Bell Pepper
1 (or more) Green Bell Pepper(s)
1 Fresno Red Pepper
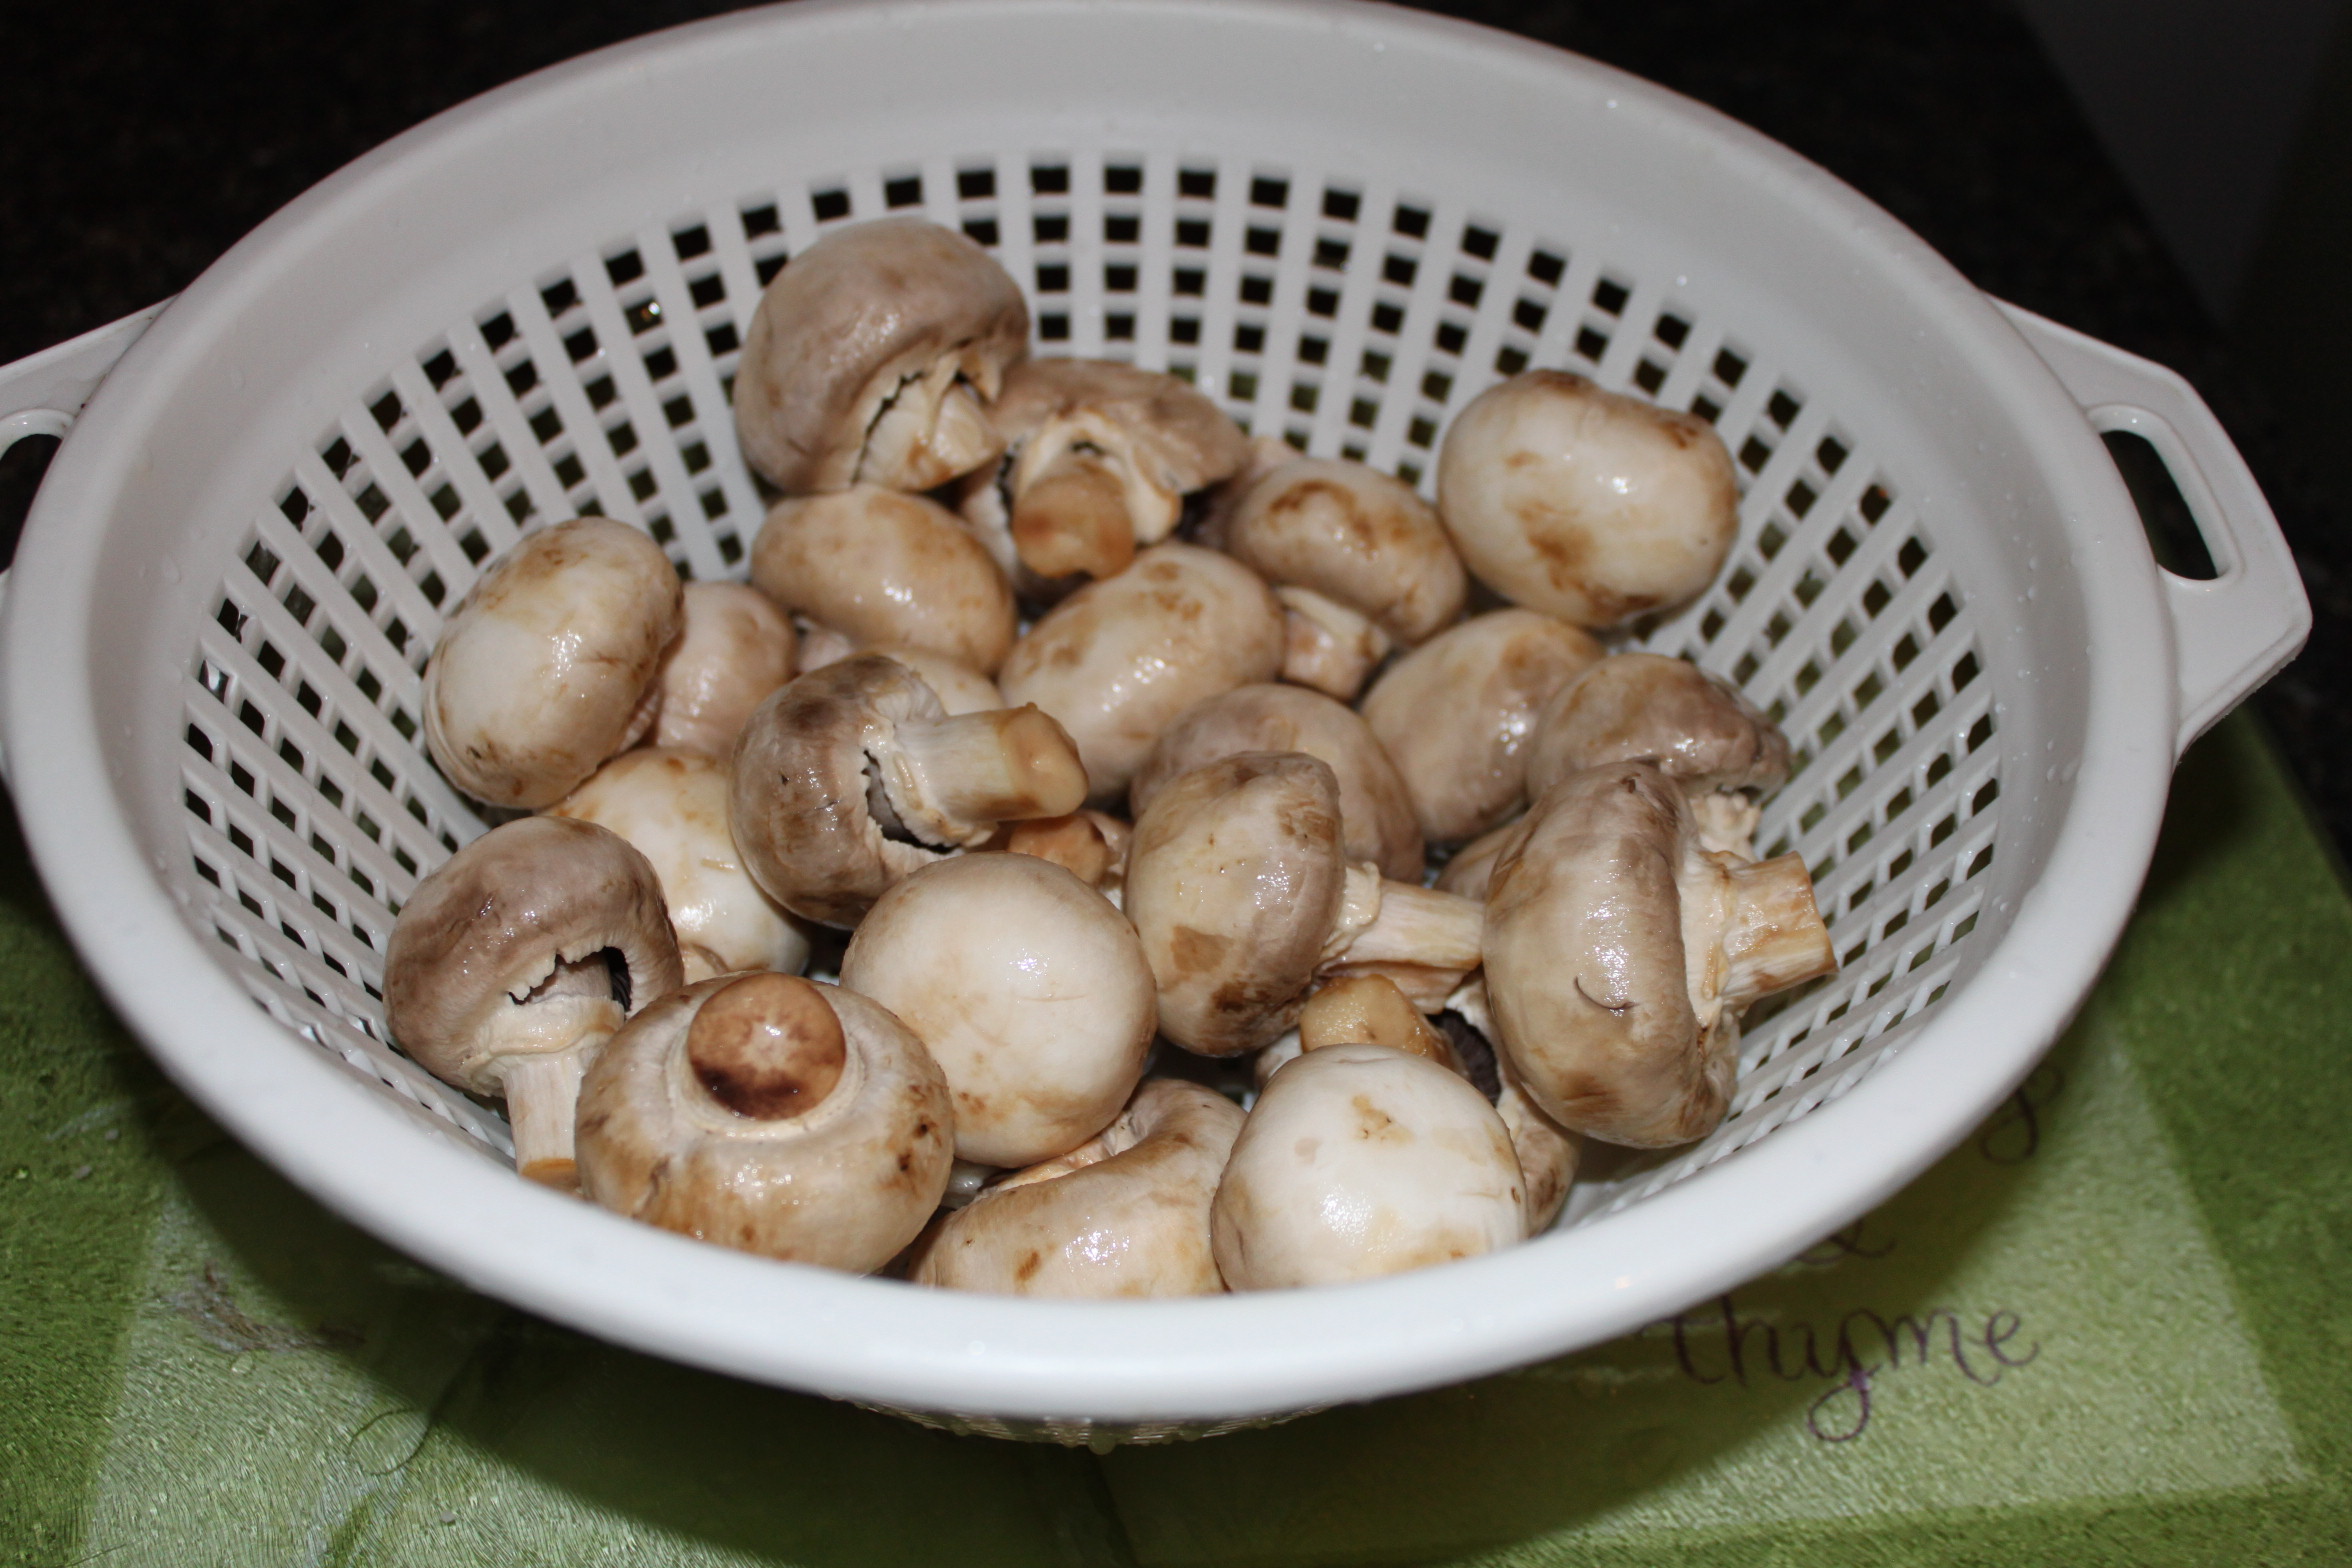
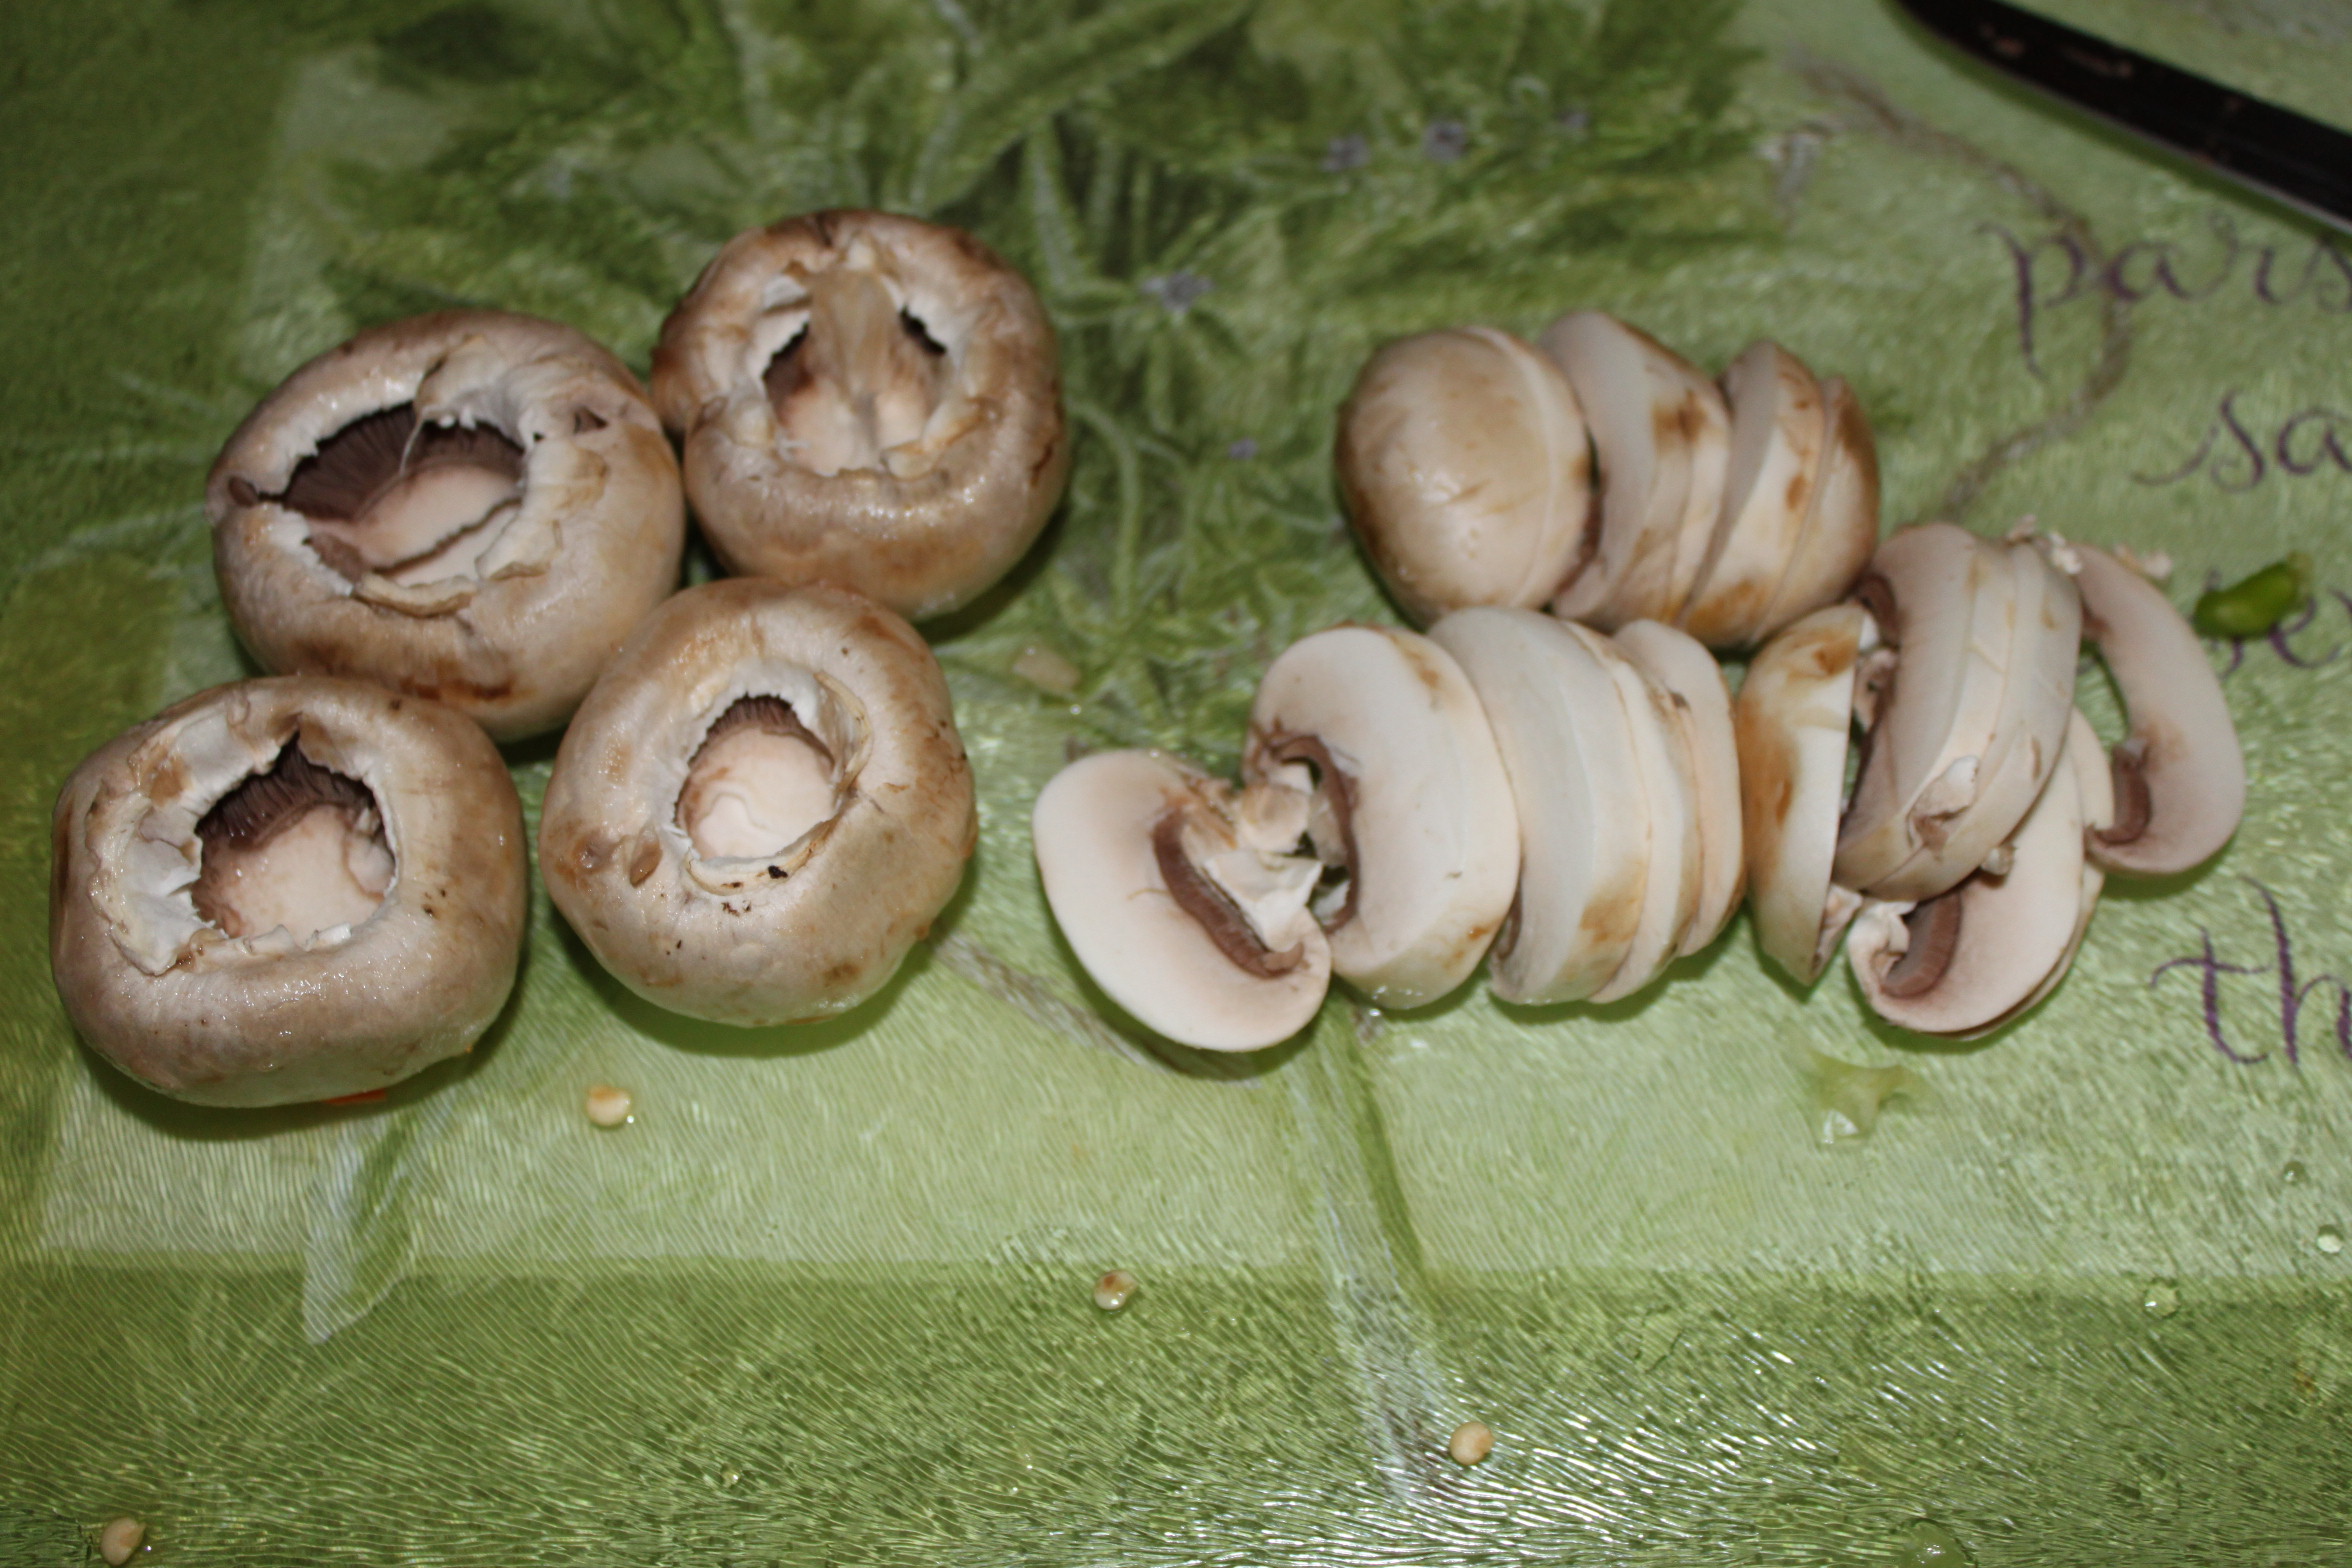
Several White Mushrooms (5-8)
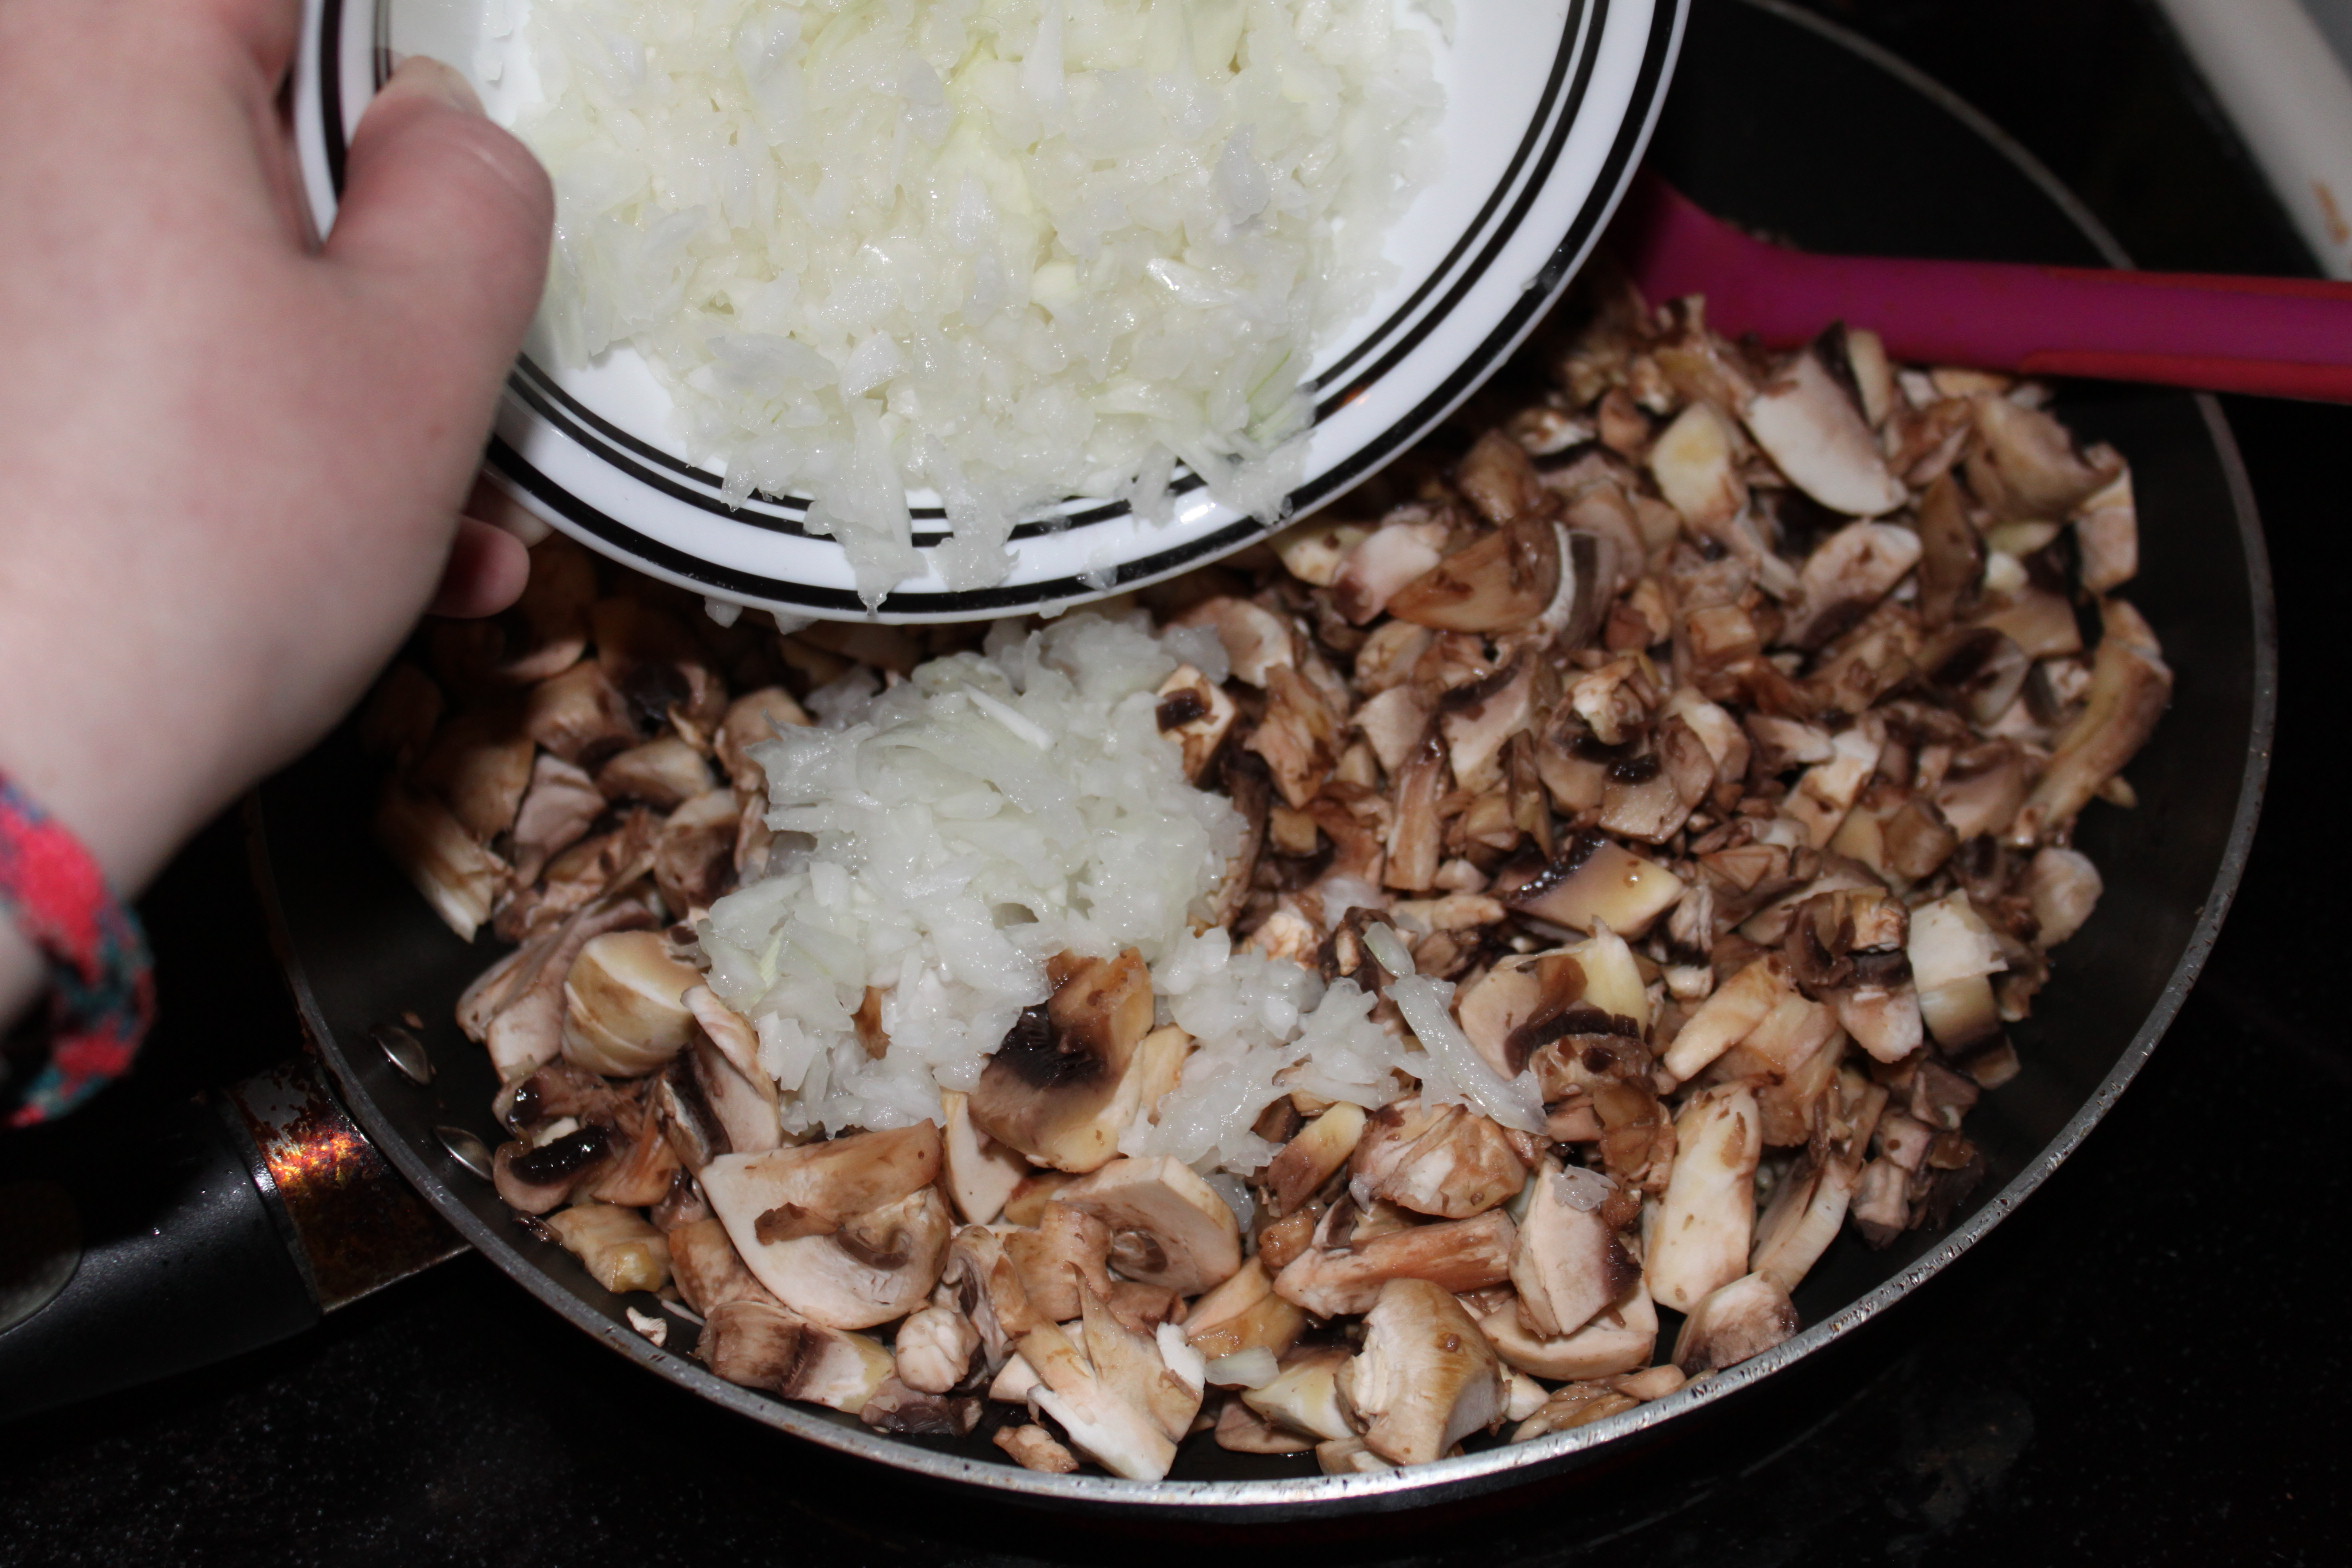
1 Large Onion
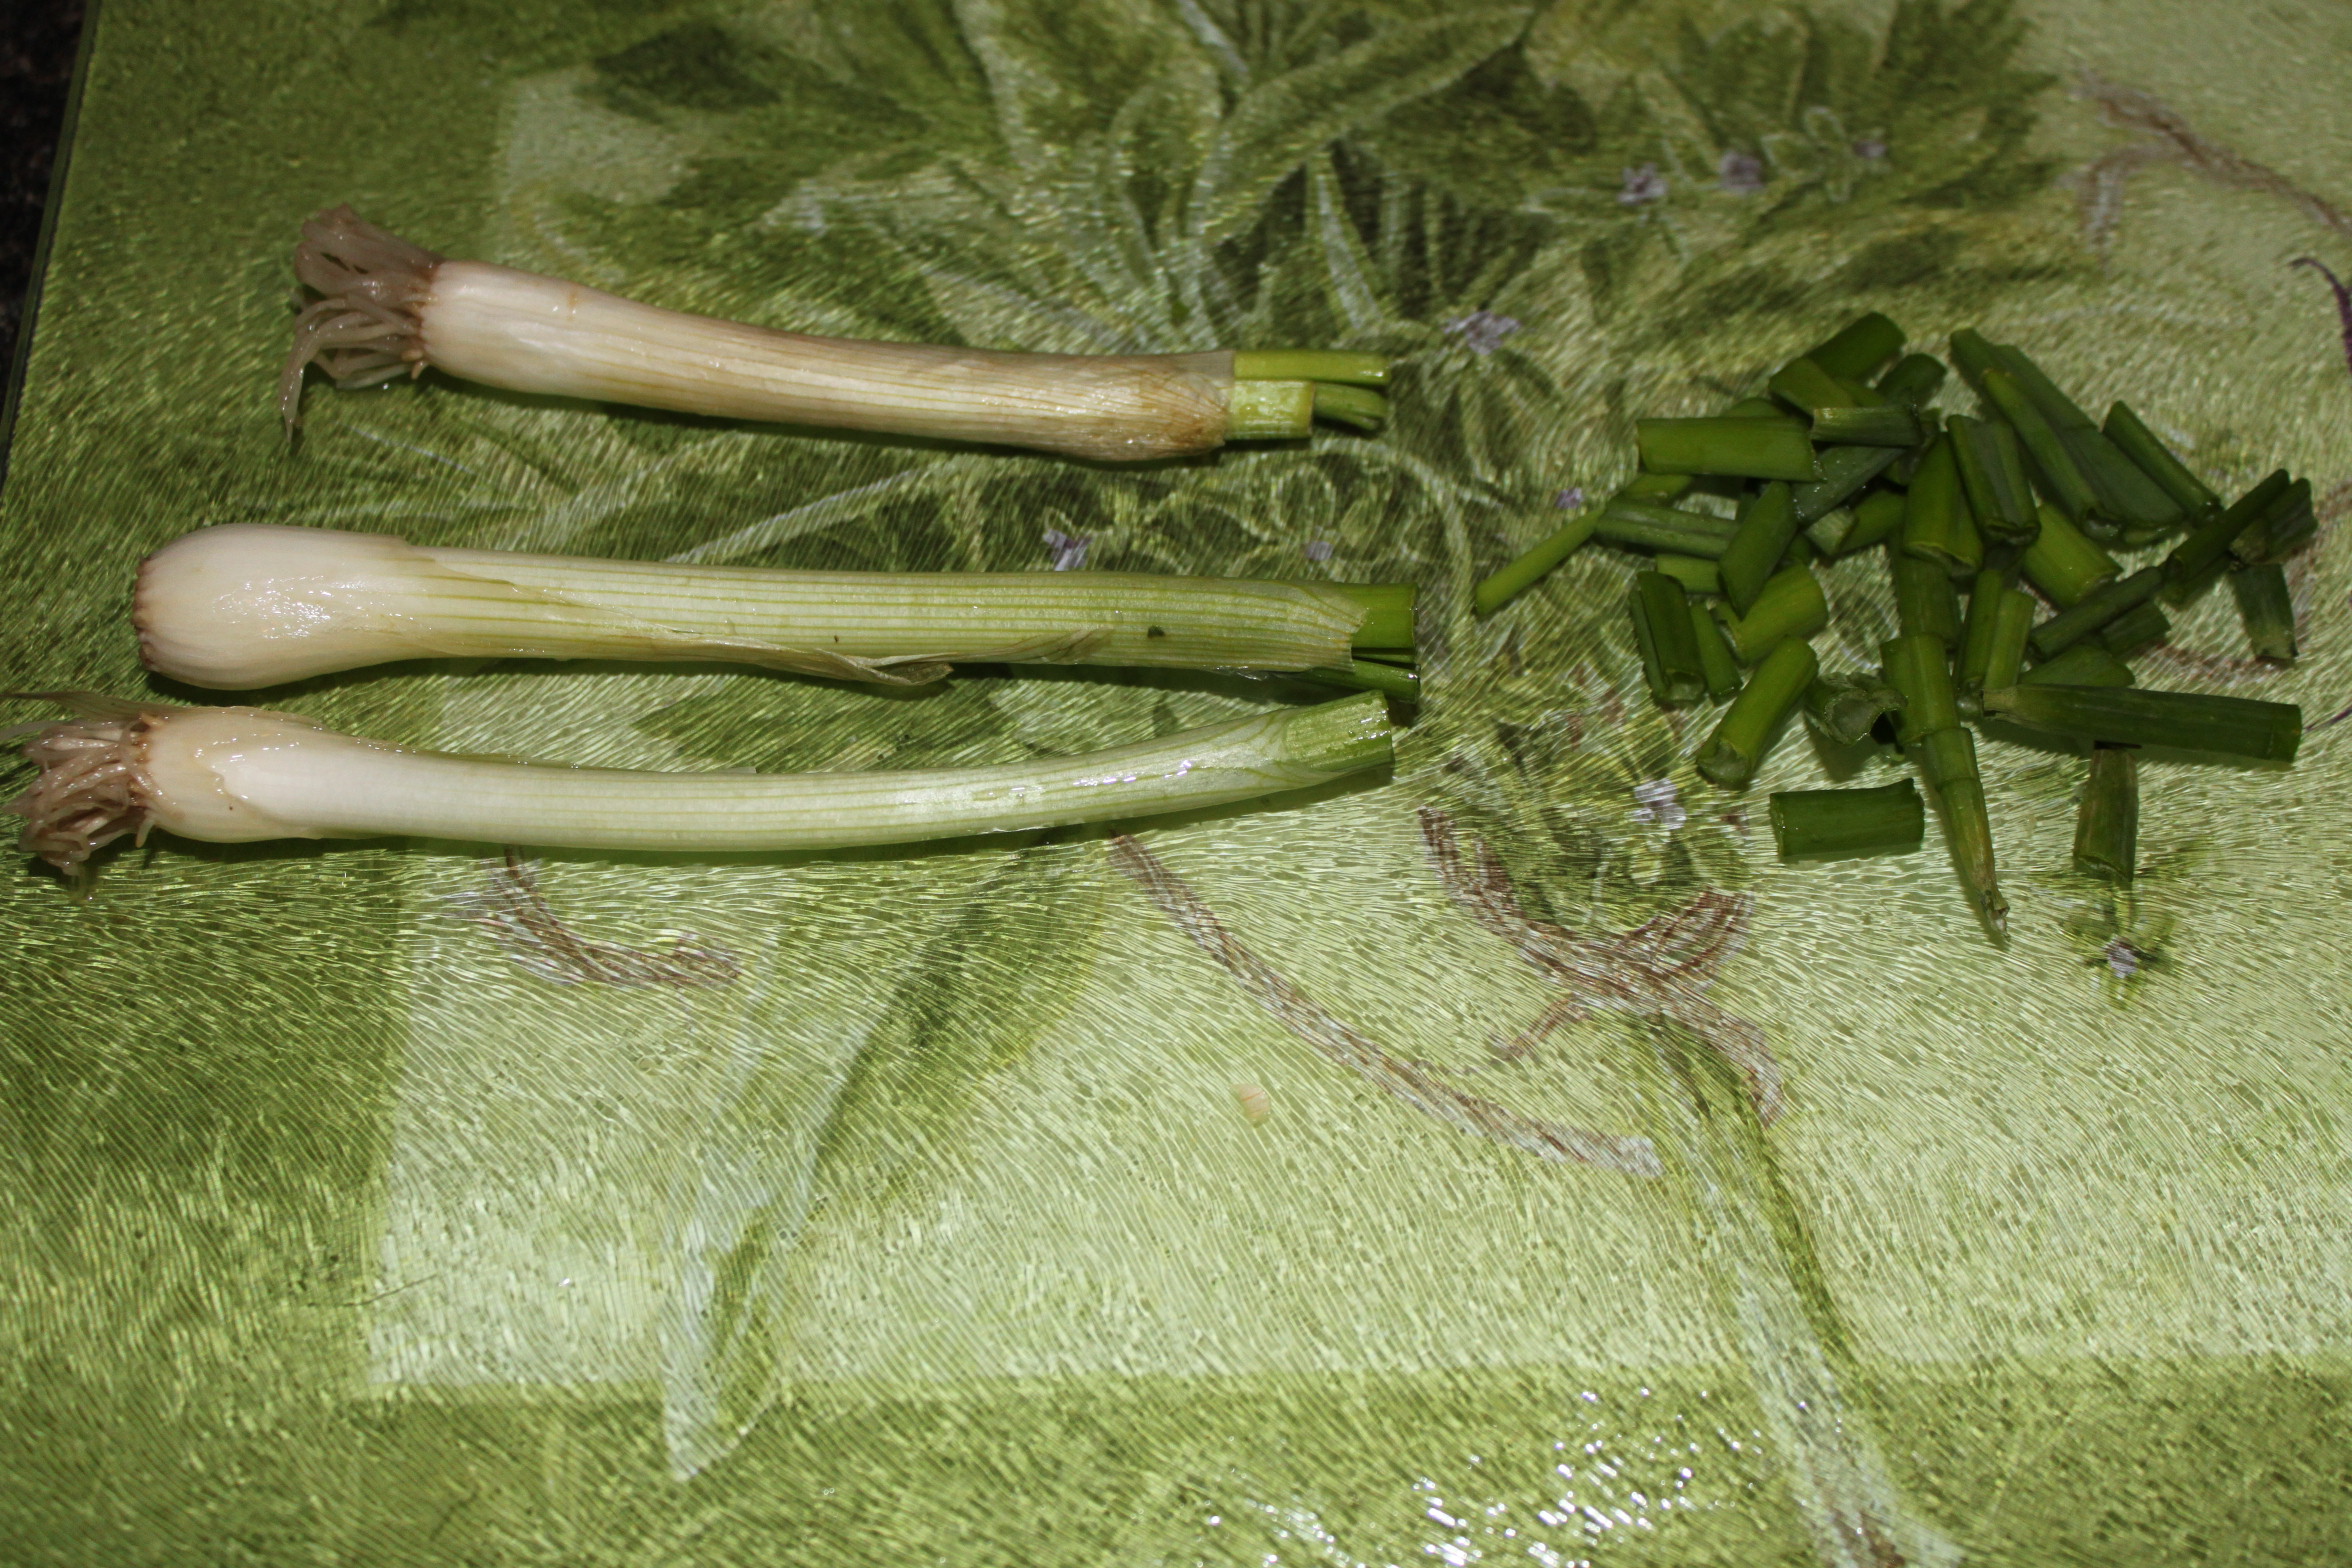
Green Onions
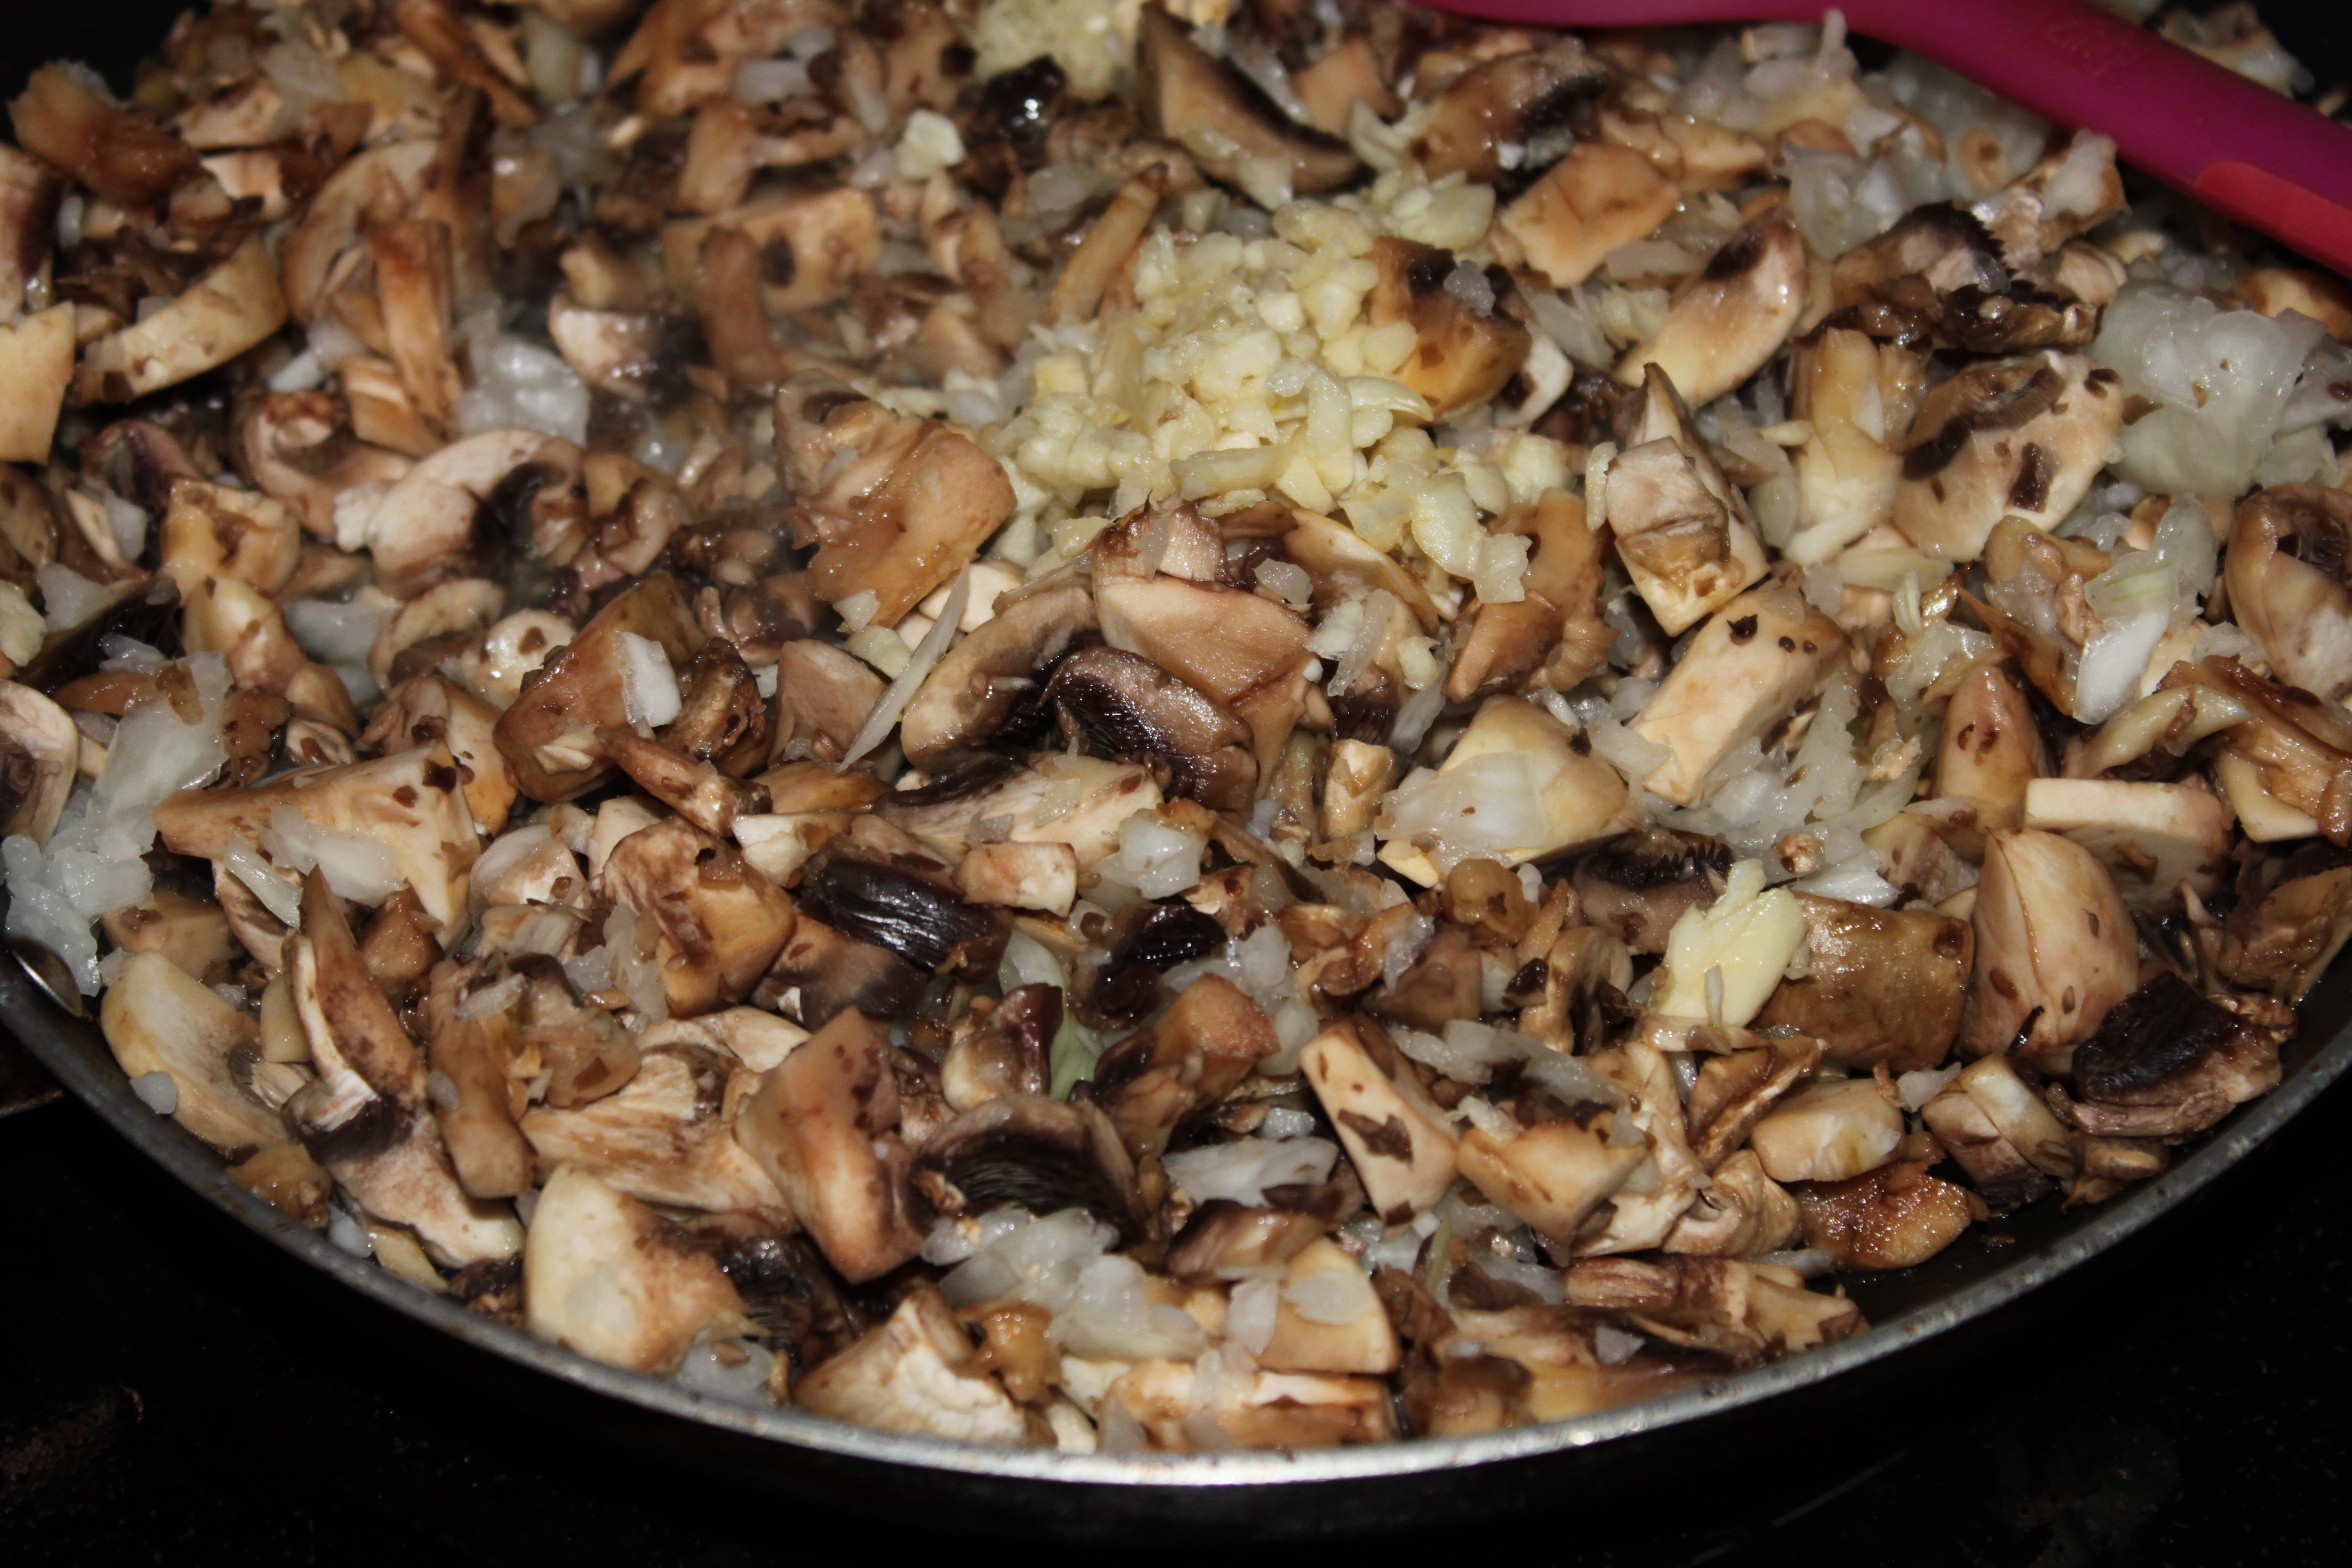
2 Garlic Cloves
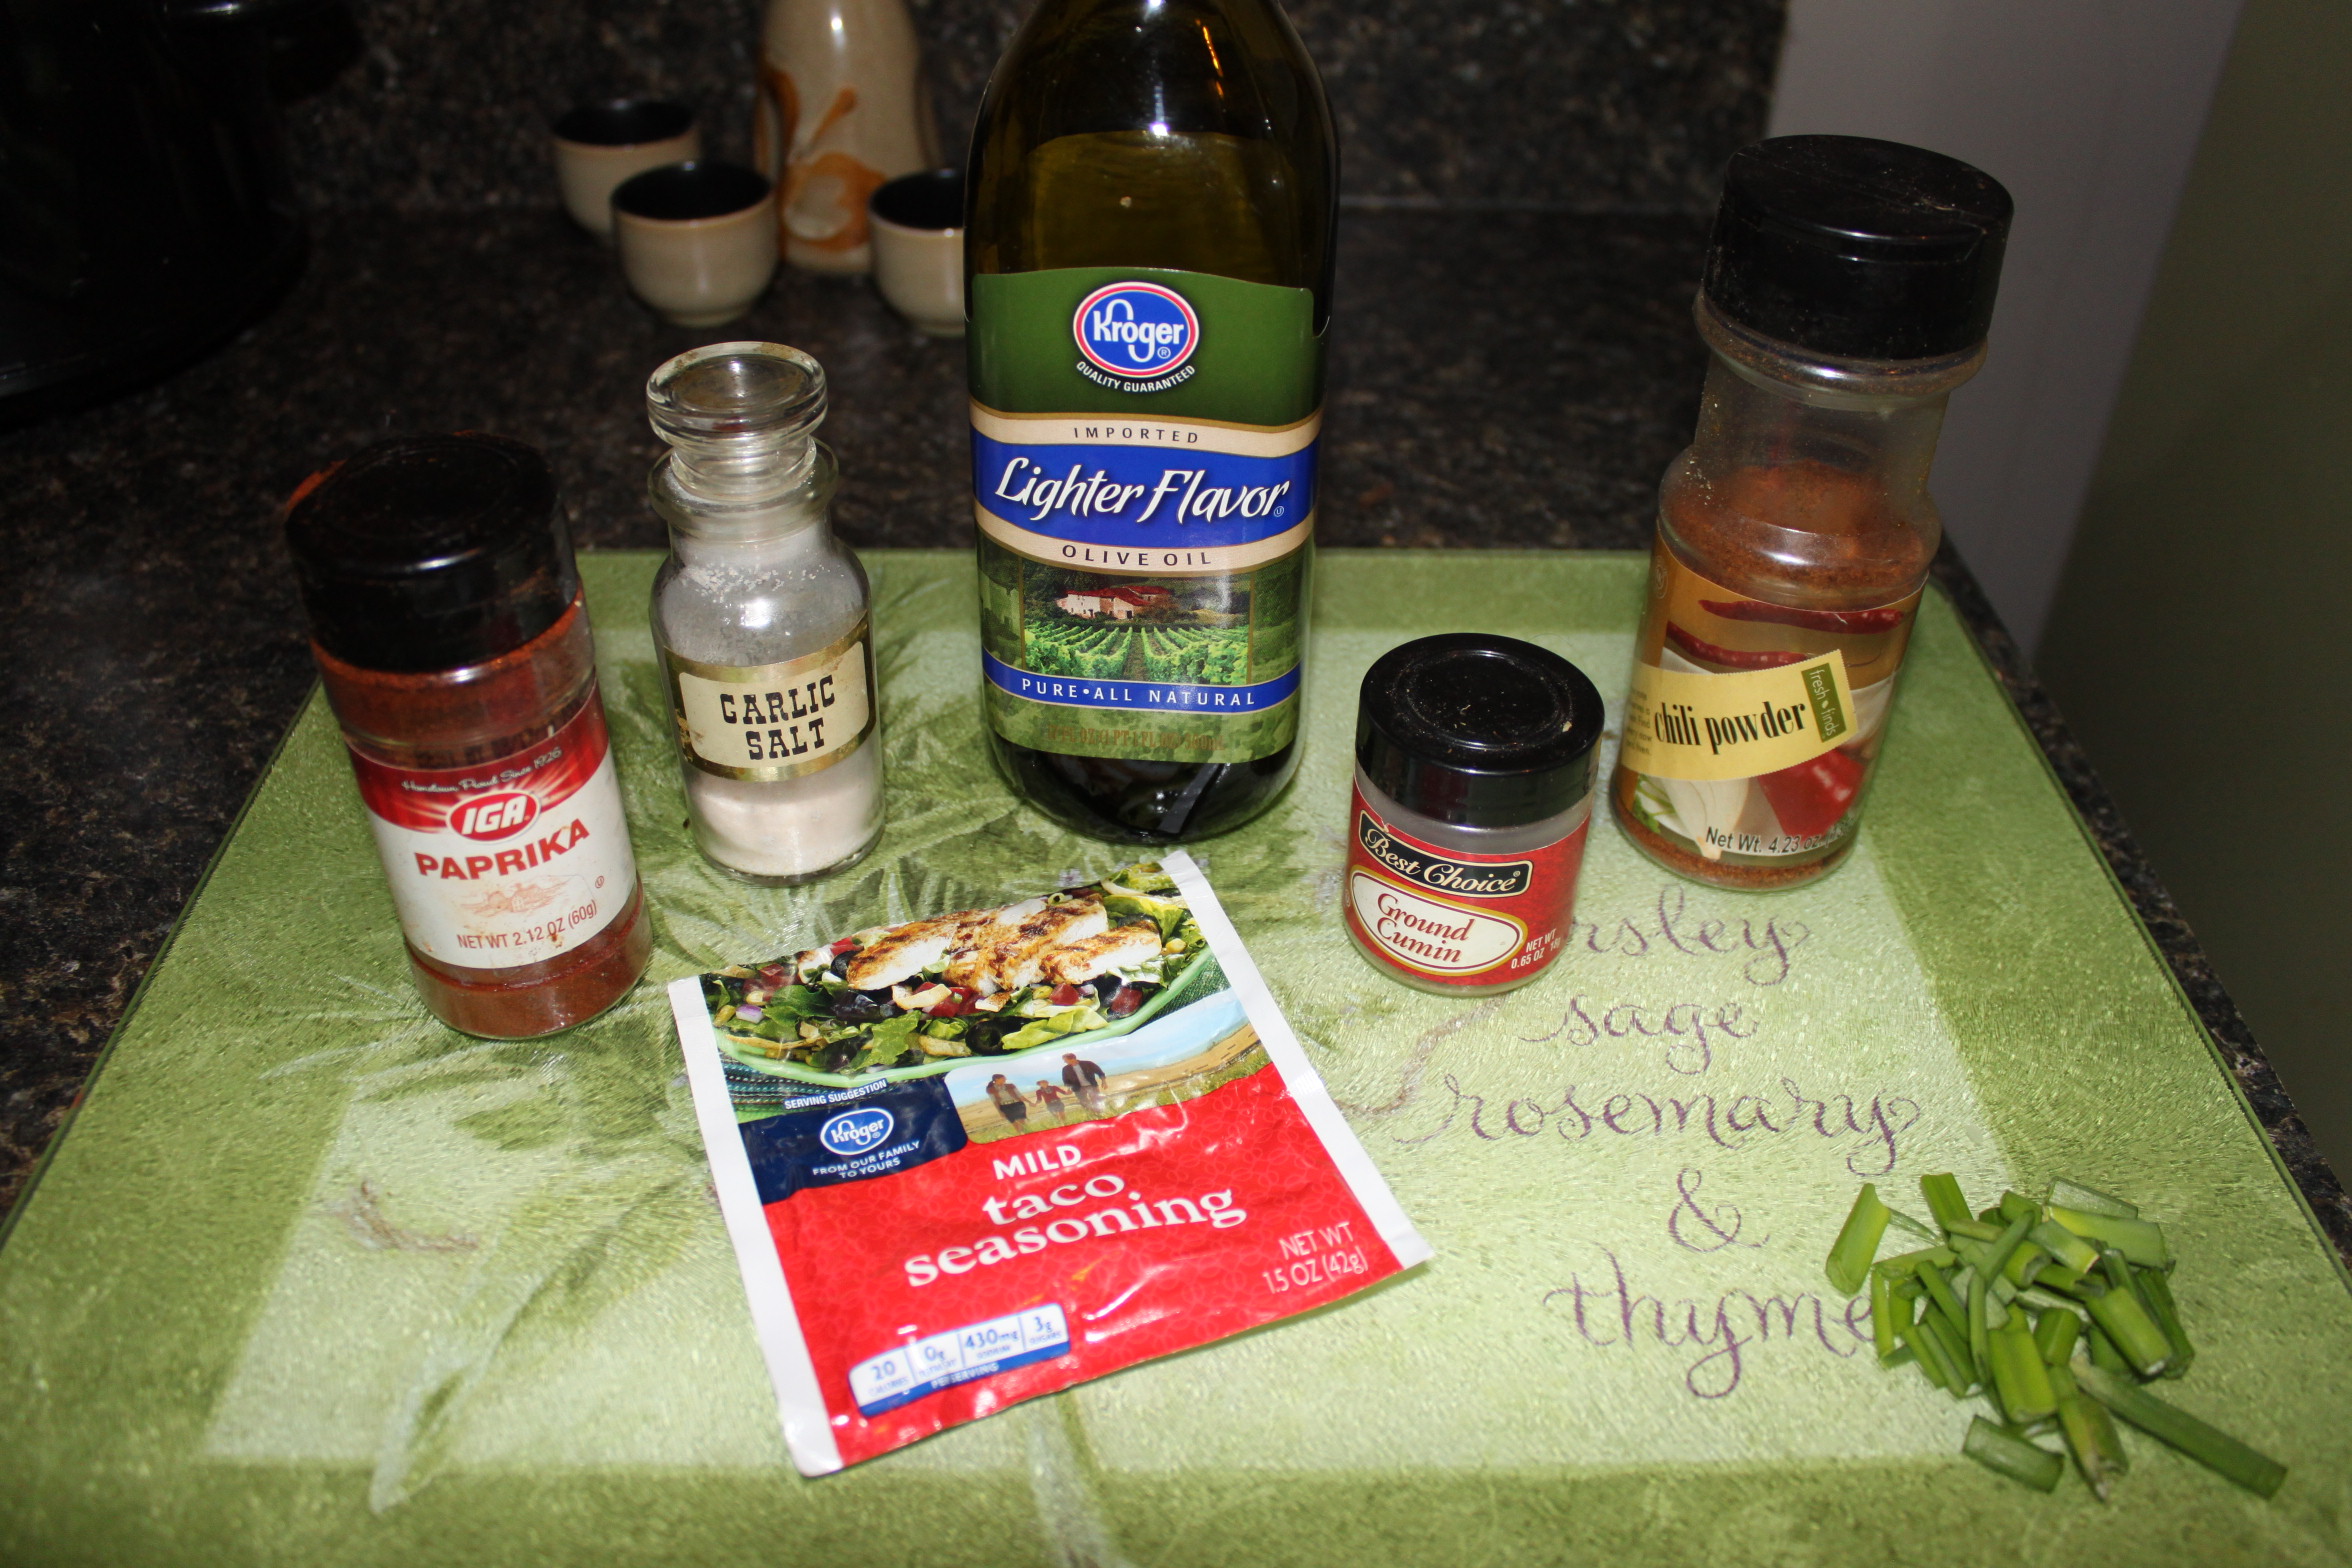
2 Tablespoons of Olive Oil
Paprika
2 Teaspoons of Garlic Salt
1 Tablespoon of Cumin
A pinch of Chili Powder
1/3 of a Package of Taco (or Fajita) Seasoning
Optional:
Fresh Jalapeno Pepper(s)
Any other vegetable you enjoy in Fajitas
Feel free to leave out anything you may think will make it too spicy. This dish can definitely get too spicy if you let it.
These fajitas are delicious! Perfect for any time of the year.
Preparation time is about 10 minutes.
Cooking time about 10 minutes.
You can make this entire meal in under 20 minutes! Talk about a quick meal!
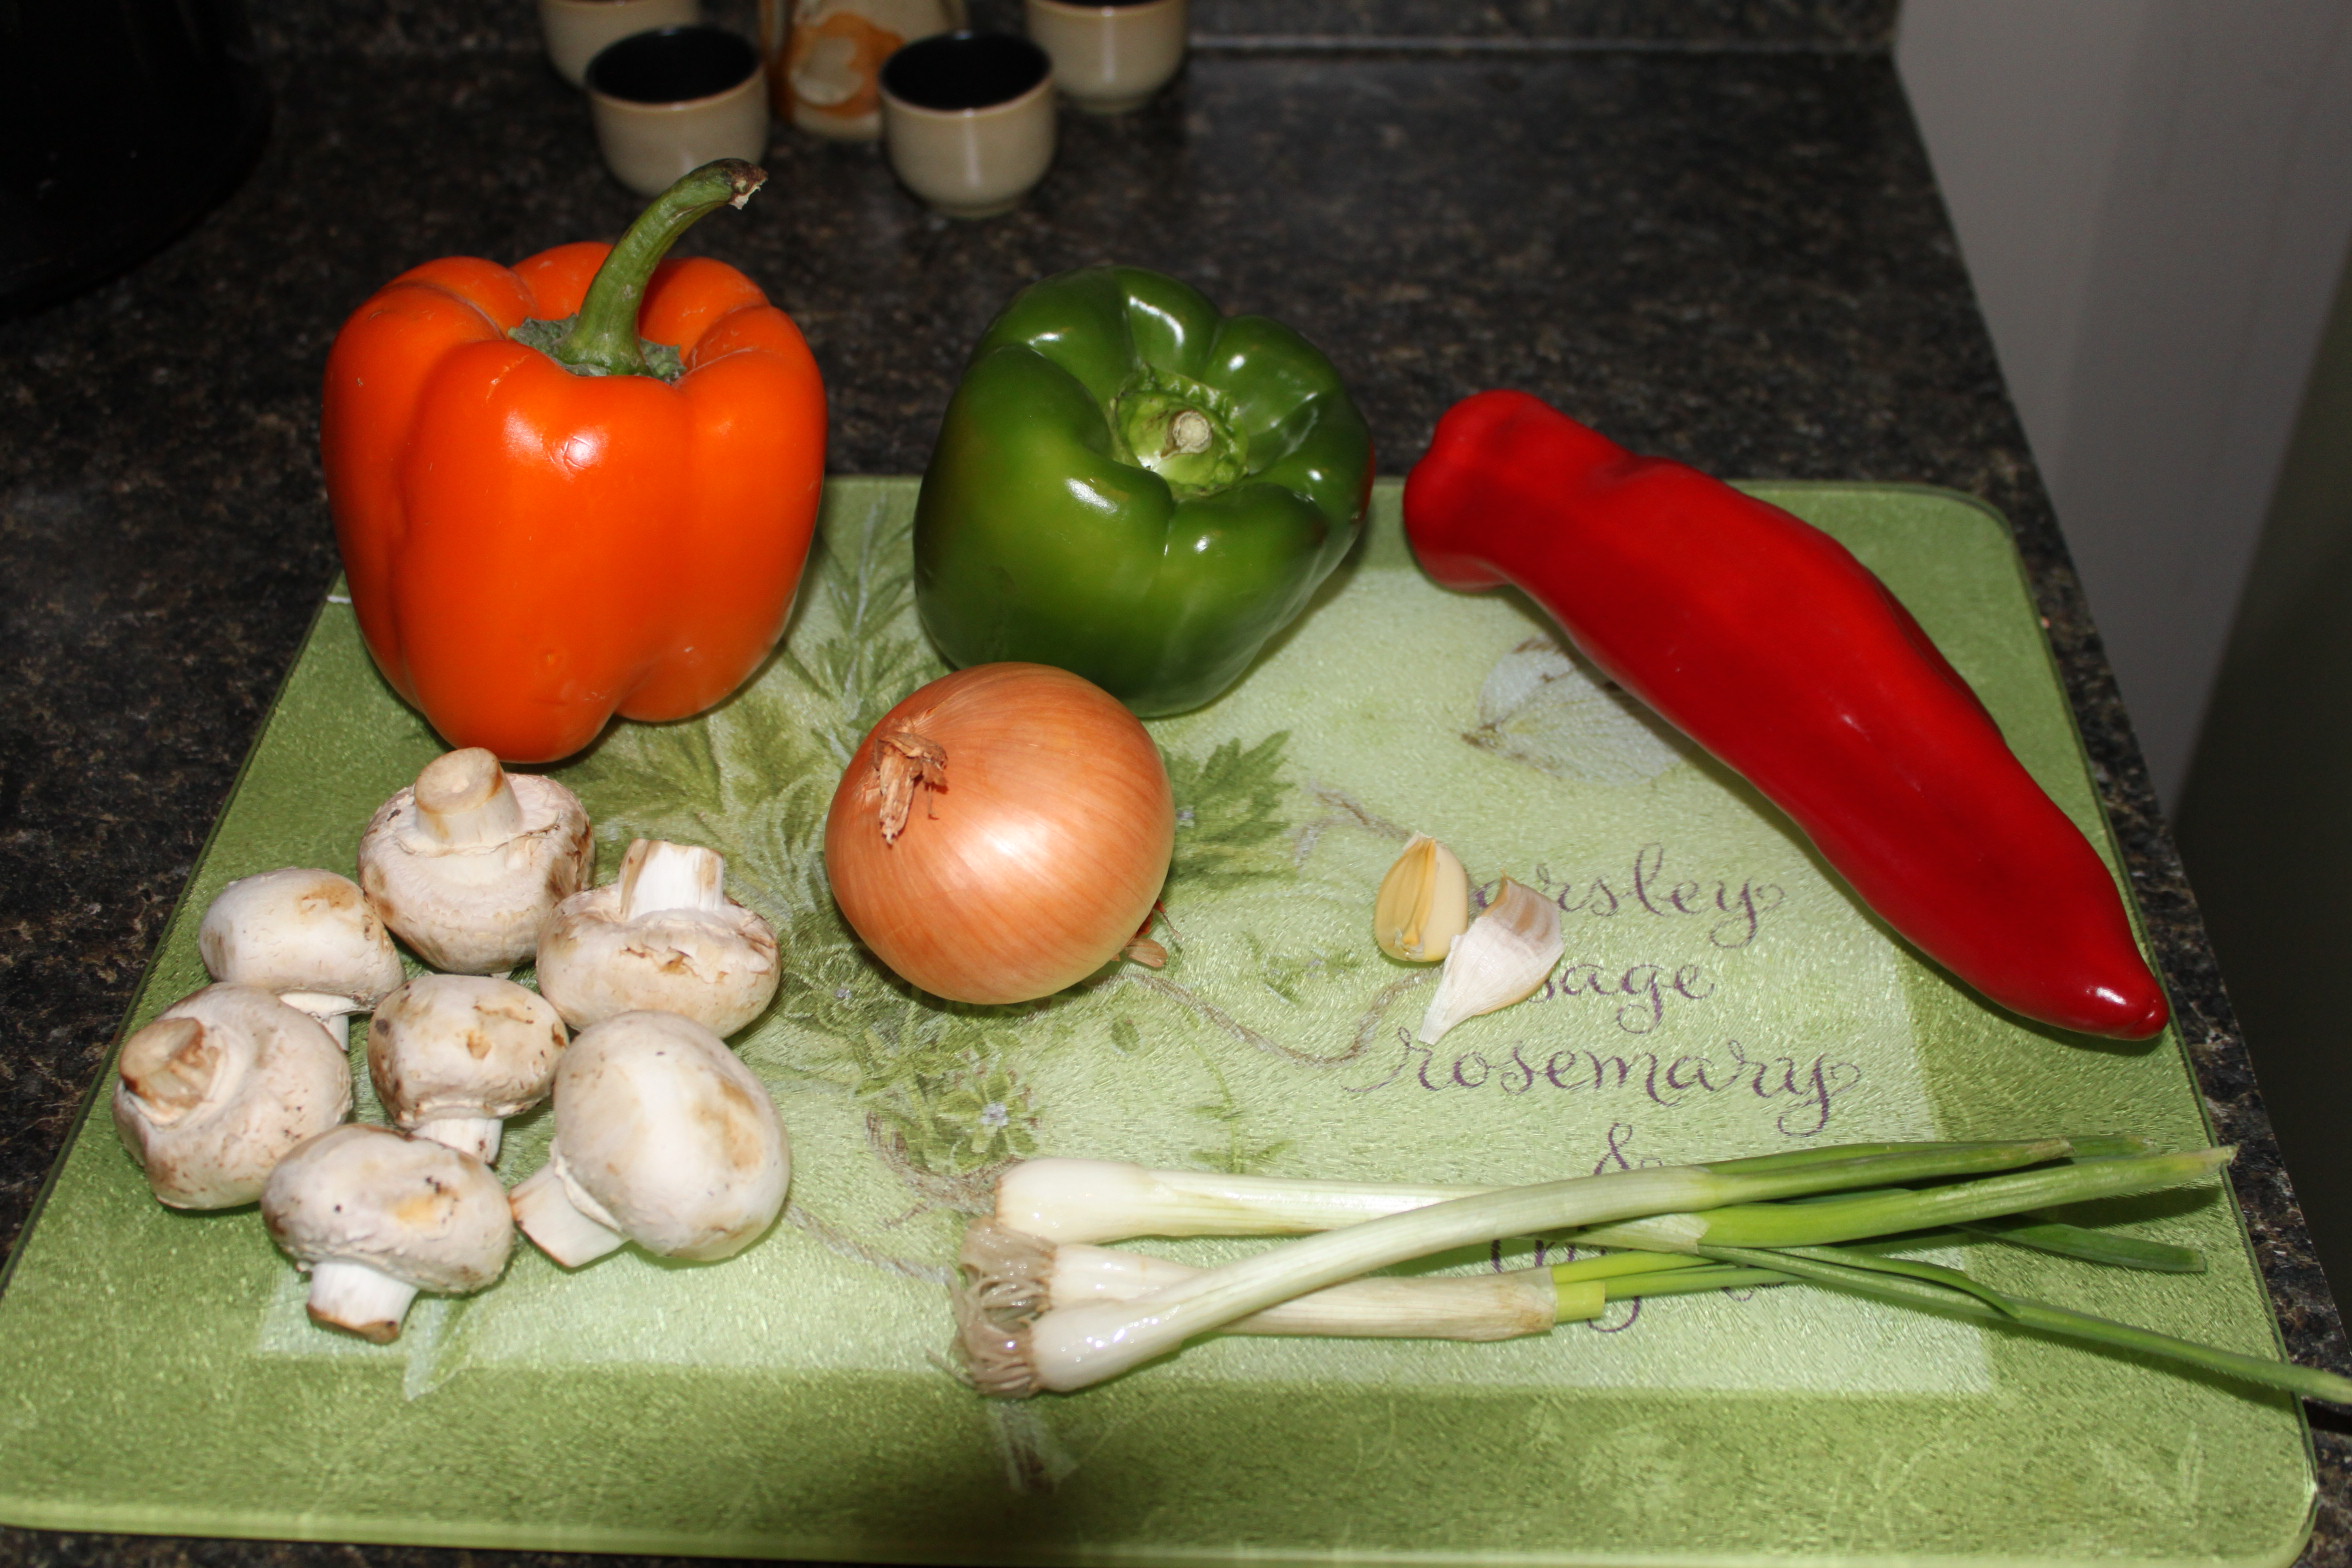
First, gather all of the vegetables you will be enjoying in your fajita.

Wash all the vegetables thoroughly. Grab your favorite cutting board and let’s get to slicing these bad boys up!


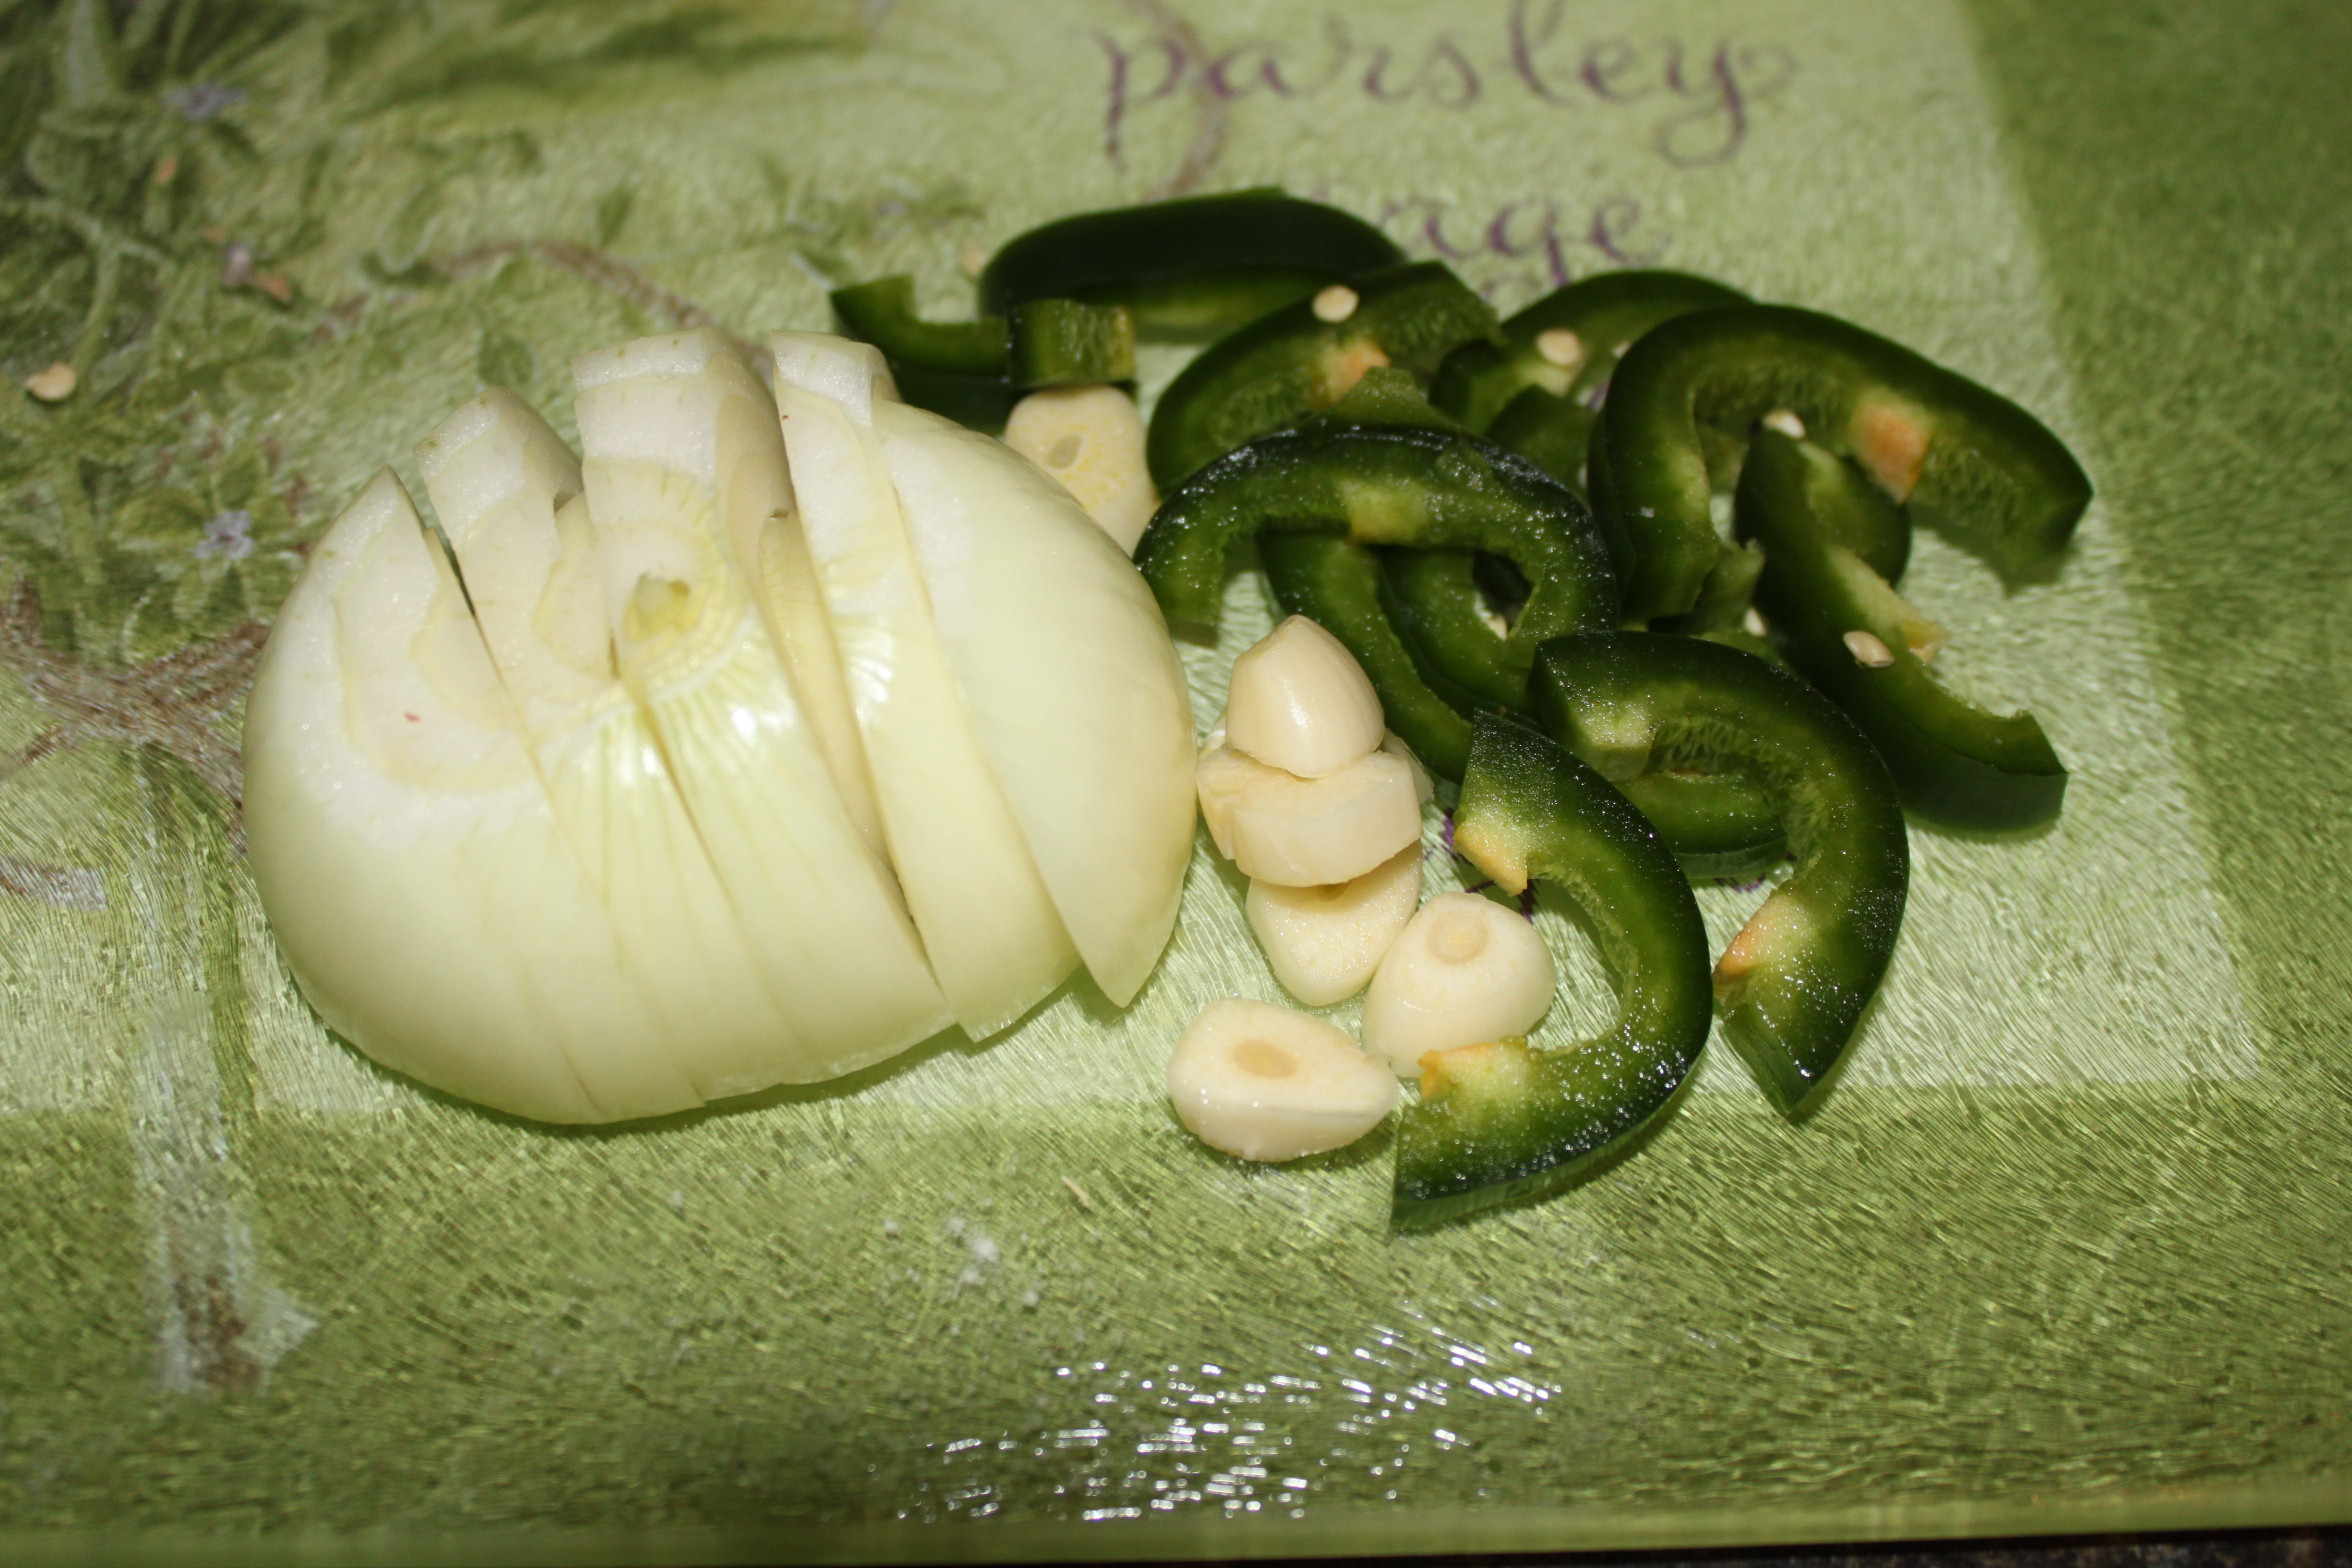
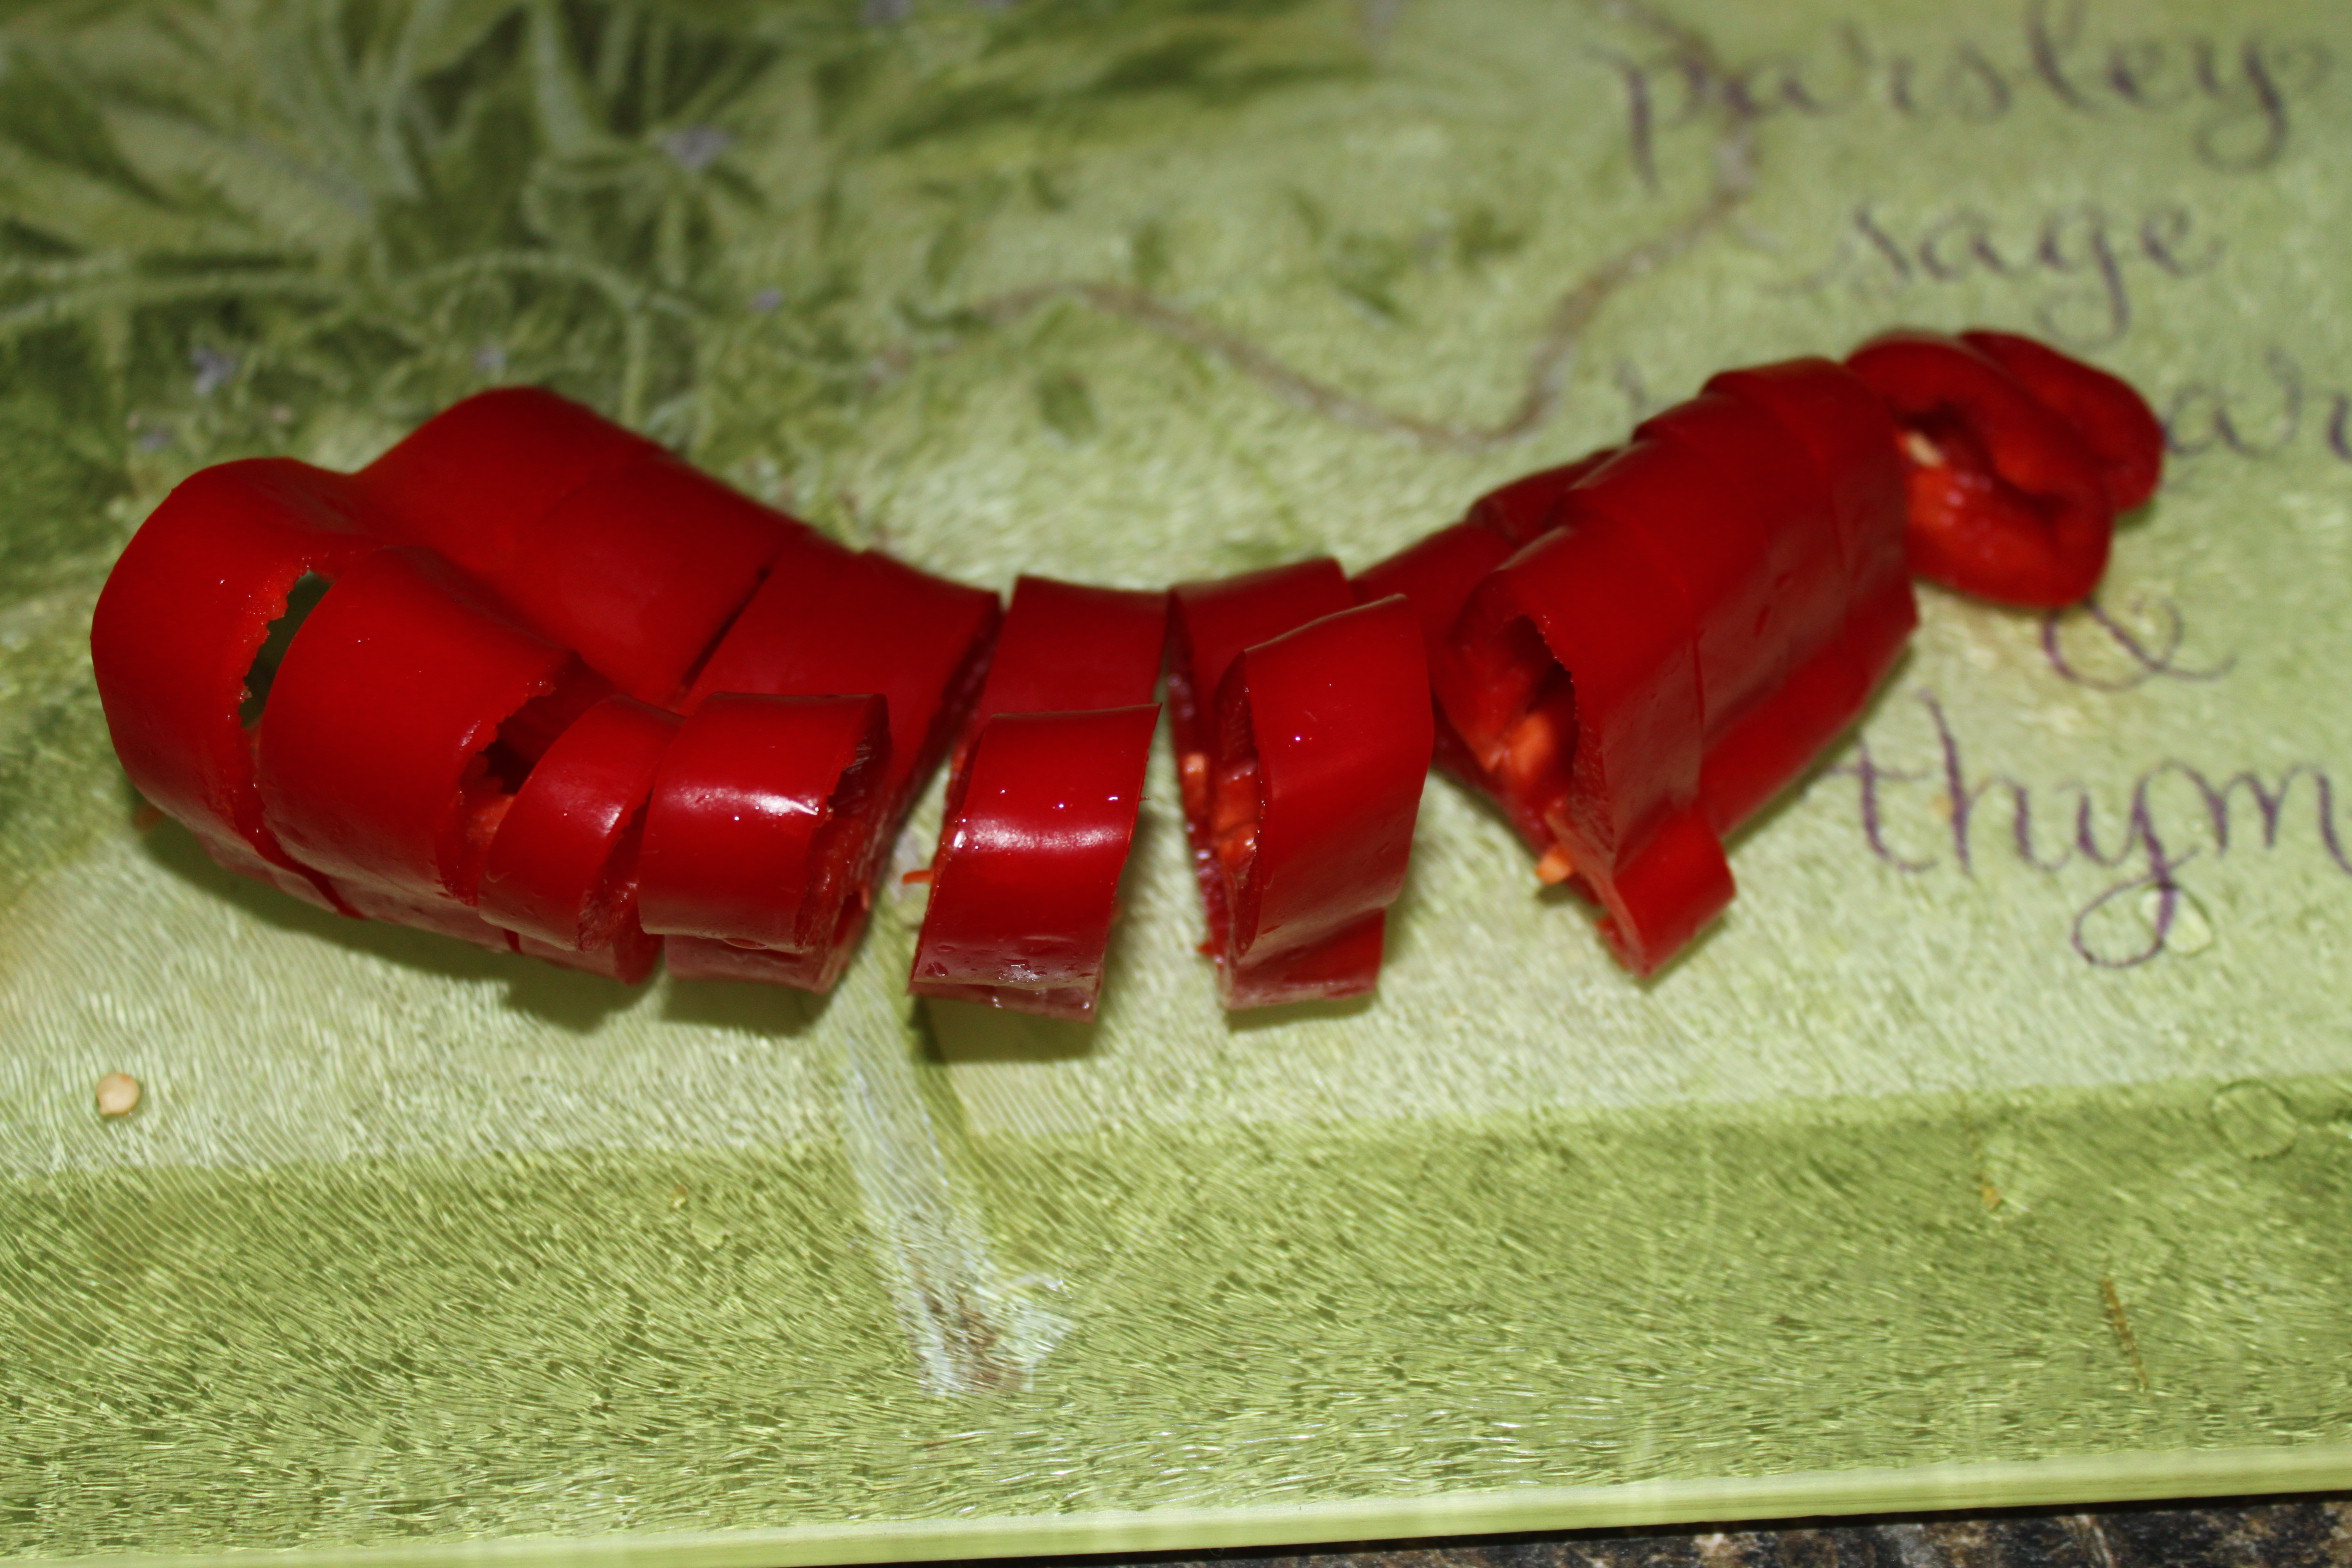
For the Fresno (Red Pepper) I cut off the tips and sliced it like a banana and then cut those slices in half. For the Onion, I cut it in half, cut off the ends, removed the outer layer and just cut them up however you’d like. The Green and Orange Bell Pepper, I cut in half, removed the seeds and junk inside, rinsed them again (to remove excess seeds) and sliced them length-wise.


For the Green Onions, I grabbed a few and sliced off the ends. (We are saving these for when the fajitas mix is almost done to keep the delicious raw taste of them.) The cool thing about these Green Onions (aka Spring Onions) is that once you cut them down towards where the white begins, you can plop them down in a cup of water, sit in near a window and they grow! Never have to buy Green Onions again! For the mushrooms, I pulled out the stem (you don’t have to do this step) and then sliced them up like you’d find on a pizza. The Garlic Cloves, make sure you get that papery outer layer off, then chop them however big or small you’d like.

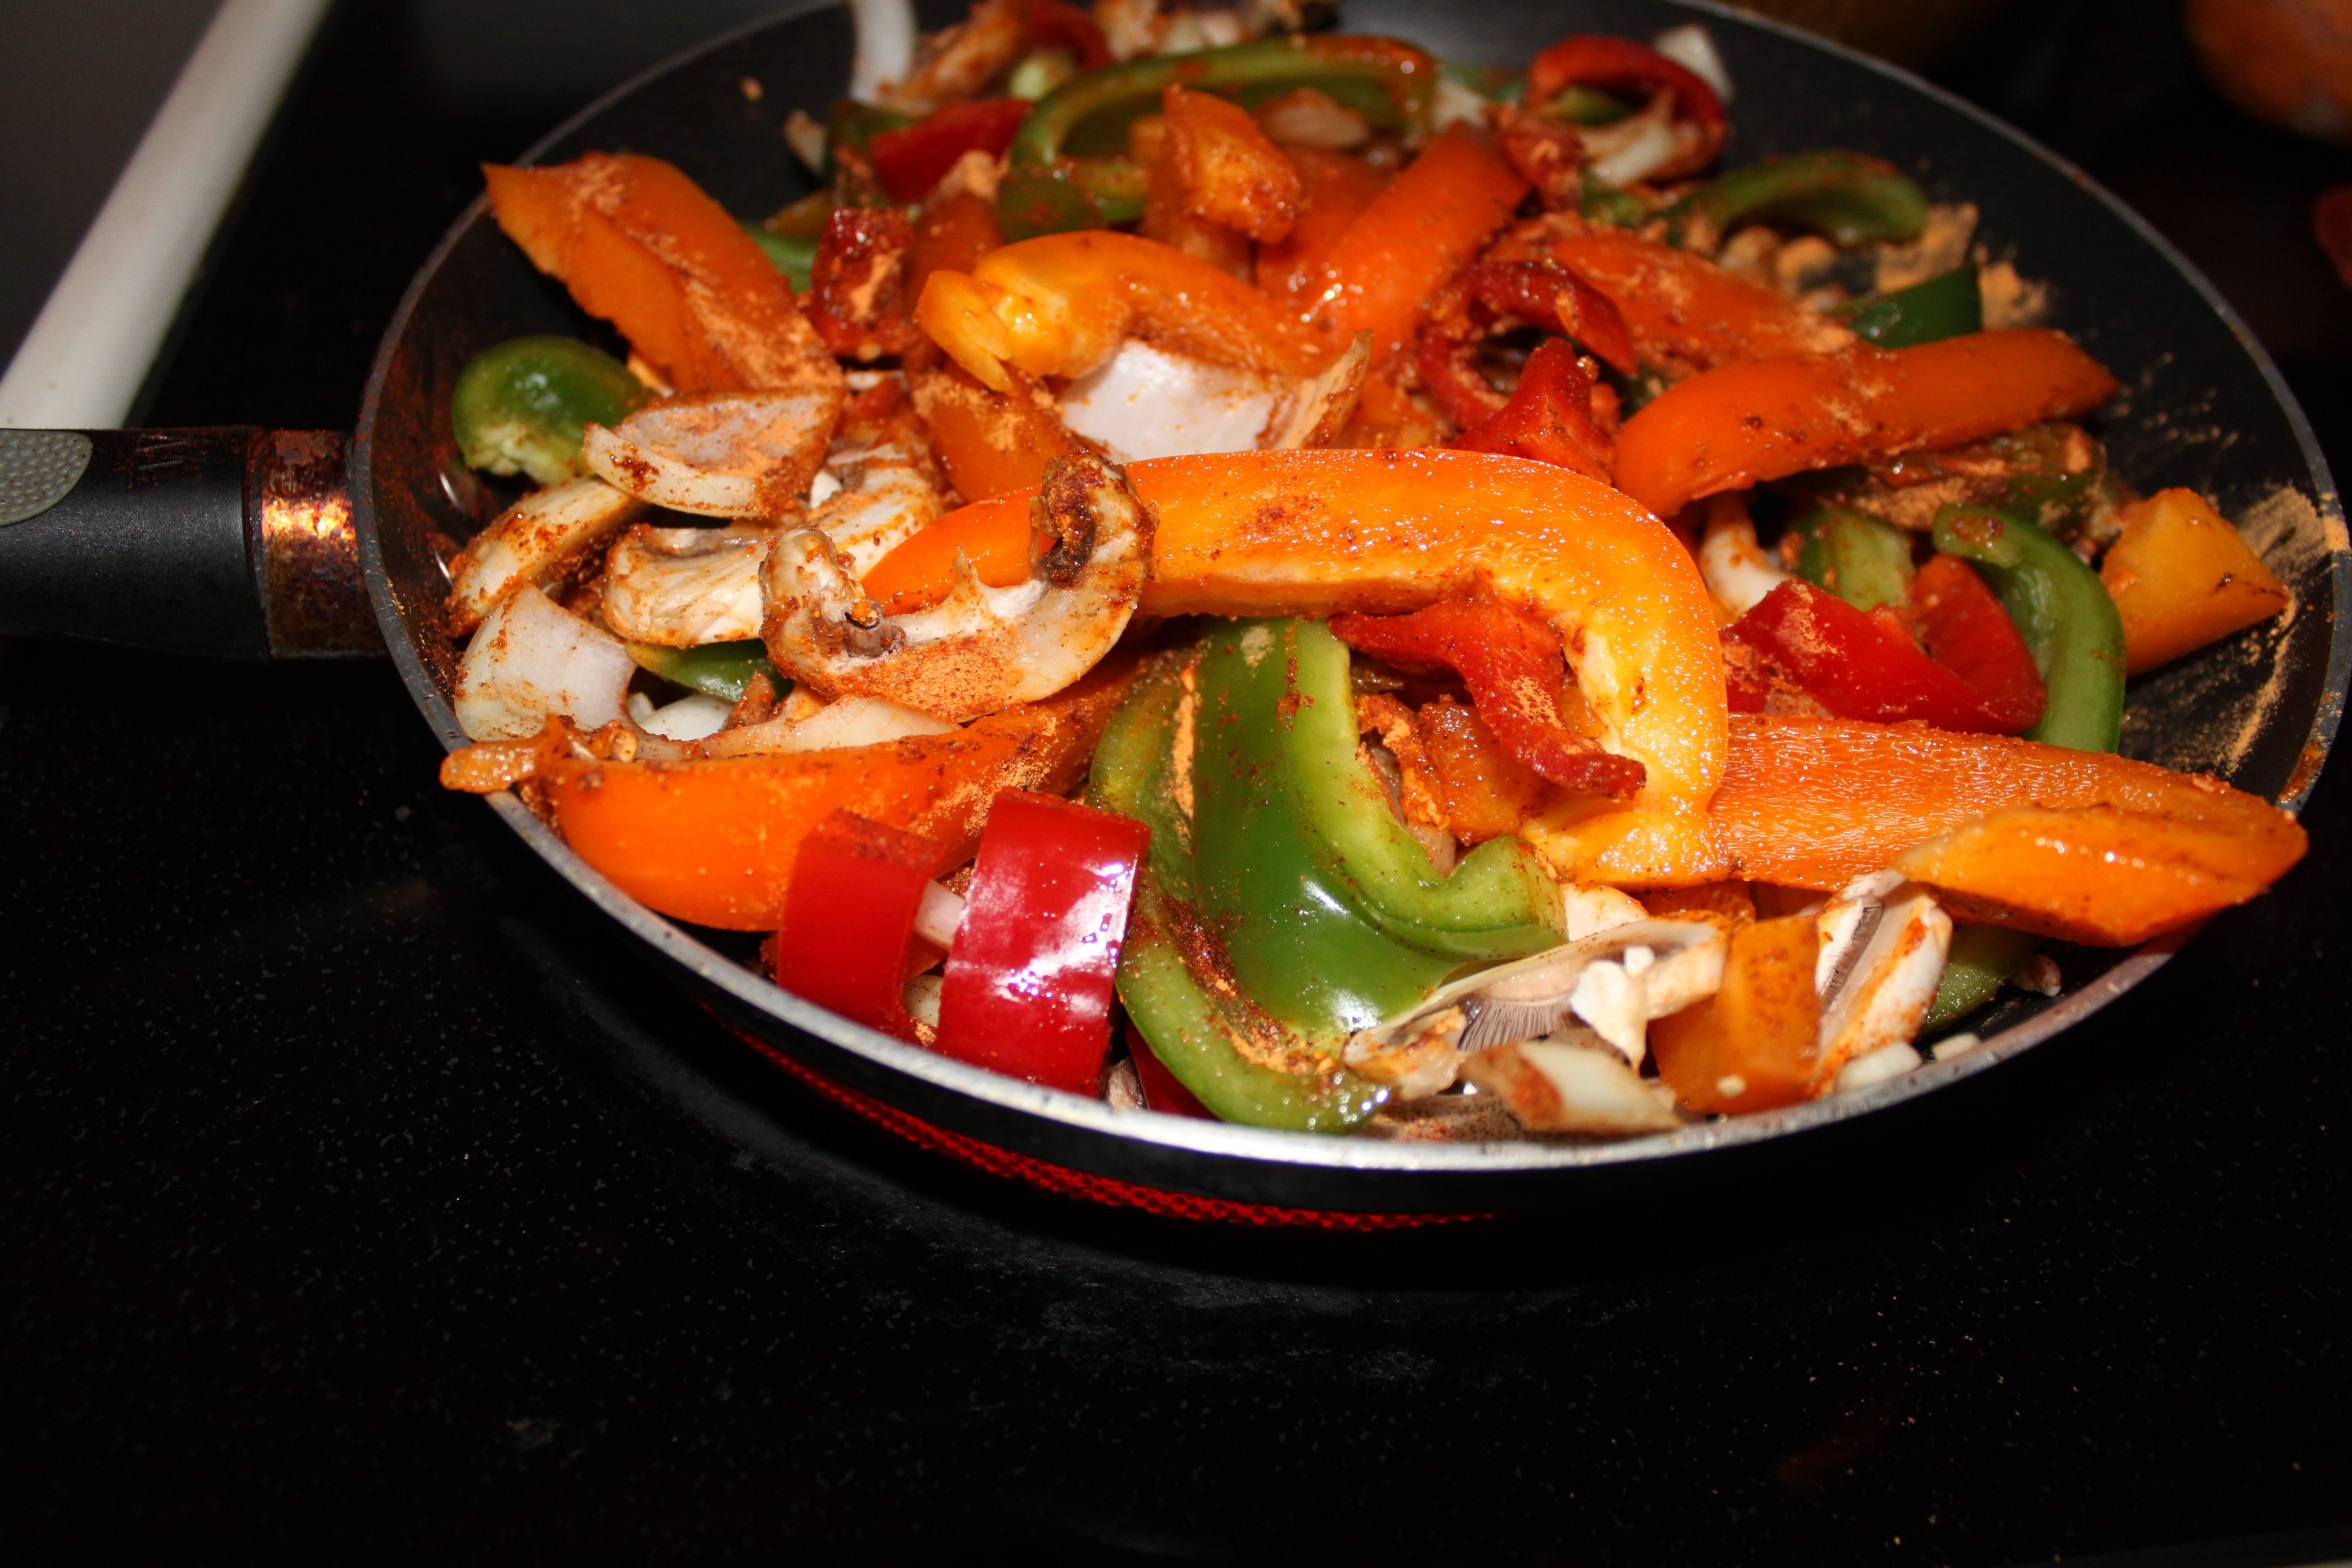
Toss all the veggies into a skillet beside you as you’re slicing them up. Once they are all sliced and diced it’s time to season them!

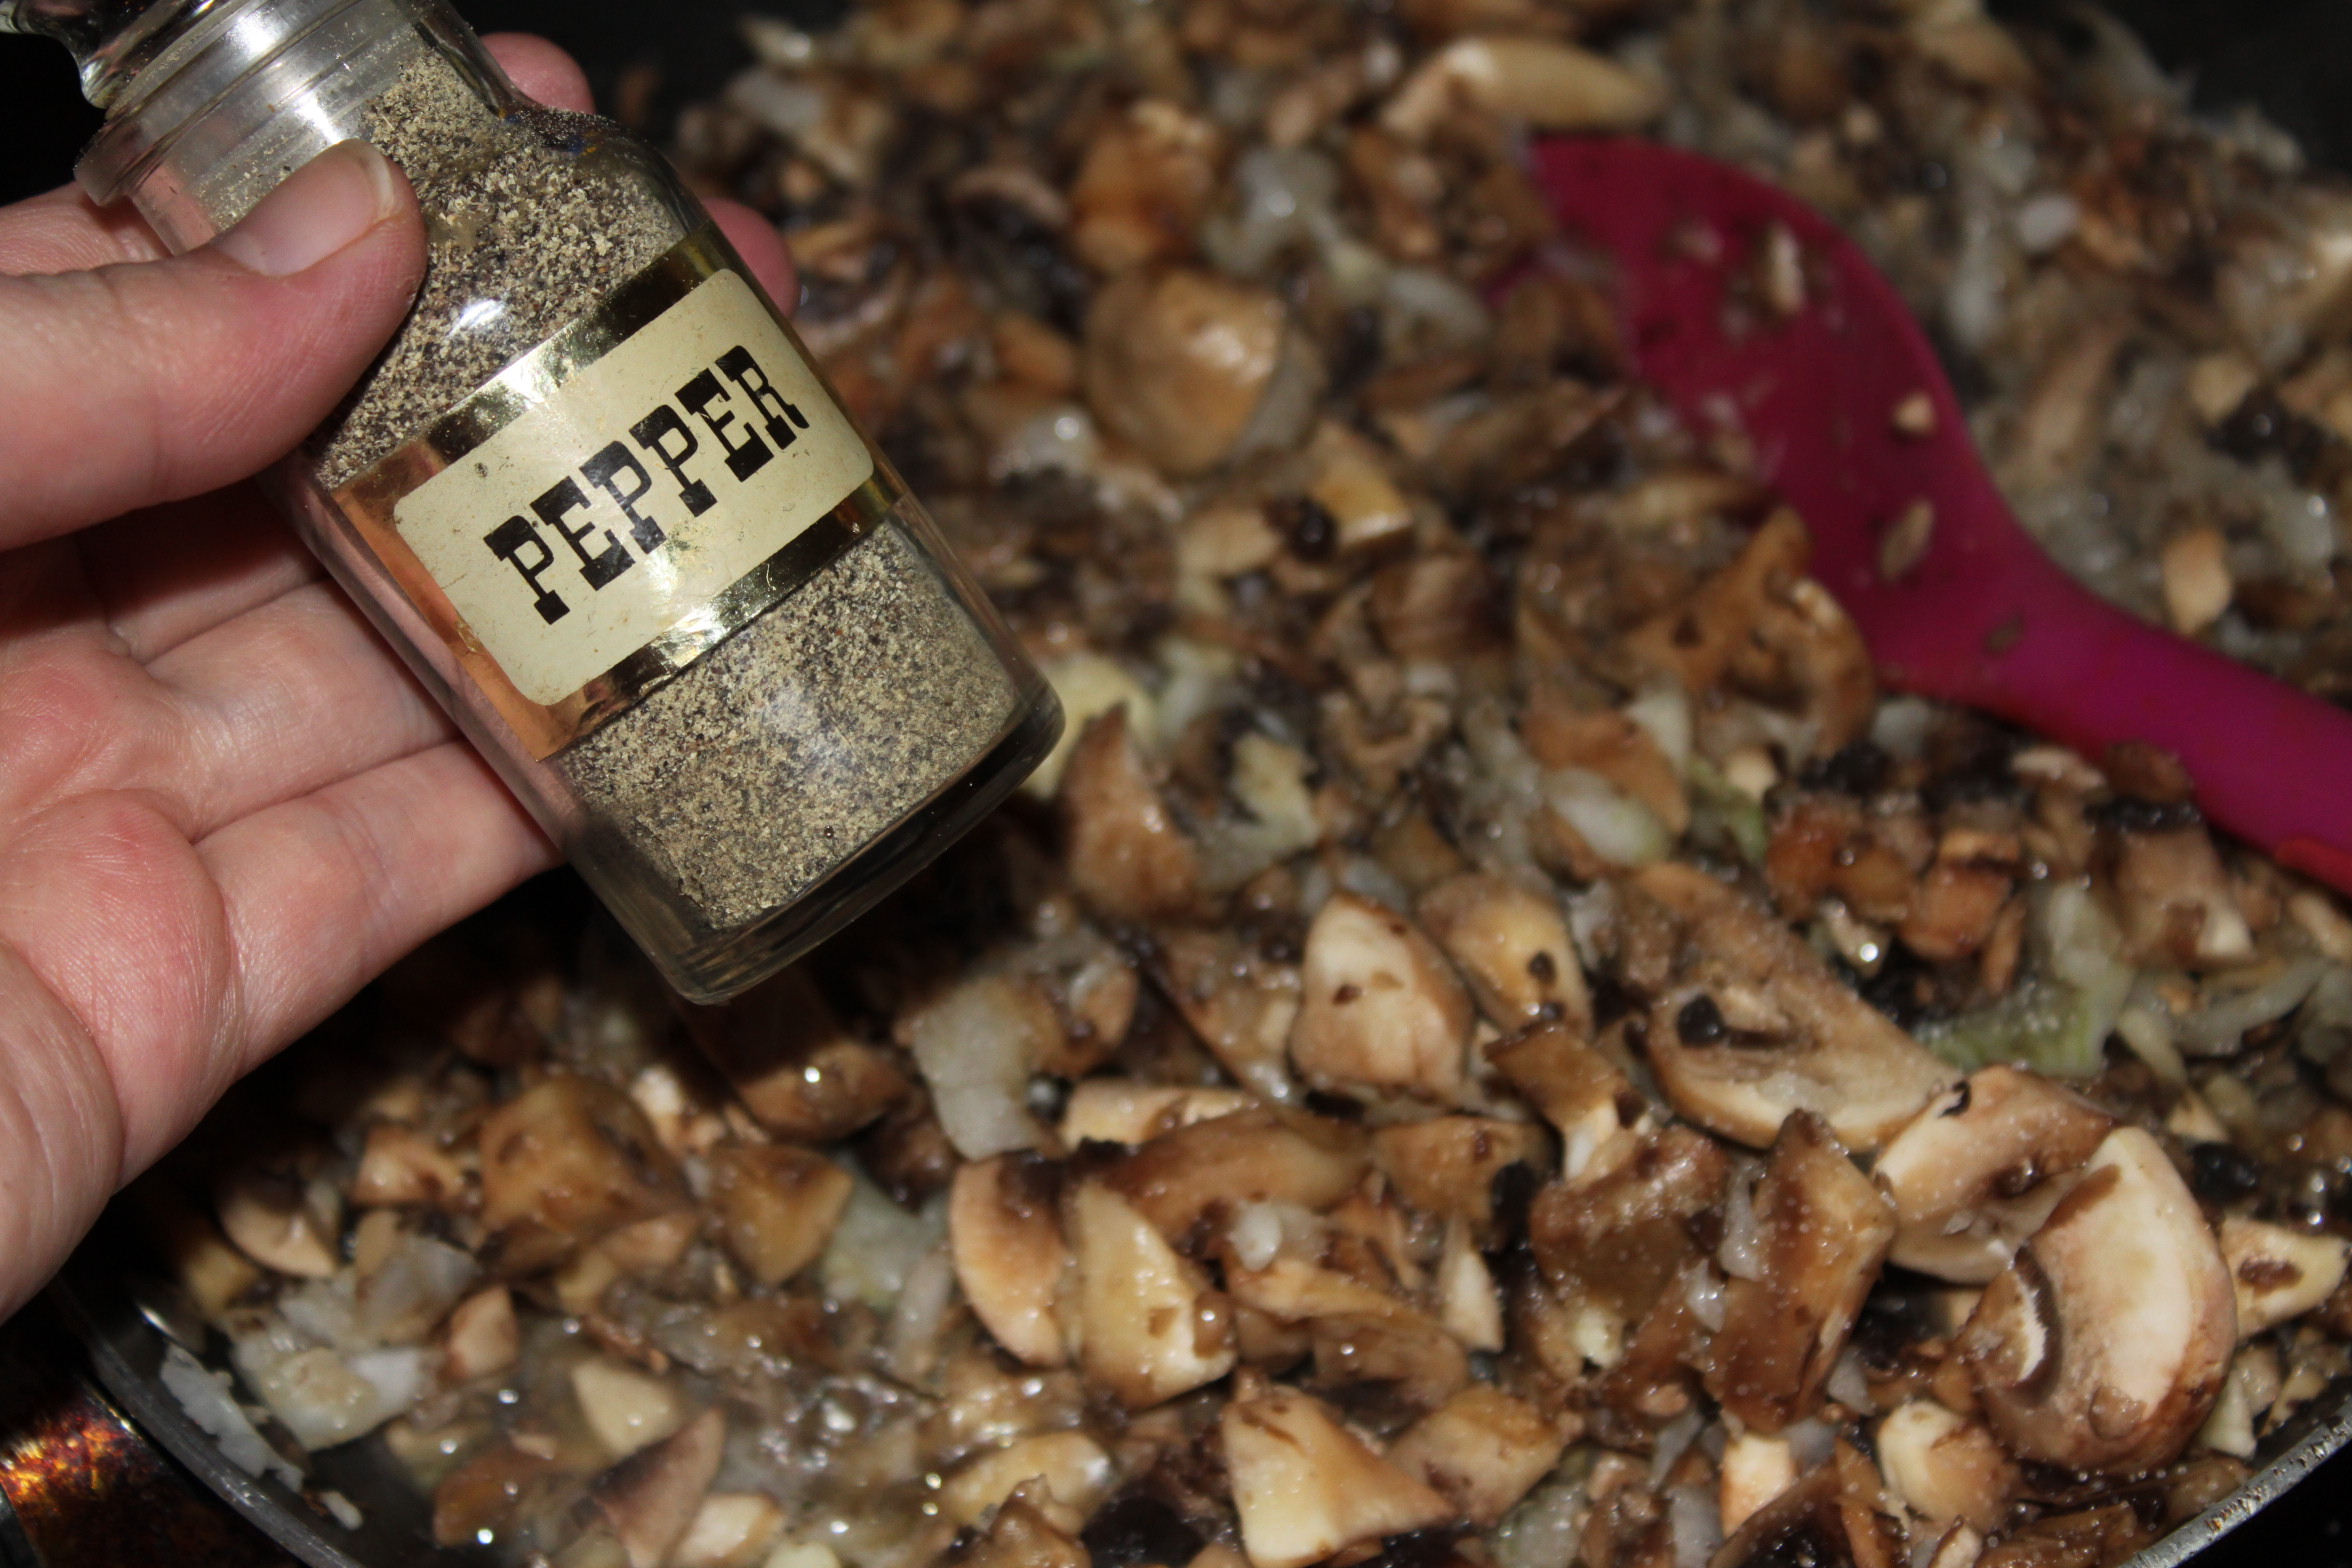
Use your Olive Oil (amounts of any of these seasonings are based on your preferences), Garlic Salt, Paprika, Ground Cumin, Chili Powder, and Taco Seasonings Packet.

Turn your stove on HIGH heat and let it begin to sizzle. Depending on how crunchy or soft you want your vegetables will determined how long you will cook them. I like mine in between soft and crunchy so I cook them for about 6-7 minutes. Make sure to stir (almost continuously) until they’re perfected. Once they have about a minute or so left, toss those Green Onions we sliced up earlier in!

Now it’s done. Your mouth should be watering right about now. The smell of these veggies cooking will cause your neighbors to want to try a bite!

Next, grab your favorite toppings and Whole Wheat tortilla shells and you’re ready to make those Fajitas!
Healthy, Delicious, and Quick.
What more could you ask for?
Oh, and an added bonus– instead of using sour cream, try using some plain Greek Yogurt. Sounds odd, but it’s just as good and a LOT better for you!
ENJOY!!
Don’t forget to check out Bahavna’s Kitchen on YouTube where she has a video of her own Vegetarian Fajitas in which these were inspired by!


