Week 4: Toss the Broken Items!

WEEK FOUR;

By this time, you should have accomplished at least 3 things on your initial list of projects to accomplish this year– so congrats! We’re on our way to a more simplified, organized way of living.

 Once we declutter our living space, we can begin to declutter our minds.

5397918388_53a67f1a61

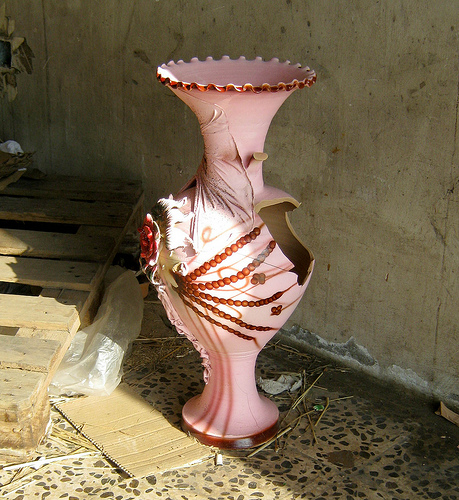
Photo credit: Photos particulières / Foter.com / CC BY-NC-ND


THIS WEEK’S CHALLENGE: 

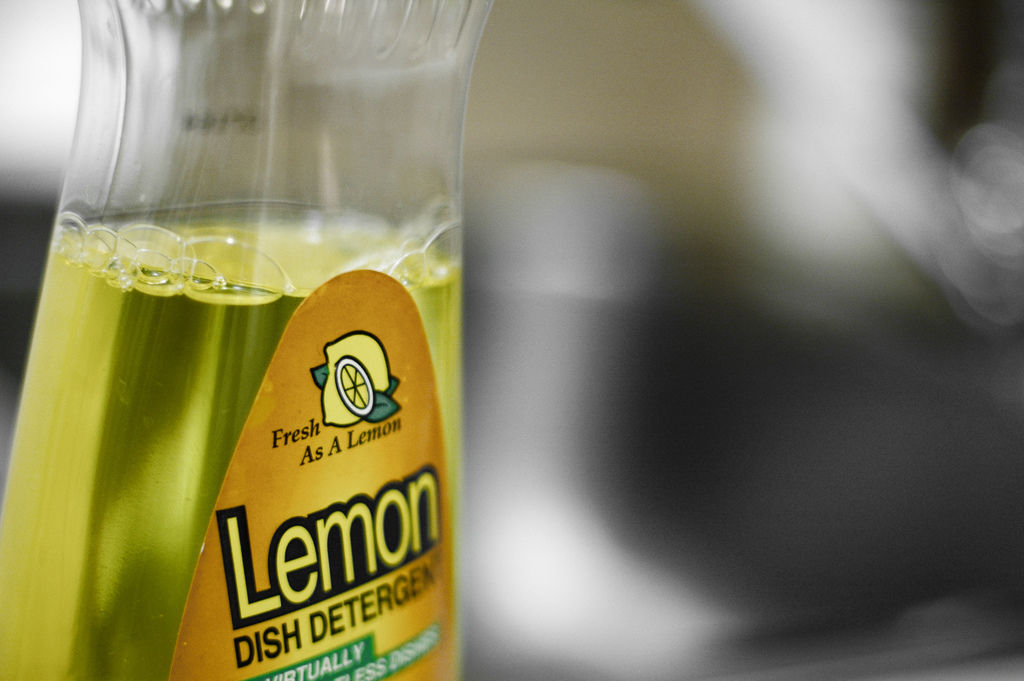
This week we are going to go through our apartments, rooms, houses– and either FIX or GET RID OF all of the broken items we have lying around. If you’re like me, then there are vases, ceramic knick-knacks etc, that you have lying around the house with the intention of fixing one of these days. Well, this week is the week to fix it OR toss it. I have had things in my house that I’ve had for years that are broken. Broken cellphones, computers, televisions… all kinds of things. I also have things like DVDs and CDs that are scratched to the point beyond ever playing again. TOSS THEM– there is no need to hold onto these items!

I will have a difficult time with this challenge. I am someone who likes holding onto things for their memory or because someone special gave it to me. Here is how I plan to overcome the difficult task of ridding my life and house of clutter:

Instead of keeping the item because of sentimental reasons, I am going to take pictures of those items and keep them in my Hope Chest (the chest in which I keep all memorabilia). If there is a small piece of the broken item I want to keep– (an example: one of my dogs ruined my high school prom dress, it was so difficult to get rid of but I finally cut some of the fabric from the dress and threw the rest in the trash) –then keep the small  piece in a special drawer, tote, or chest that will store the rest of your sentimental items.

What ideas do you have for overcoming the difficult task or ridding yourself of certain items? Do you find yourself getting attached to “things” or are you one of those that don’t have that problem? 

Rid Your Pet’s Fleas With Household Items!

It’s that time of year and as much as I hoped it wouldn’t happen, it did– my dogs got fleas. They are indoor dogs, however they go outside to use the bathroom. It was inevitable. Sure, I could use those harsh chemicals to try and treat my dogs, which don’t always work, but I wanted to find a cheaper, better alternative.

After doing a lot of research online, I came across a couple ideas. These ideas included things you probably already have lying around your house. And guess what….

IT WORKS!

fresh-as-a-lemon

Photo credit: Bill Selak / Foter.com / CC BY-ND
  • Bathe your animals in DISH SOAP. Yep, you heard right. Dish soap kills the fleas on contact! 

magazine and dog bath 014

magazine and dog bath 020

magazine and dog bath 021

magazine and dog bath 023

Haha, ok so not all my animals enjoyed the bath. But, boy aren’t they happy they had one!

NO MORE FLEAS.

You heard me– we checked and didn’t see ONE flea!

.

However, we did find this nasty creature that must’ve jumped off just in time to die.

Poor thing.

magazine and dog bath 016

(I changed the contrast and brightness so you could see the nasty flea better.)

  • After you bathe your pets, grab an empty spray bottle (a clean one) and mix 1/2 part Apple Cider Vinegar and 1/2 part warm water.


Once your pets dry, take them outside and spray some of this mixture onto them (avoid their face). It’s supposed to prevent fleas for up to a WEEK.

Definitely worth trying out! The smell may not be pleasant, but can’t be any worse then those nasty bugs, right!?

.

Do you have any home remedies for fleas? If so leave it below! I’d love to hear more ideas!

Homemade Shampoo!

There are so many articles online that give you recipes for making your own shampoo and conditioner. I’ve tried a few different ways and thought I’d share the ones I like the most!

First, there is a thing called the “No-Poo Method” which is basically “No shamPOO.” Several people have tried this and swear by it. You still “wash” your hair, you just don’t use store bought shampoo.

The ingredients for the “No-Poo Method” shampoo are:

  • Baking soda mixed with water as your shampoo.
  • Apple Cider Vinegar mixed with water as your conditioner.

bakingsoda,vinegar 001

Many people say that actually shampooing your hair with store bought shampoo causes your hair to become oily– in turn, you wash it again, and the cycle continues.

When using the “No-Poo Method” you should “wash” your hair about every couple of days. It lacks the “foaming and lather” aspect of normal shampoo, but that is where a lot of chemicals in normal shampoo are.

Check out Ashley’s Green Life video about her experience with the “No-Poo Method”  below.

I noticed that a lot of the shampoo recipes online call for a Liquid Castille Soap. These are liquid soaps made organically. The can sometimes be pricey, but are very worth it! You don’t use very much in your shampoo recipes so it should last a long time. (Keep in mind, do not use more than directed in the recipes. I wanted a “lather” so I added in more of the soap and it caused my hair to be oily.)

The cool thing about Dr. Bronner’s brand of Liquid Castille Soap is that it comes in all kinds of scents. Almond, Lavender, Peppermint… there’s even a Baby Mild form of it. So when mixing your shampoo, there is no need to add in essential oils.

The best shampoo I’ve tried thus far is….

Natural Homemade Shampoo

I found this recipe on Wellness Mama.

How to mix:

  1. Combine all ingredients in an old shampoo bottle or jar of some kind (pump soap dispensers and even foaming dispensers work well for this. If you use a foaming dispenser, add 1/4 cup of distilled water)
  2. Shake well to mix.
  3. Keep in shower for up to a month.
  4. Shake before each use.
  5. Use about a teaspoon every time you shampoo.
  6. If you use a foaming dispenser, it also makes a great shaving cream- just dilute with 1/4 cup distilled water!

For more homemade shampoo recipes, check out INSTRUCTABLES article HERE.

If any of you have tried making homemade shampoo…

Share your favorite combinations in the comments below.

Also, what’s your favorite and least favorite part of making homemade shampoo?

Spring Clean Your Mattress!

I was looking online to find a way to clean my mattress and found a great article by Make It Do here.

Basically, all you need is baking soda, your favorite essential oil (her and I both used lavender for this), a sifter (optional), and a vacuum.

random,matress,mushroomburgersweetfries 006

To  make things easier, toss the baking soda and some lavender oil into a container and shake it up before sifting it onto the bed.

random,matress,mushroomburgersweetfries 007

Once you’ve sifted the baking soda mixture all over one side of the mattress, allow it to sit for about 30 minutes to an hour.

Now vacuum and repeat on opposite side and you’re all done!

So easy!